Central Pneumatic 3 Gallon Air Compressor: How To Use
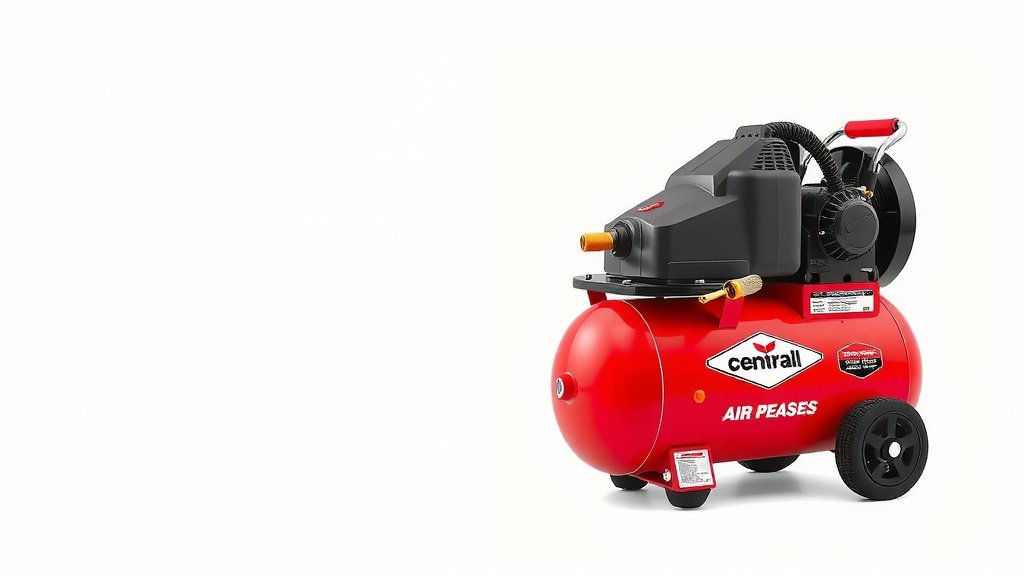
Using your Central Pneumatic 3-gallon air compressor is quite straightforward. You’ll want to connect your air hose and then turn on the power switch. Ensure the tank is properly pressurized before starting your project to get the best performance. It’s designed for ease of use for many common DIY tasks.
This handy compressor is perfect for tasks like inflating tires, powering brad nailers, or cleaning dusty surfaces. Many users find its compact size and portability make it a great choice for various projects around the house. We found that understanding its basic operation is key to getting the most out of it.
- Connect your air hose securely.
- Turn on the compressor’s power switch.
- Check the tank pressure gauge.
- Make sure it’s ready before use.
Let’s walk through exactly how to use your Central Pneumatic 3-gallon air compressor step by step, making sure you get set up right.
Getting Started with Your 3-Gallon Air Compressor
So, you’ve got your Central Pneumatic 3-gallon air compressor, and you’re ready to get to work! It’s a fantastic tool for many home projects. Using it is much simpler than you might think. Let’s make sure you’re set up for success right from the start.
Understanding Your Compressor’s Parts
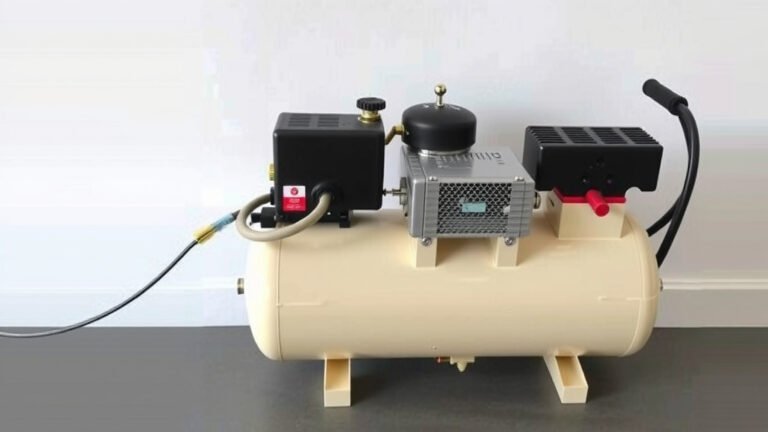
Before you even plug it in, it’s helpful to know what’s what. Your compressor has a few key components. There’s the air tank, which stores the compressed air. You’ll see a pressure gauge to tell you how much air is in the tank. There’s also a regulator, which lets you control the air pressure going to your tool. Don’t forget the power switch to turn it on and off. Knowing these parts will make operating it a breeze.
The Role of the Air Tank
Think of the air tank as the ‘lung’ of your compressor. It holds a reserve of air, so you don’t have to worry about it running constantly. This is especially handy for tools that use a lot of air in short bursts. The 3-gallon size is great for portability. It means you can move it around your garage or workshop with ease. It’s a good balance between capacity and convenience.
Pressure Gauges and Regulators Explained
Your compressor likely has two gauges. One shows the tank pressure, telling you how full the tank is. The other, often after the regulator, shows the output pressure. This is the pressure you’ll set for your specific tool. Most air tools have a recommended PSI (pounds per square inch) range. Using the regulator correctly ensures your tool operates safely and efficiently.
Connecting Your Air Hose and Tools
This step is critical for getting air where you need it. You’ll need an air hose designed for compressors. Most air compressors use standard fittings, but it’s always good to double-check. Make sure the hose is rated for the pressure your compressor can produce. You’ll need to connect your air hose, and our guide explains the best size to use.
Securing the Air Hose Connection
On the compressor, you’ll find an outlet port. This is where you connect your air hose. Most fittings have a quick-connect mechanism. You simply push the male end of the hose fitting into the female coupler on the compressor and it should click into place. Give it a gentle tug to ensure it’s securely attached. A loose connection can lead to air leaks, which means less power for your tools and more noise from the compressor.
Attaching Your Air Tool
Once your hose is connected to the compressor, you’ll connect your air tool to the other end of the hose. This also usually involves a quick-connect fitting. Again, ensure it’s a firm, secure connection. Some tools might come with their own adapters, so have those handy if needed.
Operating Your Central Pneumatic Compressor: Step-by-Step
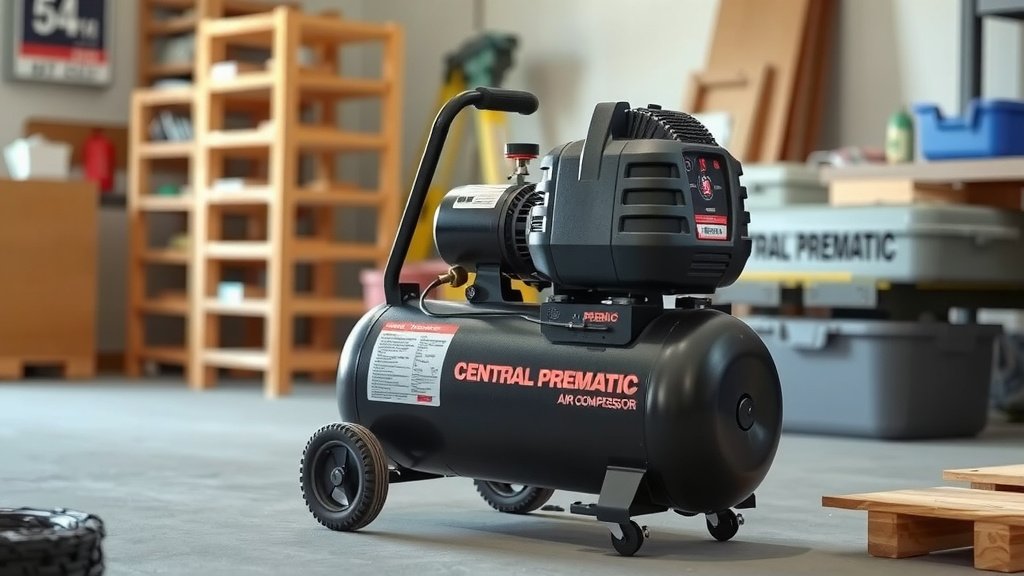
Now for the main event! Following these steps will help you get your compressor up and running smoothly.
Step 1: Check Air Tank Pressure and Water Drainage
Before you power on, take a quick look at the tank pressure gauge. If it’s already pressurized, that’s fine. Many compressors have a small drain valve at the bottom of the tank. It’s good practice to open this valve briefly before use to release any accumulated moisture. Water inside the tank can cause rust over time. Many maintenance guides suggest this as a first step (Central Pneumatic User Manual).
Step 2: Set the Regulator
Now, adjust the regulator. Turn the knob counter-clockwise to lower the output pressure. You’ll want to set this to the PSI recommended for your specific air tool. We found that checking the tool’s manual or a label on the tool itself is the best way to find this information. If you don’t set the regulator, you risk damaging your tool with too much pressure.
Step 3: Power On the Compressor
Find the power switch. It’s usually located on the compressor unit. Flip it to the ‘ON’ position. You’ll hear the motor start up and begin compressing air into the tank. The tank pressure gauge will start to climb.
Step 4: Monitor Pressure and Auto Shut-Off
Let the compressor build pressure. It will automatically shut off when it reaches its maximum preset pressure. This is a safety feature. You’ll notice the sound change or stop, and the pressure gauge will indicate it’s full. This is your cue that the compressor is ready for use.
Step 5: Use Your Air Tool
Now you can use your air tool. For example, if you’re using a brad nailer, pull the trigger. The compressor will likely kick back on as you use the air to maintain pressure. This on-and-off cycling is normal. It’s designed to keep the tank pressurized for your project.
Step 6: Power Off and Release Pressure
When you’re finished with your project, it’s important to shut down correctly. First, turn the compressor’s power switch to ‘OFF’. Then, disconnect your air tool. To release any remaining pressure in the system, you can either open the regulator completely or use the tank’s drain valve again. Releasing pressure prevents wear on the components.
Essential Safety Checks and Tips
Safety should always be your top priority. Even with a small compressor, a few checks go a long way. Always wear safety glasses when operating any air-powered tool. Research and found that eye injuries from flying debris are common in workshops (Occupational Safety and Health Administration).
Here’s a quick checklist to run through before each use:
- Ensure the compressor is on a stable, level surface.
- Check that all hose and tool connections are secure.
- Verify the regulator is set to the correct PSI for your tool.
- Make sure the air filter is clean and properly attached.
- Confirm the power cord is free from damage.
- Always wear safety glasses and hearing protection.
Conclusion
You’re now ready to use your Central Pneumatic 3-gallon air compressor with confidence. We covered understanding its parts, connecting your hose and tools, and operating it step-by-step. Remember to always check your connections, set your regulator correctly, and prioritize safety with glasses and hearing protection. These simple practices will ensure your compressor performs well for all your DIY projects. Your next step is to gather your tools and tackle that project you’ve been planning!
Frequently Asked Questions
How do I know when my 3-gallon air compressor is ready to use?
Your compressor is ready when it has reached its maximum preset pressure. You’ll see the tank pressure gauge indicate a full tank, and the compressor motor will automatically shut off. This auto shut-off feature is your signal that it’s good to go.
What PSI should I set my regulator to for my air tool?
You should set the regulator to the PSI recommended by the manufacturer of your specific air tool. This information is usually found on a label on the tool itself or in its user manual. Using the correct PSI protects your tool from damage.
How often should I drain the water from the air tank?
It’s good practice to drain any accumulated moisture from the tank before or after each use, especially if you’re in a humid environment. This helps prevent rust and keeps your compressor running efficiently.
Can I leave my air compressor plugged in when not in use?
While most compressors are safe to leave plugged in, it’s a good idea to turn the power switch off when you’re done. Releasing pressure from the tank and hose also reduces wear on the compressor’s internal components.
My air tool isn’t getting enough power. What could be the problem?
Check that your air hose is securely connected to both the compressor and the tool, as loose connections cause air leaks. Also, ensure the regulator is set to the correct PSI for your tool and that the compressor has reached its full tank pressure.