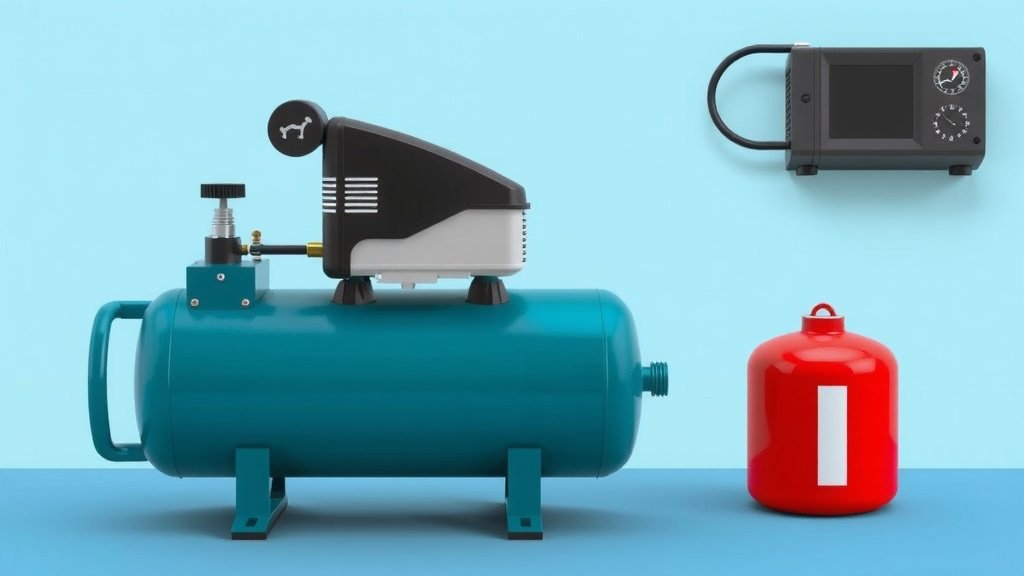
How to Use an Air Compressor: A Simple Guide
Using an air compressor is pretty straightforward! You’ll need to connect your tool, set the right pressure, and turn it on. It’s a fantastic tool for many home projects and repairs. We found that understanding a few basic steps makes using your air compressor much easier and safer. You’ll be tackling jobs in no time!
An air compressor works by compressing air into a storage tank. This stored air can then be released quickly to power tools or inflate items. Knowing how to properly operate it means you can get the most out of its capabilities for tasks like inflating tires, painting, or using air-powered tools. We found that most common uses are quite simple to manage.
- Connect your air tool securely.
- Set the air pressure using the regulator.
- Turn on the compressor switch.
- Release air slowly through your tool.
- Always unplug when finished.
Let’s walk through exactly how to use your air compressor step by step, making sure you feel confident and ready for your next project.
Getting Started with Your Air Compressor: A Simple Guide
So, you’ve got an air compressor, and you’re wondering how to put this powerful tool to work? We get it! It might seem a little intimidating at first, but using an air compressor is really about understanding a few key components and steps. We found that most users can get comfortable with it very quickly. Let’s break down the process so you can feel confident tackling your next project.
Understanding the Basics of Your Air Compressor
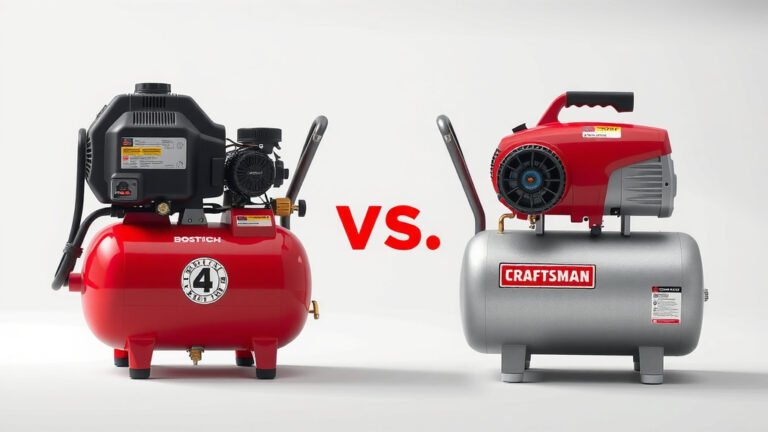
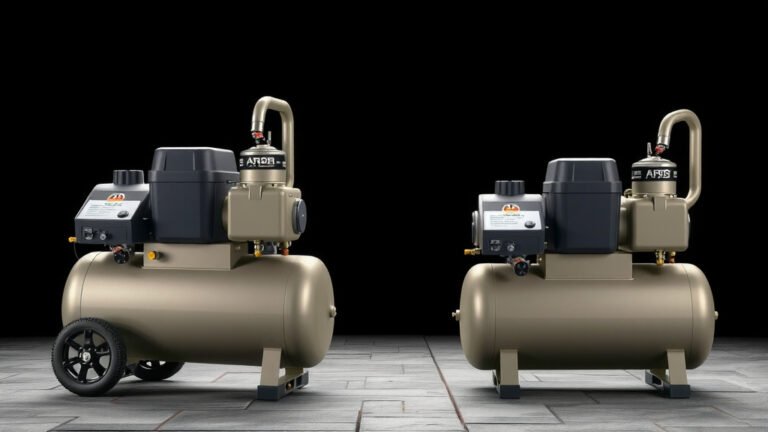
Before you plug it in, it’s good to know what you’re working with. Your air compressor’s main job is to store compressed air. This stored air is then released to power various tools or inflate things. Think of the tank like a balloon you’re filling up – the fuller it gets, the more air you have ready to go. Our comparison of 1-gallon vs 2-gallon air compressors can help you decide which tank size is best.
Key Components to Know
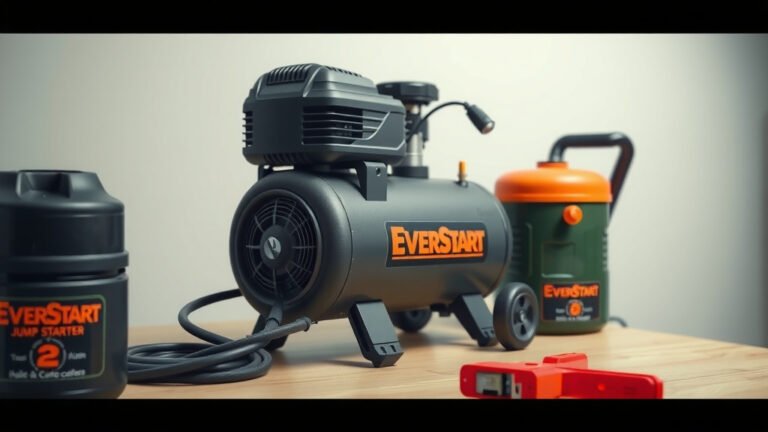
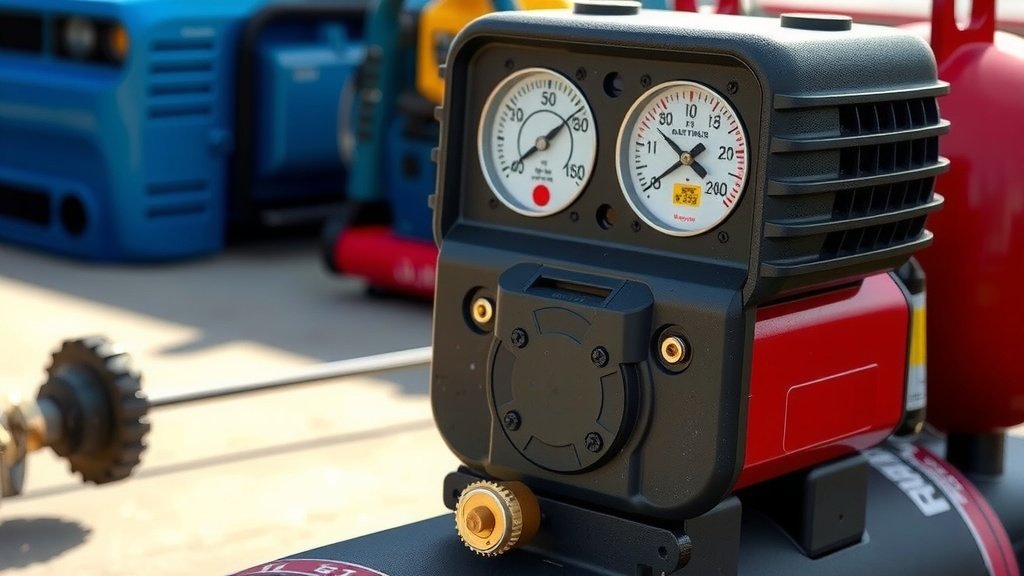
You’ll find a few important parts on most air compressors. There’s the power switch, usually a simple on/off button. The pressure gauge shows you how much air is in the tank. The regulator is super important; it lets you control how much pressure goes to your tool. And of course, there’s the air outlet where you’ll connect your tools.
Safety First: Always!
Safety is non-negotiable with any power tool, and air compressors are no exception. Always wear safety glasses. We found that even small bursts of air can send debris flying unexpectedly. Also, ensure you’re in a well-ventilated area, especially if you’re using it for painting. Many compressor manuals also suggest hearing protection, which we found to be a good idea for longer jobs.
Step-by-Step: How to Use Your Air Compressor
Ready to get things moving? Let’s go through the process step by step. We’ve found that following these steps makes the whole experience much smoother and safer for everyone involved.
Step 1: Prepare Your Air Compressor
First things first, find a stable, level spot for your compressor. Make sure the area is clear of clutter. Check the oil level if your compressor requires it – many portable ones don’t, but it’s always good to check your specific model. For electric compressors, plug it into an appropriate outlet. Gas-powered ones will need fuel and primer, just like a lawnmower.
Step 2: Connect Your Air Tool
This is where your compressor starts to become useful. You’ll need an air hose and the tool you want to use. Securely attach one end of the air hose to the compressor’s air outlet. Many have quick-connect fittings, which just snap into place. Then, attach the other end of the hose to your tool. Give it a gentle tug to make sure it’s snug. We found that a loose connection can lead to air leaks and reduced performance.
Step 3: Set the Air Pressure with the Regulator
This is a critical step for both tool performance and safety. You’ll see a knob on the regulator. Turn it counter-clockwise to decrease pressure, and clockwise to increase it. Your tool will have a recommended operating pressure. You can usually find this in its manual. You’ll want to set the regulator so that the gauge shows the correct pressure for your tool. Many experts recommend setting it slightly lower than the tool’s maximum to prevent damage (Many Tool Manufacturers’ Guidelines).
Understanding PSI
Pressure is measured in Pounds per Square Inch, or PSI. Different tools need different PSI levels. A tire inflator might need 30-40 PSI, while a framing nailer might use 90-100 PSI. Always refer to your tool’s manual for the exact requirement. We found that using the correct PSI is key to getting the best results from your tool.
Step 4: Turn On the Compressor and Let it Build Pressure
Now, turn on your air compressor using the power switch. You’ll hear it start to work, filling the tank with air. The pressure gauge will climb. Most compressors will automatically shut off once they reach their maximum tank pressure. This is normal and a safety feature.
Step 5: Engage Your Air Tool
Once the tank is pressurized, you can start using your tool. For things like nail guns or impact wrenches, you’ll typically have a trigger. For inflators, you’ll connect the nozzle to the item you’re inflating. Air will flow from the tank, through the regulator, down the hose, and into your tool. You should feel the tool start to operate as intended.
Step 6: Monitor Pressure and Adjust if Needed
As you use your tool, the pressure in the tank will drop. The compressor might kick back on automatically to refill it. Keep an eye on your pressure gauge. If the pressure gets too low, your tool might not perform effectively or at all. If you need a constant supply of air, you might need a larger compressor or one with a higher duty cycle. We found that for most DIY tasks, a standard portable compressor is perfectly adequate.
A Quick Checklist for Compressor Use
Here’s a handy checklist to run through before you start your project:
- Check oil level (if applicable).
- Ensure a stable, level surface.
- Connect air hose securely to compressor and tool.
- Set regulator to the correct PSI for your tool.
- Wear safety glasses!
- Turn on compressor and check pressure gauge.
When You’re Finished: Shutting Down Safely
Once your project is done, it’s time to turn everything off. First, release any remaining air pressure from the tool itself. Then, turn off the air compressor’s power switch. Finally, disconnect the air hose from the compressor. It’s also a good practice to drain any moisture from the tank. Most compressors have a drain valve at the bottom; open it slightly to let out condensed water. We found this prevents rust and keeps your compressor in good working order for longer.
Conclusion
You’ve now learned the simple steps to safely and effectively use your air compressor. Remember to always prepare your equipment, connect your tools securely, and set the correct air pressure with your regulator. Paying attention to these details ensures your projects go smoothly and your tools perform their best. Taking that extra moment for safety checks and proper shutdown will keep your compressor in great shape for years to come. Your next DIY project is just a plug-in away – get ready to put your air compressor to work!
Frequently Asked Questions
How do I know if my air compressor needs oil?
Many portable electric air compressors are oil-free. However, if your compressor has an oil dipstick, you’ll need to check and maintain the oil level according to your owner’s manual. Keeping the oil at the correct level is essential for the longevity of oil-lubricated models.
What happens if I set the pressure too high on my air compressor?
Setting the pressure too high can damage your air tool, cause it to malfunction, or even lead to injury from flying debris or tool failure. Always refer to your tool’s recommended operating pressure and set your regulator slightly below that maximum to be safe.
Can I use any air hose with my compressor?
You should use an air hose rated for the maximum pressure your air compressor can produce. Also, ensure the hose has the correct fittings for both your compressor’s outlet and your air tool. Using an under-rated hose can be a safety hazard.
How often should I drain the moisture from my air compressor tank?
It’s a good practice to drain moisture from the tank after each use, especially if you live in a humid climate. This prevents rust and corrosion inside the tank, which can degrade your compressor over time and potentially contaminate the air supply.
My air compressor keeps shutting off. Is that normal?
Yes, most electric air compressors have an automatic shut-off feature. They will turn off when the tank reaches its maximum pressure and then restart automatically when the pressure drops below a certain level. This is a normal safety and operational function.