Air Compressor for Sandblasting: A Simple Guide
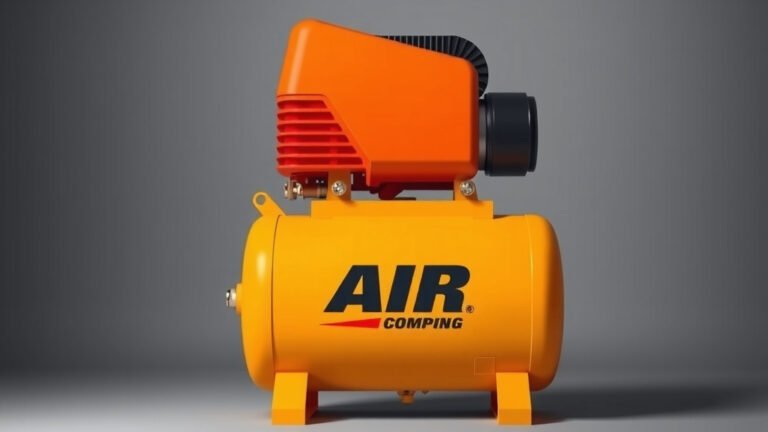
Yes, you can absolutely use your air compressor for sandblasting! To do it right, you’ll need an air compressor with a minimum CFM rating and a dedicated sandblasting attachment or cabinet. Getting these two elements correct ensures you have enough air power to effectively blast away rust and old paint.
Sandblasting is a powerful way to clean surfaces. It uses abrasive particles propelled by compressed air. Many DIYers wonder if their existing compressor is up to the task. We found that while some smaller compressors can handle light jobs, a robust compressor is key for tougher projects.
- Choose the right air compressor (CFM matters!).
- Select the proper sandblasting tool (gun, cabinet, or kit).
- Ensure you have the correct abrasive media.
- Safety gear is non-negotiable!
- Practice on scrap material first.
Below, we’ll walk you through the essentials of hooking up your air compressor and getting started with sandblasting safely and effectively.
Getting Your Air Compressor Ready for Sandblasting
So, you want to blast away some grime, rust, or old paint? Using your air compressor for sandblasting is totally doable. But, not all compressors are created equal for this job. We found that the key ingredient is enough air volume. This is measured in CFM, or cubic feet per minute. Without enough CFM, your sandblasting won’t be effective. It’ll just be a weak puff of dust.
Think of it like trying to power a big shop vacuum with a tiny handheld one. It just won’t have the juice. Sandblasting requires a consistent, powerful blast of air to propel the abrasive media. We discovered that many DIYers underestimate this requirement. This often leads to frustration. Make sure your compressor is up to the task before you start.
Understanding Air Compressor Requirements for Sandblasting
The most important spec for sandblasting is the CFM rating of your air compressor. Sandblasting tools, especially guns, are air-hungry. They need a steady supply of compressed air to work properly.
What is CFM and Why It Matters
CFM tells you how much air your compressor can deliver at a certain pressure. For sandblasting, you typically need to match or exceed the CFM requirement of your sandblasting tool. If your compressor’s CFM is too low, it can’t keep up. The air pressure will drop, and your blasting will be weak and inconsistent. Many experts say you should aim for a compressor that provides at least 10-15% more CFM than your sandblasting tool calls for.
Compressor Tank Size Considerations
While CFM is king, the tank size of your compressor plays a role too. A larger tank acts like a buffer. It stores compressed air. This means your compressor doesn’t have to run constantly to maintain pressure. For sandblasting, a bigger tank helps prevent those frustrating dips in air pressure. We found that tanks of 30 gallons or more are generally recommended for most DIY sandblasting projects.
Horsepower vs. CFM
Don’t be fooled by horsepower alone. A high-horsepower motor doesn’t automatically mean high CFM. We’ve seen many compressors advertised with big horsepower numbers but low CFM. Always check the CFM rating at a common pressure, usually 90 PSI. That’s the number that truly matters for sandblasting performance.
Choosing the Right Sandblasting Equipment
Once you know your compressor’s capabilities, it’s time to pick the right sandblasting tool. There are a few popular options, each with its pros and cons. Your choice will depend on the size of your project and your workspace.
Sandblasting Guns (Pistol Grip)
These are often the most affordable and versatile options. A sandblasting gun attaches to your air hose. You hold it like a spray gun. They are great for smaller jobs or detailed work. However, they can be tiring to use for extended periods. You’ll need to manually feed the abrasive media into them. We found that some models come with a small cup attached, while others draw from a larger hopper.
Sandblasting Kits
These kits usually include a sandblasting gun along with a hose and sometimes a small hopper. They offer a good balance of affordability and convenience for DIYers. You can often find kits that connect directly to your compressor’s air outlet. Research suggests these kits are ideal for tackling items like car parts, patio furniture, or even removing paint from wooden surfaces.
Sandblasting Cabinets
For larger projects or if you’re doing a lot of sandblasting, a cabinet is a fantastic investment. These enclosed units keep the abrasive media contained. This significantly reduces mess and dust. You reach inside through gloves to operate the blasting gun. We found that cabinets are excellent for blasting multiple small parts. They also offer a more controlled blasting experience.
| Tool Type | Best For | Considerations |
|---|---|---|
| Sandblasting Gun | Small parts, detail work, tight spaces | Requires manual media feeding, can be messy |
| Sandblasting Kit | Medium-sized projects, general cleaning | Good balance of cost and capability |
| Sandblasting Cabinet | Multiple small parts, containment, controlled blasting | Takes up more space, higher initial cost |
Selecting the Right Abrasive Media
The “sand” in sandblasting isn’t always sand! Many different abrasive materials can be used. The type of media you choose impacts how aggressive the blasting is and what kind of surface finish you get. Many experts recommend matching the media to the material you’re working on and the job at hand.
Common Abrasive Types
- Sand (Silica): Traditional, but can be dusty and has health risks. Use with extreme caution or avoid if possible.
- Glass Beads: Good for a smoother finish. Ideal for aluminum and delicate parts.
- Aluminum Oxide: A very popular choice. It’s hard and sharp, good for rust and paint removal.
- Walnut Shells: A softer media, good for cleaning without damaging the substrate.
- Corn Cobs: Another gentle option for cleaning.
We found that it’s crucial to use media specifically designed for sandblasting. Regular play sand can clog your equipment and isn’t effective. Always check the recommended media size and type for your specific sandblasting tool.
Safety First! Essential Gear for Sandblasting
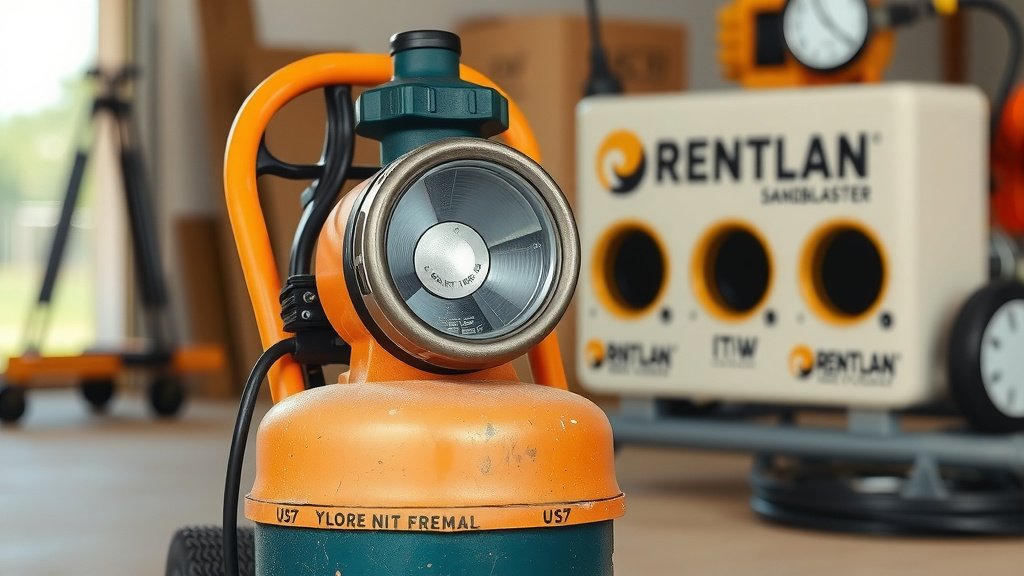
Sandblasting is dusty work, and inhaling abrasive media or debris is a serious health hazard. Think of it like tiny, high-speed projectiles. Safety gear isn’t optional; it’s absolutely mandatory. You need to protect yourself from dust, flying debris, and noise.
Respiratory Protection
A simple dust mask won’t cut it. You need a respirator rated for fine particles. Many sandblasting kits come with basic respirators, but we found that investing in a good quality, half-face or full-face respirator is well worth it for your health.
Eye Protection
Flying particles can cause serious eye injury. Always wear safety goggles that seal tightly to your face. If you’re using a sandblasting gun, a helmet with a face shield is even better. Cabinets have built-in protection, but still, ensure the viewing window is clear and intact.
Hearing Protection
Air compressors and sandblasting equipment can be loud. Protect your hearing with earplugs or earmuffs. We found that prolonged exposure to loud noise can lead to permanent hearing damage. It’s better to be safe than sorry.
Protective Clothing
Wear old clothes you don’t mind getting dirty. A long-sleeved shirt and pants are a minimum. We recommend sturdy work gloves and closed-toe boots. Some people even wear a dedicated sandblasting suit for maximum protection.
Putting It All Together: The Hook-Up Process
Connecting your air compressor to your sandblasting tool is usually straightforward. It’s similar to connecting any other air tool.
Connecting the Air Hose
You’ll need an air hose with the correct fittings for both your compressor and your sandblasting tool. Most air tools use a 1/4-inch NPT fitting. Ensure your hose is rated for the working pressure of your compressor. We found that longer hoses can sometimes reduce air pressure, so use the shortest hose practical for your job.
Adding the Abrasive Media
Follow the instructions for your specific sandblasting tool. Guns with hoppers need media added manually. Cabinets have internal hoppers. Make sure the media is dry and free of clumps. Damp media can clog your equipment and cause uneven blasting. Many sources suggest storing abrasive media in a dry place.
Testing and Adjusting
Before you dive into your main project, test your setup. Connect everything, turn on your compressor, and slowly open the air valve on your sandblasting tool. Aim at a scrap piece of material. Check the air pressure and the flow of the abrasive media. You might need to adjust the media flow knob on your gun to get the desired effect.
A Quick Checklist for Your First Blast
Ready to give it a whirl? Here’s a quick checklist to make sure you’re prepared:
- Check Compressor CFM: Does it meet your tool’s needs?
- Gather Safety Gear: Respirator, goggles, gloves, ear protection.
- Select Abrasive Media: Is it right for your project?
- Inspect Equipment: Hoses, fittings, and tool are in good condition.
- Find a Test Area: Have scrap material ready.
- Clear the Area: Ensure good ventilation and minimal dust spread.
Conclusion
You’ve learned that using your air compressor for sandblasting is entirely achievable with the right setup. Remember, matching your compressor’s CFM output to your sandblasting tool is the most critical step for success. Don’t forget to prioritize safety with proper gear, choose the correct abrasive media for your project, and always test your setup first. Now you have the knowledge to tackle rust, old paint, and more. Your next step is to gather your gear and start your first sandblasting project on a scrap piece to get comfortable!
Frequently Asked Questions
What is the minimum CFM my air compressor needs for sandblasting?
For most general sandblasting tasks, aim for an air compressor that delivers at least 5-10 CFM. It’s best practice to choose a compressor that offers 10-15% more CFM than your sandblasting tool specifies. This ensures consistent air pressure for effective blasting.
Can I use regular sand from my yard for sandblasting?
No, you should not use regular play sand or sand from your yard for sandblasting. It often contains moisture and impurities that can clog your equipment and produce inconsistent results. Always use abrasive media specifically designed for sandblasting.
How do I prevent my sandblasting media from clogging the gun?
Ensure your abrasive media is completely dry and free of clumps before loading it into your sandblasting tool. Store your media in a dry environment to prevent moisture absorption. If you notice clogging, try a coarser media or ensure your air supply is dry.
Is sandblasting safe to do indoors?
Sandblasting creates a lot of dust and debris, which can be harmful if inhaled. While a sandblasting cabinet contains much of the mess, it’s still best to do sandblasting in a well-ventilated area, preferably outdoors or in a workshop with excellent dust extraction. Always wear your safety gear regardless of location.
How can I improve the airflow if my sandblasting is weak?
Weak sandblasting can indicate insufficient airflow. First, check that your air compressor’s CFM meets the tool’s requirements and that it’s running at the correct pressure. Also, ensure your air hose is not too long or too narrow, as this can restrict airflow. Check for any kinks or leaks in the hose as well.