Large Air Compressor for Sprinkler Blowout: A Guide
Yes, you can absolutely use a large air compressor to blow out your sprinkler system for winter. It’s a common and effective method to prevent freeze damage. Just make sure the compressor is the right size and you use the correct pressure to avoid harming your pipes.
When preparing your sprinkler system for colder weather, removing all the water is essential. This process, often called winterizing, prevents water expansion from cracking pipes and sprinkler heads. Using an air compressor is a DIY-friendly way to achieve this, saving you potential repair costs later on.
- Compressor size matters for effective blow-out.
- Proper air pressure protects your system.
- Winterizing prevents costly freeze damage.
- It’s a DIY-friendly task when done correctly.
Ready to learn how to tackle this task yourself? Let’s walk through exactly how using a large air compressor to blow out your sprinkler system works, step by step.
Using a Large Air Compressor for Sprinkler Winterization
You’re probably wondering if your big air compressor can handle the job of winterizing your sprinkler system. The short answer is yes, it can often do a great job! Many homeowners find that a larger compressor offers the volume of air needed for a thorough blow-out. We’ll guide you through what you need to know to use it safely and effectively.
The main goal is to push all the water out of your pipes and sprinkler heads. Water left behind can freeze and expand, causing cracks. This can lead to costly repairs down the line. Using an air compressor is a popular DIY method that works well when done with the right equipment and settings.
Choosing the Right Air Compressor for the Job
Not all air compressors are created equal when it comes to blowing out sprinkler systems. Size and airflow are the key factors we look at. You need enough air volume to clear the lines efficiently without damaging them.
Understanding CFM and PSI
Two main specifications matter: CFM (Cubic Feet per Minute) and PSI (Pounds per Square Inch). CFM measures the volume of air your compressor can deliver. PSI measures the force of the air.
- CFM: For sprinkler systems, a higher CFM is generally better. It means you can move more air through the pipes quickly. We found that most residential sprinkler systems benefit from a compressor that can deliver at least 10-15 CFM at the required PSI. Larger or more complex systems might need even more.
- PSI: This is where you need to be careful. Your sprinkler system components are not designed for high pressure. We found that most experts recommend keeping the pressure between 30-50 PSI. Anything higher can potentially burst pipes or damage sprinkler heads.
What “Large” Means in This Context
When we talk about a “large” air compressor for this task, we’re typically referring to a unit with a tank size of 30 gallons or more. More importantly, its continuous output capability should meet the CFM requirements. A small pancake compressor might struggle to keep up. A larger unit with a bigger tank and a more powerful motor can sustain the airflow needed.
Preparing Your Sprinkler System for Air Blow-Out
Before you even think about turning on the compressor, some preparation is necessary. Skipping these steps can lead to problems. It’s like getting your car ready for a long trip; you check the basics first.
Shutting Off the Water Supply
This is the most critical first step. Locate your main water shut-off valve for the sprinkler system. It’s usually found where the water line enters your house or near the backflow preventer. Turn this valve off completely. You don’t want any water entering the system while you’re trying to push it out.
Opening the Drains (If Applicable)
Some sprinkler systems have automatic drain valves. These are designed to open when the water pressure drops, letting water drain out naturally. If your system has these, you don’t need to do anything extra for them. However, if you have manual drain valves, now is the time to open them up. This helps any residual water escape.
Disconnecting the Compressor Hose
You’ll need to connect your air compressor hose to the system. The best place to do this is usually at the main line where the water supply connects to your sprinkler manifold. You might need an adapter fitting for this. Make sure the connection is secure to prevent air leaks.
The Blow-Out Process: Step-by-Step Guide
Now comes the actual blowing out. This is where you combine your air compressor with the prepared sprinkler system. Take your time and go zone by zone for the best results. We’ve found this method to be very effective.
Connecting and Setting Up the Compressor
Attach your air hose securely to the point of connection you prepared. Before you turn on the compressor, set your regulator to the desired PSI. As mentioned, start low, around 30-40 PSI, and you can gradually increase if needed, but never exceed 50 PSI.
Operating Zone by Zone
Sprinkler systems are typically divided into zones. You’ll want to blow out each zone individually. Start with the zone closest to the water source. You’ll need to manually open the ball valve for that zone on your manifold. Then, turn on the air compressor.
As the air starts flowing, listen for the sound of water escaping. You’ll see and hear water being pushed out of the sprinkler heads in that zone. Keep the air running until you no longer hear water sputtering and only a steady stream of air is coming out. This indicates the zone is clear.
Troubleshooting Common Issues
What if you’re not hearing water, but you’re also not hearing clear air? You might have a blockage. Sometimes, a sprinkler head might be stuck. Try gently tapping it. If you still can’t get air through, it might be a more significant issue. For now, move to the next zone. You can revisit stubborn zones later or call a professional.
Repeating for All Zones
Once a zone is clear, close its ball valve. Move to the next zone and repeat the process. Continue this until you have blown out every section of your sprinkler system. It’s important to be thorough. We found that missing even one zone can leave that part vulnerable to freezing.
Final Steps and Disconnection
After all zones are cleared, turn off the air compressor. Safely disconnect the air hose. Close the ball valve for the last zone you worked on. Now, if you have any manual drain valves, make sure they are left open. This allows any small amounts of trapped moisture to escape as temperatures fluctuate.
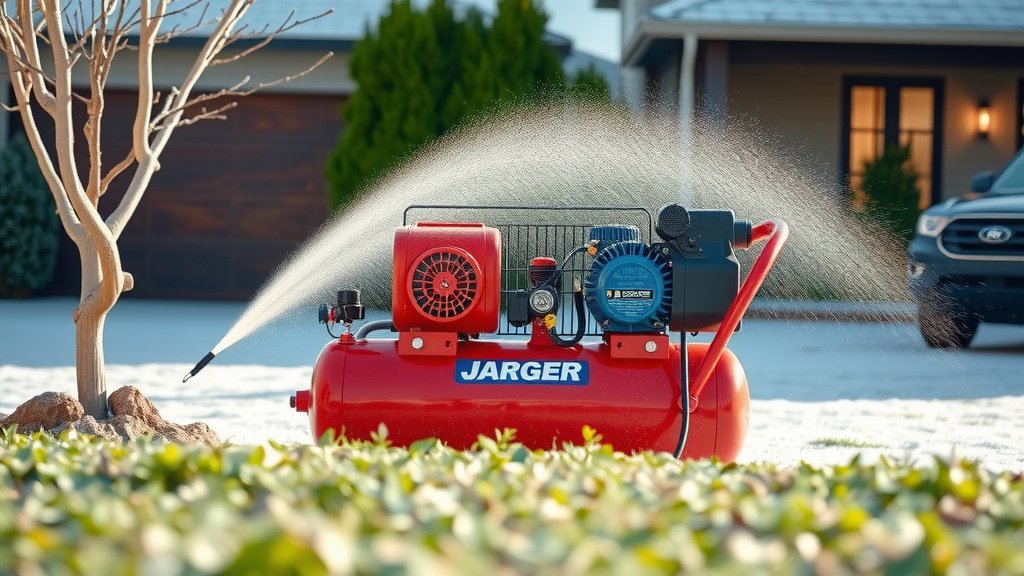
Safety First: Protecting Yourself and Your System
Working with air compressors and pressurized systems means safety is key. We want to ensure you get the job done without any injuries or damage to your equipment.
Wearing Safety Gear
Always wear safety glasses or goggles. Air can carry debris, and you don’t want anything flying into your eyes. Hearing protection is also a good idea, as compressors can be quite loud.
Checking for Leaks
During the process, keep an ear out for any air leaks. A leaky connection at the compressor or the sprinkler manifold can reduce the air pressure reaching the pipes. This makes the blow-out less effective. We found soapy water can help find small leaks; just spray it on connections and look for bubbles.
Knowing Your System’s Limits
As mentioned, pressure is the biggest concern. Your irrigation system isn’t built like a car tire. Over-pressurizing can cause significant damage. Always err on the side of caution with the PSI setting. If you’re unsure, consult your sprinkler system’s manual or a professional.
Many irrigation professionals suggest a pressure of no more than 50 PSI for blow-outs (Irrigation Association).
Checklist for a Successful Sprinkler Blow-Out
Here’s a quick rundown to ensure you haven’t missed anything:
- Ensure the main water supply to the sprinklers is OFF.
- Connect the air compressor to the correct point, usually the main line.
- Set the air compressor pressure regulator to 30-50 PSI.
- Blow out each zone individually until only air flows.
- Confirm all zones have been cleared of water.
- Disconnect the compressor and close the zone valves.
Conclusion
You’ve learned that using a large air compressor is a solid strategy for winterizing your sprinkler system effectively. Remember, the keys to success are selecting the right compressor for adequate CFM and maintaining the correct PSI range to protect your pipes. By following the steps for preparation, the zone-by-zone blow-out, and prioritizing safety, you can confidently prevent costly freeze damage. Take a deep breath, gather your equipment, and get your sprinklers ready for winter. Your future self will thank you for it!
Frequently Asked Questions
How do I know if my air compressor is “large enough” for my sprinkler system?
We found that “large enough” usually means your compressor can provide at least 10-15 CFM of continuous airflow. Tank size matters, but the sustained output is more critical. Check your compressor’s specifications for its CFM rating at the typical operating PSI.
Can I use the same air compressor I use for car tires?
Possibly, but you need to check its CFM rating. Many portable compressors good for tires have low CFM and might not be sufficient for a thorough sprinkler blow-out. You also need to ensure you can regulate the pressure down to the 30-50 PSI range recommended for sprinklers.
What happens if I use too much air pressure (PSI)?
Using too much PSI can be very damaging. We’ve seen research indicating that excessive pressure can crack or burst your sprinkler pipes, damage sprinkler heads, or even blow out fittings. It’s crucial to use a regulator and stay within the 30-50 PSI range.
How long does it typically take to blow out a sprinkler system with a large compressor?
The time varies based on your system’s size and complexity, but a large compressor often speeds things up. You can expect it to take anywhere from 30 minutes to a couple of hours for a typical residential system. Working zone by zone ensures thoroughness, which is more important than speed.
Can I just leave the compressor connected after blowing out the zones?
No, you should disconnect the compressor and close the zone valves. Leaving a connection open can allow moisture back in or create a weak point. Ensure all manual drain valves are left open to allow any residual moisture to escape as temperatures change.