Air Compressor PSI: What’s the Right Pressure
The right PSI for your air compressor depends on the tool you’re using. Most common air tools need between 70 and 90 PSI. Pneumatic tools have specific pressure requirements for safe and efficient operation. Always check your tool’s manual for exact PSI needs.
PSI, or pounds per square inch, measures the air pressure. Higher PSI doesn’t always mean better performance; it can actually damage your tools. Matching the PSI to your tool’s needs ensures proper functionality and prevents costly repairs. Think of it like giving your tools just the right amount of ‘push’.
- PSI is key for air tool performance.
- Most tools need 70-90 PSI.
- Always check your tool’s manual.
- Too much PSI can cause damage.
Now, let’s get into the details of how to find the perfect PSI for all your air compressor projects.
Setting the Right Air Pressure for Your Tools
So, you’ve got your air compressor, and you’re ready to tackle some projects. That’s fantastic! But before you hook up that nail gun or sander, we need to talk about pressure. Specifically, we’re talking about PSI, or pounds per square inch. It’s the ‘oomph’ your air tools get, and getting it just right is key to making them work properly and last a long time. We found that understanding this simple tank size is key to choosing between a 1-gallon vs 2-gallon air compressor.
Think of PSI like the perfect amount of water pressure for a garden hose. Too little, and your sprinkler barely makes a puddle. Too much, and you might blast the flowers right out of the ground! Air tools are similar. They have a sweet spot for pressure that allows them to perform their best without getting damaged. We found that most common air tools hum along happily between 70 and 90 PSI.
Understanding Your Air Compressor’s Gauge
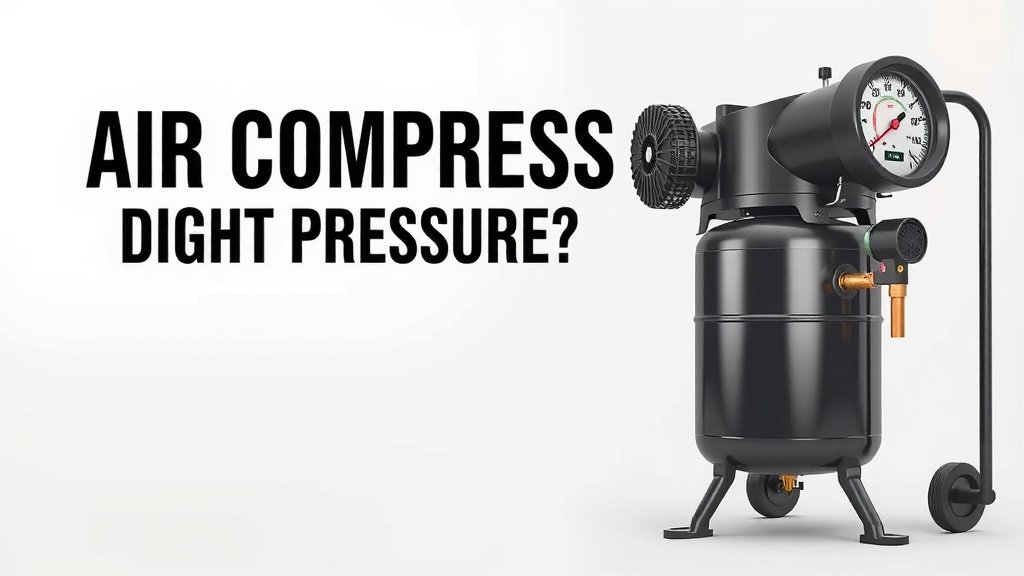
Your air compressor likely has a gauge that shows you the current pressure. This is your best friend when setting things up. You’ll usually see two gauges: one for the tank pressure (how much air is stored) and one for the regulated output pressure (what’s going to your tool). You’ll want to focus on the output gauge.
Adjusting this output pressure is typically done with a regulator knob. It’s a simple dial, but it has a big impact. Turning it one way increases the PSI, and turning it the other way decreases it. You’ll be using this knob to dial in the perfect pressure for whatever job you’re doing.
Why One Size Doesn’t Fit All
It’s tempting to think that more PSI is always better, right? More power! But that’s actually not the case for air tools. Each tool is designed to operate within a specific pressure range. Pushing too much air into a tool can cause parts to break, seals to blow out, or even the tool to malfunction mid-use.
We found that most standard air tools, like nail guns, impact wrenches, and staplers, are designed for that 70-90 PSI range. This is a good starting point for many DIY tasks. However, some specialized tools have different needs. That’s why checking the tool’s manual is super important.
The Importance of Tool-Specific Requirements
Let’s say you’re using a high-powered impact wrench for lug nuts on a car. It might need a solid 90 PSI to get the job done efficiently. But then you switch to a delicate brad nailer for trim work in your home. That brad nailer might only need 70 PSI to sink the nails perfectly without damaging the wood. See how different they are?
Many experts say that running a tool at a pressure lower than recommended will result in poor performance. The tool might struggle to complete its task. For example, a nail gun might not drive nails flush with the surface. It just won’t have enough “push” to do its job right.
Don’t Forget the Air Flow (CFM)
While PSI is critical, it’s not the only factor. You also need to consider CFM, or cubic feet per minute. This measures the *volume* of air your compressor can supply. Even if you have the perfect PSI, if your compressor can’t supply enough air volume, your tool will still struggle. We found that many tool manufacturers list both the required PSI and CFM. It’s wise to check both!
Finding the Sweet Spot for Common Air Tools
Let’s break down what some common tools typically need. This isn’t an exhaustive list, but it gives you a good general idea. Remember, always verify with your tool’s manual!
Nail Guns and Staplers
These are probably the most common air tools. For framing nailers, finish nailers, and staple guns, the sweet spot is usually between 80 and 100 PSI. Some smaller brad nailers might operate fine at slightly lower pressures, around 70-90 PSI.
Running a nail gun too low on PSI means nails might not drive all the way in, leaving them sticking out. Too high, and you risk denting your wood or even splitting it. We found that consistent pressure within the recommended range leads to much cleaner work.
Impact Wrenches
If you’re working on cars or doing heavy-duty assembly, you’ll likely use an impact wrench. These are power-hungry! Most impact wrenches need a robust 90 PSI. Some heavy-duty models might even push towards 100-120 PSI, but that’s less common for home use.
Under-powering an impact wrench means it won’t have the torque to loosen stubborn bolts. Over-pressurizing could damage the internal hammering mechanism. Many automotive guides suggest setting your regulator to 90 PSI for optimal impact wrench performance.
Air Sanders and Grinders
For smoothing surfaces or shaping metal, air sanders and grinders are fantastic. Orbital sanders generally operate in the 85-95 PSI range. Die grinders and angle grinders often need a bit more, sometimes up to 100 PSI, to maintain their speed effectively.
If your sander isn’t removing material quickly, it might be a PSI issue. Conversely, if a grinder seems to be overheating or vibrating excessively, the pressure might be too high. We found that maintaining the correct PSI helps extend the life of the abrasive materials too.
Paint Sprayers
Paint sprayers are a bit more finicky and depend heavily on the type of sprayer (HVLP, conventional, etc.). However, many consumer-grade spray guns operate around 40-70 PSI. High-Volume Low-Pressure (HVLP) sprayers specifically aim for lower pressures to reduce overspray.
For sprayers, not only the tool PSI but also the nozzle size and paint viscosity play a big role. Consulting the paint manufacturer’s recommendations is often as important as the tool’s manual. Too much pressure can lead to runs and drips, while too little results in a poor finish.
Air Ratchets
These little guys are great for tight spots. Air ratchets usually run on lower pressures, typically between 70 and 90 PSI. They don’t need a ton of power, just enough to turn nuts and bolts efficiently without requiring manual effort.
Using too much pressure on an air ratchet can cause it to overheat or wear out the internal gears faster. We found that for delicate tasks where you need precise control, staying within the recommended range is key.
A Quick Checklist for Setting Your PSI
Ready to dial it in? Here’s a quick rundown to make sure you’re setting your air compressor’s PSI correctly:
- Always check the tool’s manual first for its specific PSI requirements.
- Start with the lower end of the recommended PSI range if you’re unsure.
- Adjust the regulator knob slowly while observing the output gauge.
- Test the tool on a scrap piece if possible before starting your main project.
- Listen to the tool; it should sound smooth and powerful, not strained.
- If the tool isn’t performing, consider if both PSI and CFM are adequate.
| Air Tool Type | Recommended PSI Range |
|---|---|
| Nail Guns & Staplers | 70 – 100 PSI |
| Impact Wrenches | 90 – 120 PSI |
| Air Sanders & Grinders | 85 – 100 PSI |
| Paint Sprayers (Consumer) | 40 – 70 PSI |
| Air Ratchets | 70 – 90 PSI |
Conclusion
You’ve learned that matching your air compressor’s PSI to your tool’s needs is essential for peak performance and longevity. We’ve seen that while many common tools operate between 70-90 PSI, specialized equipment has unique requirements. Always consult your tool’s manual to avoid damage and ensure efficiency. Remember, the right pressure prevents strain on your tools and delivers better results for your projects.
Your next step is to grab your tool’s manual before your next project and adjust your compressor’s regulator accordingly. Happy building!
Frequently Asked Questions
What happens if I use too much PSI on an air tool?
Using too much PSI can cause immediate damage to your tool’s internal components, leading to leaks or complete failure. It can also result in poor performance or safety hazards during operation. We found that over-pressurizing is a common cause of premature tool wear.
Is it okay to use a higher PSI than recommended if the tool still works?
While your tool might seem to work initially, running it at a PSI higher than recommended is risky. It puts unnecessary stress on seals and moving parts, shortening the tool’s lifespan. We researched and found that consistent operation within the specified range is best.
Can I just use the tank pressure instead of the regulated output pressure?
No, you should never rely on the tank pressure for your tools. The tank pressure is often much higher than what your tools can handle. Always use the regulator to set and monitor the output pressure going to your tool.
What’s the difference between PSI and CFM, and why do both matter?
PSI measures the force of the air, while CFM measures the volume or flow rate of the air. Your tool needs both adequate force (PSI) and sufficient volume (CFM) to operate correctly. If your compressor has high PSI but low CFM, your tool might still perform poorly.
How do I know if my air compressor’s PSI is set correctly for a new tool?
The best way is to check the tool’s user manual for the exact PSI recommendation. If you don’t have the manual, start at the lower end of the typical range for that tool type (e.g., 70 PSI for a brad nailer) and test its performance. Listen to the tool; it should sound powerful but not strained.