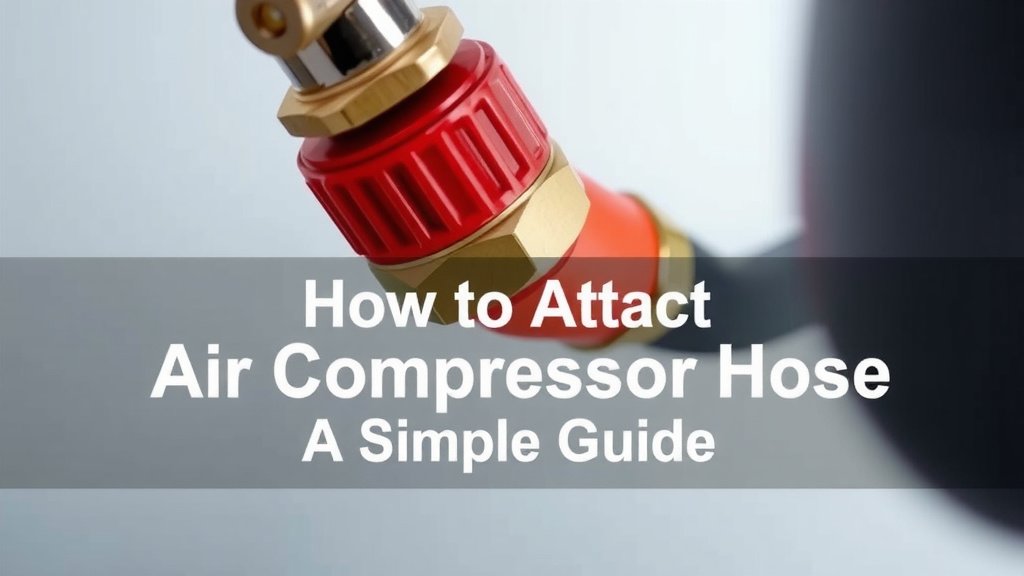
How to Attach Air Compressor Hose: A Simple Guide
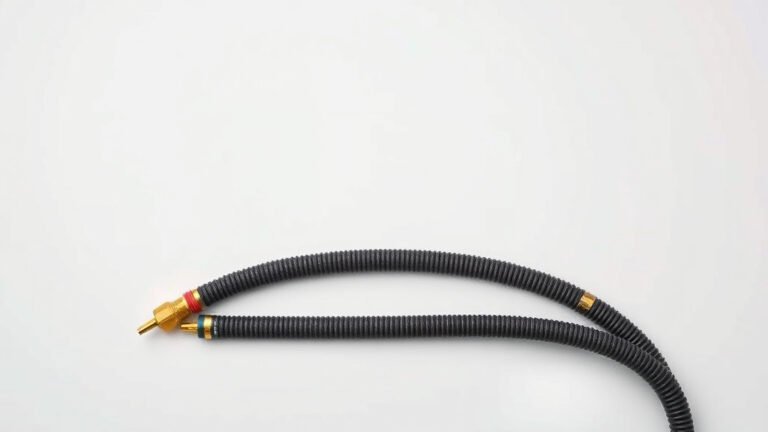
Attaching an air compressor hose is usually a simple process, often involving just a few quick twists or clicks. You’ll typically connect the hose to your compressor’s outlet fitting and then to your tool’s inlet. Most common connections use a quick-connect coupler, making it speedy and secure.
Getting this connection right ensures your compressor can effectively send air to your tools for any job, big or small. It’s a foundational step for many DIY projects and professional tasks. We found that understanding the different types of fittings can prevent frustration and ensure a good, airtight seal.
- Connect hose to compressor outlet.
- Connect hose to tool inlet.
- Look for quick-connect fittings.
- Ensure a secure, airtight connection.
Let’s walk through exactly how to attach your air compressor hose step by step so you can get to work with confidence.
Connecting Your Air Compressor Hose Like a Pro
Attaching your air compressor hose might seem straightforward, but getting it right ensures you get the most power and a leak-free experience. You want to make sure that air travels where it needs to go without any precious PSI escaping. We’ve found that a few simple steps make all the difference for a secure connection every time.
Understanding Your Air Hose Fittings: The First Step
Before you can connect anything, it’s helpful to know what you’re working with. Air hoses typically come with two main ends, and they need to match up correctly. One end connects to the compressor, and the other connects to your tool. Most modern setups use what’s called a quick-connect coupler. You’ve probably seen them – they’re the ones that click into place.
The Compressor End: Where the Air Begins
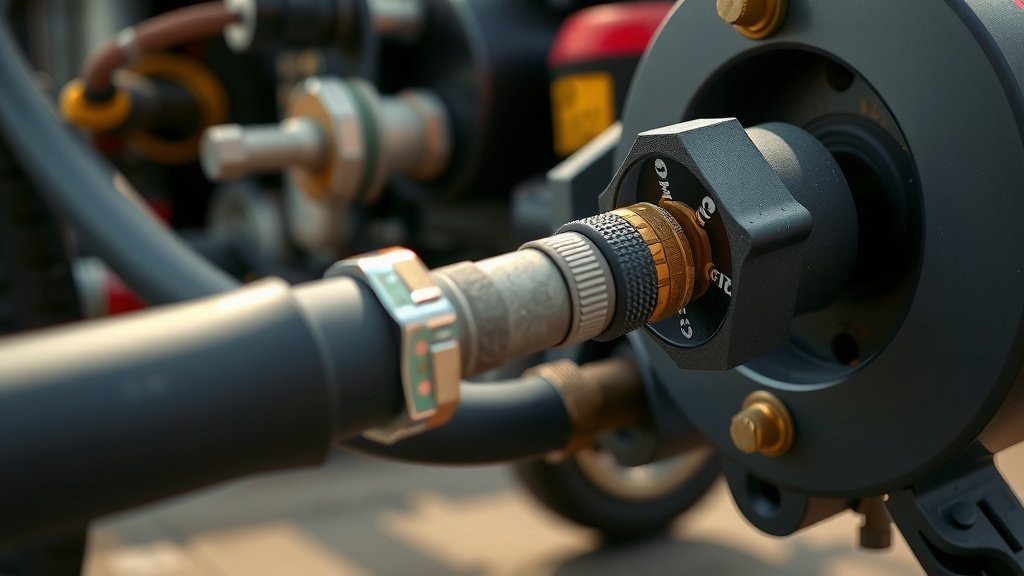
On the compressor side, you’ll usually find an outlet port. This port is where the compressed air exits the tank. It often has a threaded fitting. Your air hose will have a corresponding fitting designed to screw onto this or to connect via a coupler. It’s important that this connection is snug. A loose fitting here can lead to a constant hiss of escaping air, robbing your tools of the power they need.
The Tool End: Delivering the Power
The other end of your air hose connects to your air-powered tool – be it a nail gun, sander, or paint sprayer. Most tools have an inlet port that’s designed to accept a quick-connect plug. This is where the magic of the quick-connect system really shines. You simply push the plug into the coupler, and it locks securely.
The Quick-Connect Coupler: Your Best Friend for Easy Connections
Many air compressor hoses use a quick-connect system, and for good reason. It’s fast, it’s easy, and it provides a reliable seal. We found that understanding how these work is key to a hassle-free connection. These systems usually involve a female coupler on one end (often on the hose or compressor) and a male plug on the other (often on the tool or hose).
How to Use a Quick-Connect Coupler
Using a quick-connect is pretty intuitive once you see it in action. Typically, you’ll need to pull back on a sleeve or collar on the coupler. This action retracts the locking mechanism inside. While holding the sleeve back, you then insert the male plug of the hose or tool. Once the plug is fully seated, you simply release the sleeve. You should hear a satisfying ‘click’ as it locks into place. Many experts say this click is the sign of a secure and airtight connection.
Checking for a Good Seal
After you’ve made the connection, especially with a quick-connect, it’s always a good idea to give it a gentle tug. You don’t want it to pull apart easily. More importantly, listen for any hissing sounds. Even a small leak can waste a lot of air and reduce your tool’s performance. If you hear a hiss, try disconnecting and reconnecting, ensuring the plug is fully seated and the coupler sleeve is properly engaged. Sometimes, debris can get lodged in the coupler, preventing a proper seal. A quick blast of air can clear that out.
Step-by-Step: Attaching Your Air Hose
Let’s break down the actual process of getting your hose hooked up. We’ve found following these steps ensures you’re ready to go without any leaks.
Step 1: Ensure Compressor is Off and Depressurized
This is a critical safety step. Before you attach or detach any hoses, make sure your air compressor is turned off. Even better, bleed off any stored air pressure from the tank. You can usually do this by opening a valve or running your tool briefly until the pressure gauge reads zero. Many safety guidelines recommend this as the first step in any air connection task.
Step 2: Connect the Hose to the Compressor
Identify the outlet port on your air compressor. This is where the compressed air comes from. If your hose has a fitting that needs to screw directly onto the compressor’s port, do so now. Make sure it’s snug but don’t overtighten. If you’re using a quick-connect system at the compressor, pull back the coupler’s sleeve, insert the hose’s male plug, and release the sleeve. You should feel it lock.
Step 3: Connect the Hose to Your Air Tool
Now, take the other end of your air hose. This end will typically have the part that connects to your tool. Most often, this is a male quick-connect plug. Locate the inlet port on your air tool. Pull back the sleeve on the coupler attached to your air tool (or on the hose, depending on your setup). Insert the male plug from the hose into the coupler. Release the sleeve. You’re listening for that satisfying click and checking for any immediate leaks.
Step 4: Check for Leaks and Pressure
With both ends connected, it’s time for a final check. Turn on your air compressor and let it build pressure. While it’s filling, listen very carefully for any escaping air around both connection points. If you hear any hissing, turn off the compressor and disconnect the hose. Inspect both the coupler and the plug for any visible damage or debris. Reattach, and if the leak persists, you might need to replace a faulty fitting. Many users find that a quick spray of soapy water can help pinpoint tiny leaks – the bubbles will show you exactly where the air is escaping.
When Quick-Connects Aren’t Enough: Other Fittings
While quick-connects are the most common, you might encounter other types of fittings. It’s good to be aware of them. Sometimes, industrial applications or older equipment might use different systems.
Threaded Fittings
Some setups rely purely on threaded connections. These require screwing one fitting into another. You’ll often find Teflon tape (pipe thread tape) used on the threads to create a better seal. You simply wrap the tape around the male threads a few times in a clockwise direction before screwing the two parts together. Hand-tight is usually sufficient, followed by a small turn with a wrench if needed. Too much force can damage the threads or fittings.
Industrial Interchange Couplers
There are various “industrial interchange” standards. While they might look similar to standard quick-connects, they often aren’t compatible. Using the wrong type can lead to leaks or the coupler not locking at all. We found that sticking to the same brand or type of fitting for both the hose and the tool generally ensures better compatibility.
A Quick Checklist for Secure Hose Connections
To make sure you’ve got your air hose connected properly, run through this quick checklist:
- Is the compressor turned off and depressurized?
- Are the fittings on the hose and tool/compressor clean and free of debris?
- Did you pull back the coupler sleeve fully before inserting the plug?
- Did you hear a distinct ‘click’ when the quick-connect locked?
- Have you performed a visual and auditory check for any air leaks?
- Does the connection feel secure when you give it a gentle tug?
Conclusion
You’ve now learned the essential steps to confidently attach your air compressor hose. Remember, a secure connection is key to maximizing your tool’s performance and preventing wasted air. By ensuring your compressor is depressurized, properly mating the fittings, and always checking for leaks, you’re setting yourself up for successful projects. Take a moment to double-check your connections before you power up. It’s a small habit that makes a big difference. Now, go get that project done!
Frequently Asked Questions
How do I know if my air hose fitting is compatible with my compressor?
Most modern setups use standard 1/4-inch or 3/8-inch fittings. Look for matching sizes and types, like quick-connect couplers. If you’re unsure, bringing your hose to the hardware store or checking your compressor’s manual can help identify the correct fittings. Most modern setups use standard 1/4-inch or 3/8-inch fittings; our guide explains which size is right for you.
What should I do if my quick-connect coupler won’t lock?
First, ensure the compressor is depressurized. Then, check the coupler and plug for any dirt or debris that might be obstructing the mechanism. Sometimes, pulling back the sleeve on the coupler more firmly or wiggling the plug slightly can help it seat properly.
Can I use Teflon tape on my air compressor hose fittings?
Teflon tape is generally only recommended for threaded fittings, not for quick-connect couplers, as it can interfere with their sealing mechanism. For threaded connections, wrap the tape clockwise around the male threads before screwing them together to ensure a good seal.
How tight should I make the hose connection to the compressor?
For threaded connections, make them snug by hand and then give them a small turn with a wrench if needed, but avoid overtightening. Quick-connect fittings are designed to lock securely without excessive force; listen for the ‘click’ to know it’s engaged.
Is it okay to leave the air hose connected to the compressor when not in use?
It’s best practice to disconnect the air hose when you’re finished using the compressor. This prevents accidental activation, keeps dirt and debris out of the fittings, and reduces wear and tear on the coupler and plug mechanisms.