How to Blow Out Sprinkler System with Air Compressor
Blowing out your sprinkler system with an air compressor is a key winterizing step to prevent costly freeze damage. You can successfully blow out your sprinkler system yourself. It’s an important task to protect your pipes from cracking. Doing this before the first hard freeze is essential.
When water freezes inside your sprinkler lines, it expands. This expansion can put immense pressure on your pipes and sprinkler heads. We found that using an air compressor is the most effective method. It pushes all the remaining water out, leaving your system ready for winter.
- Prevent freeze damage to your sprinkler system.
- Use an air compressor to push water from pipes.
- Timing is crucial – do it before the first freeze.
- Protect your investment and avoid costly repairs.
Let’s walk through exactly how to blow out your sprinkler system with an air compressor step by step. We’ll cover what you need and the best way to get it done safely.
Safely Blowing Out Your Sprinkler System with an Air Compressor
Blowing out your sprinkler system is a critical winterizing task. It prevents water from freezing and damaging your pipes. Using an air compressor is an effective method many homeowners choose. You can do this yourself with a little preparation and the right tools. We found that following a clear process ensures the best results. This guide will help you protect your irrigation system from the cold.
Gathering Your Sprinkler Blow-Out Supplies
Before you start, make sure you have everything you need. Having your tools ready saves time and prevents frustration. We found that a checklist helps ensure you don’t miss anything important.
Essential Equipment You’ll Need
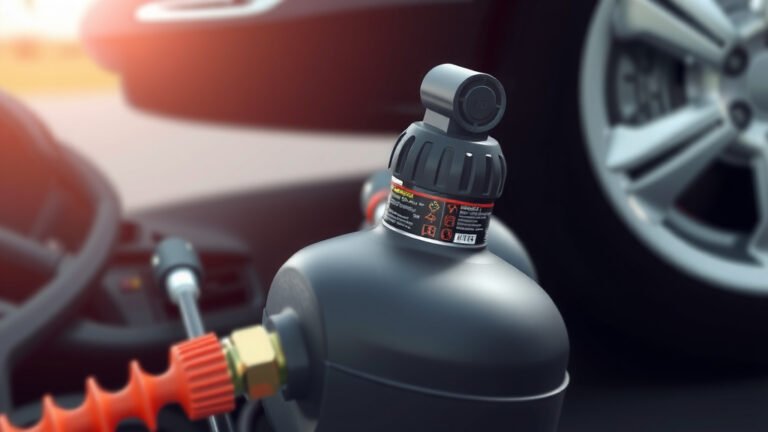
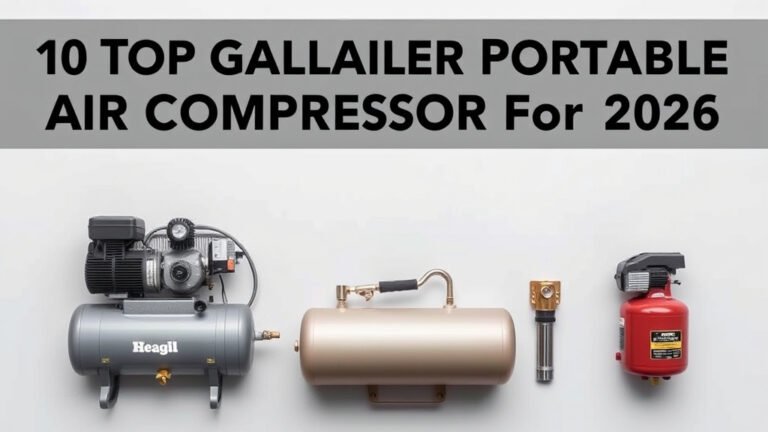
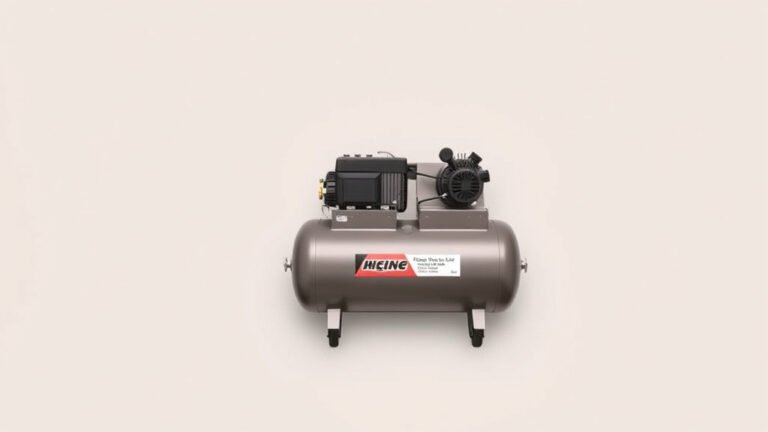
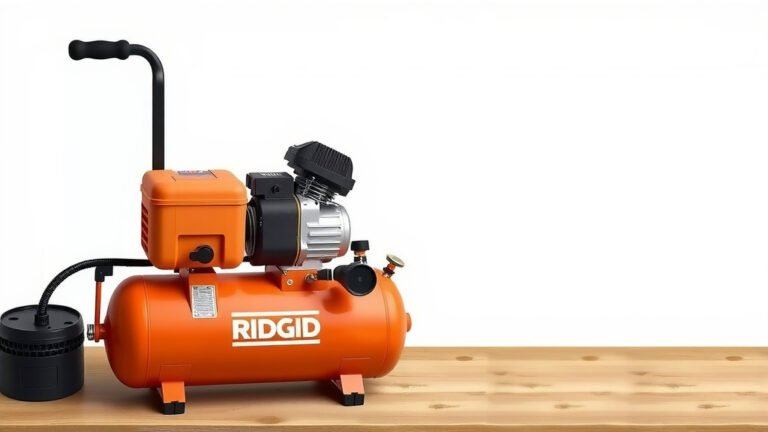
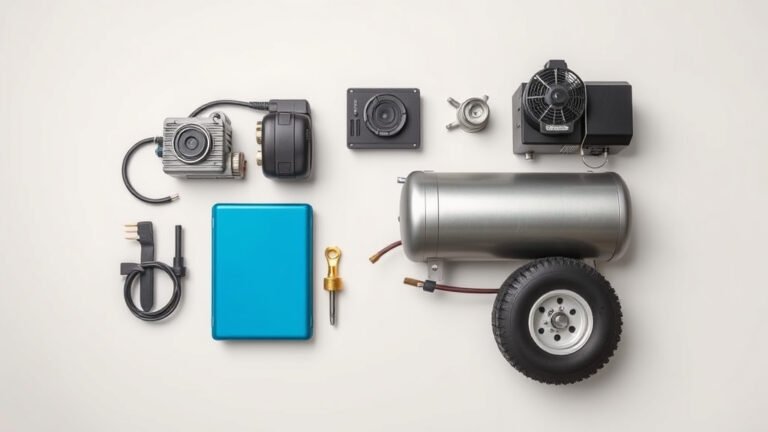
You’ll need a few key items to get the job done. First, an air compressor is the star of the show. It needs to be powerful enough to push water out. A portable one works well for most residential systems. You’ll also need an air compressor blow-out adapter. This fitting connects your compressor hose to your sprinkler system’s blow-out port. Many hardware stores carry these. Sometimes, they are specific to your sprinkler system brand.
You will also need a sturdy air hose. Ensure it’s long enough to reach from your compressor to the blow-out port. Safety glasses are a must. Compressed air can be powerful, and you want to protect your eyes. Work gloves are also a good idea to protect your hands.
Understanding Your Sprinkler System’s Blow-Out Port
Your sprinkler system should have a dedicated blow-out port. This is usually located near the main water shut-off for the sprinkler system. It might be a threaded valve or a connection point. If you’re unsure where it is, consult your sprinkler system’s manual. Many homeowners find this location in their basement, garage, or near the outdoor faucet where the system connects. Identifying this port is a key step before you begin.
Preparing Your Sprinkler System for Air
Proper preparation is vital for a successful blow-out. This involves turning off the water supply and opening specific zones. We found that turning off the main water supply first is the safest approach.
Turning Off the Water Supply
Locate the main water valve that supplies your sprinkler system. This is often separate from your home’s main water line. Turn this valve off completely. This prevents water from entering the system while you’re blowing it out. It’s like closing the gate before you start cleaning the yard. Make sure it’s fully shut off to avoid any water pressure issues.
Opening Sprinkler Zones
After shutting off the main water, you’ll need to open your sprinkler system’s control valves. These are typically managed by your sprinkler system’s controller. You can manually turn on a zone using the controller or by opening the specific valve for each zone. We found that opening one zone at a time is the most effective method. This allows you to focus the air pressure on each section of your system.
For each zone, open the corresponding valve. You can usually do this by turning the controller to “Manual Zone Run.” Then, select the zone you want to work on. If you have an older system, you might have manual shut-off valves that you need to turn. Always ensure the main water supply is OFF before proceeding.
The Air Compressor Blow-Out Process
Now comes the main event: connecting the air compressor and blowing out the water. Remember to work methodically and safely. We found that keeping the air pressure at the right level is crucial for preventing damage.
Connecting the Air Compressor
Attach the air compressor blow-out adapter to your air hose. Then, connect the other end of the hose to your sprinkler system’s blow-out port. Ensure the connection is secure and airtight. If there are leaks, the air won’t be as effective at pushing out the water. You might need to use Teflon tape on threaded connections for a better seal. Double-check that your air compressor is set to the correct pressure. Many experts recommend keeping the pressure between 30-50 PSI for residential systems. Higher pressure can damage your pipes and sprinkler heads. We found that starting with a lower PSI and gradually increasing if needed is a good strategy.
Blowing Out Each Zone
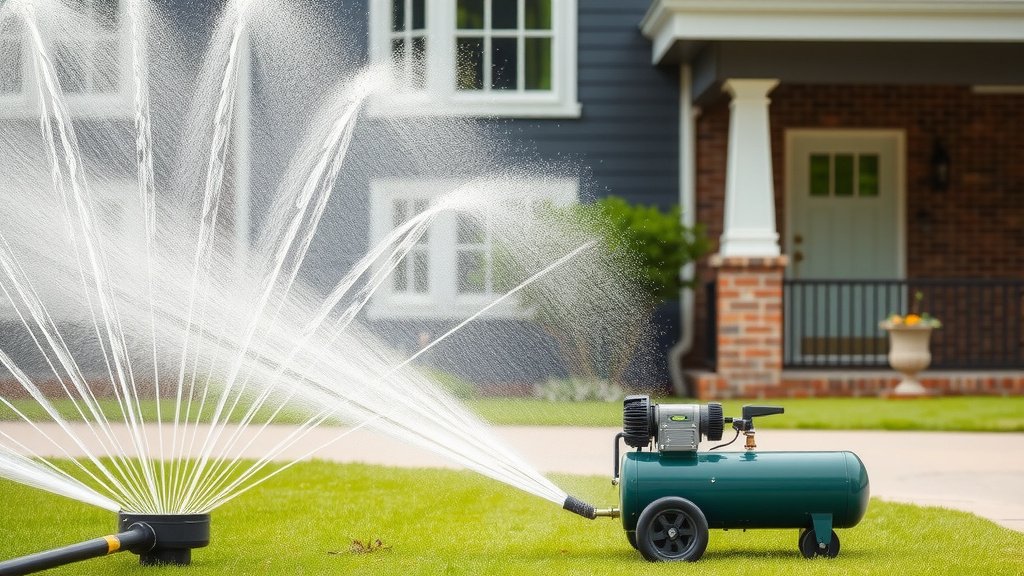
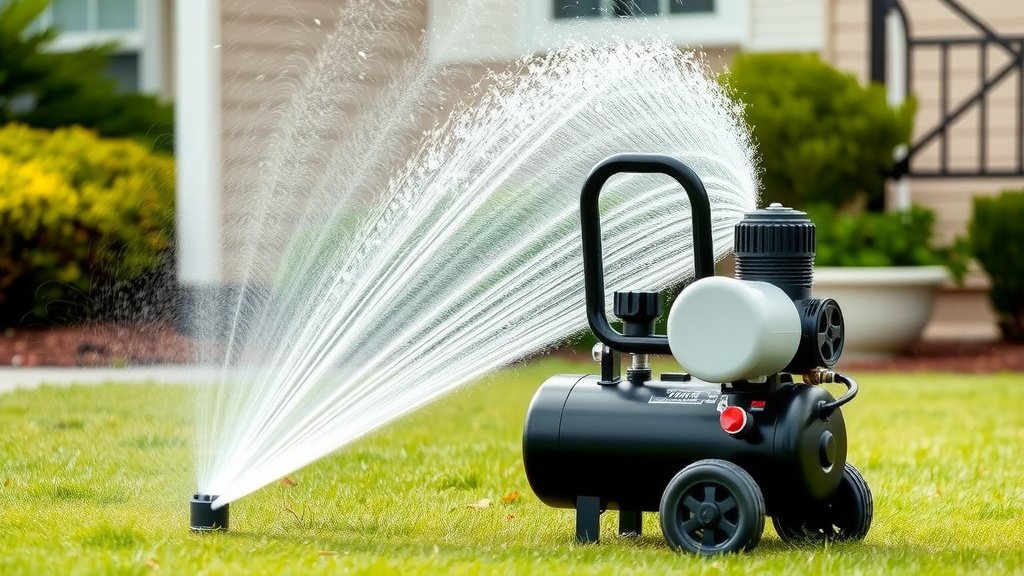
Once everything is connected and secure, turn on your air compressor. Let it build up pressure. Slowly open the valve for the first zone you prepared. You should see water begin to spray out of the sprinkler heads in that zone. Let the air run until you no longer see water coming out, only air. This indicates the zone is clear.
Turn off the air compressor. Close the valve for that zone. Then, move to the next zone. Repeat the process: connect the air, turn on the compressor, open the valve, let the air run until clear, turn off the compressor, and close the valve. It’s like doing a thorough cleaning, one room at a time. Many homeowners find this step takes the most time, but it’s essential for winter protection.
Checking for Remaining Water
After you’ve blown out all the zones, it’s a good idea to do a final check. Go to your sprinkler heads. You want to ensure there’s no standing water visible. Sometimes, a small amount of water can remain in low spots. If you see significant water, you might need to repeat the blow-out process for that specific zone. We found that a quick visual inspection of the heads can give you peace of mind.
Tips for a Smooth Sprinkler Blow-Out Experience
Here are a few extra tips we’ve gathered to make the process easier and more effective. Thinking ahead can save you headaches later.
Consider the Weather
Ideally, you want to blow out your sprinkler system on a dry, mild day. Avoid doing this when it’s freezing or about to freeze. If the ground is frozen, it can make accessing parts of your system difficult. A warmer day ensures any residual moisture dries faster.
Know Your System’s Limits
Different sprinkler systems have different requirements. Some newer systems might have built-in winterization features. Older systems might require more manual effort. We found that understanding your specific system can help tailor the process. If you’re unsure, consulting a professional is always an option.
Regular Maintenance Pays Off
Just like any mechanical system, your sprinkler system benefits from regular checks. This includes checking for leaks, ensuring proper coverage, and performing maintenance tasks like blow-outs. Many irrigation experts suggest that consistent care extends the life of your system.
| Task | Completed |
|---|---|
| Gather all necessary tools and supplies. | |
| Locate and shut off the main water supply valve. | |
| Open individual sprinkler zones via the controller. | |
| Connect the air compressor blow-out adapter securely. | |
| Set compressor to the correct PSI (30-50 PSI recommended). | |
| Blow out each zone until only air is expelled. | |
| Visually inspect heads for any remaining water. |
Conclusion
You’ve now learned the essential steps to safely blow out your sprinkler system using an air compressor. Remember, this proactive maintenance is your best defense against costly winter freeze damage. By following this guide, you’ve protected your investment and ensured your system is ready for the spring thaw. Don’t wait for the first frost; take action now to give yourself peace of mind throughout the colder months. Your future self will thank you for it.
Frequently Asked Questions What is the right air pressure to use when blowing out sprinklers?
We found that for most residential sprinkler systems, maintaining an air pressure between 30-50 PSI is recommended. Using higher pressure can cause damage to your pipes and sprinkler heads. It’s always better to start with a lower setting and adjust as needed.
How long should I run the air compressor for each zone?
You should run the air compressor for each zone until you no longer see any water being expelled from the sprinkler heads, only clear air. This process typically takes a few minutes per zone. Continuing to blow air after the water is gone ensures the lines are thoroughly dried.
What if I can’t find the blow-out port on my sprinkler system?
If you’re having trouble locating your sprinkler system’s blow-out port, we suggest checking your system’s manual. It’s usually found near the main water shut-off valve for the irrigation system, often in a basement, garage, or utility area. If you’re still unable to find it, consider consulting a professional.
Can I use a shop vac or leaf blower instead of an air compressor?
While some people try alternative methods, we’ve found that an air compressor is the most effective tool for blowing out sprinkler systems. Shop vacs and leaf blowers generally don’t provide the consistent, controlled pressure needed to push all the water out properly. This can leave water behind and still lead to freeze damage.
How do I know if I missed a spot or didn’t get all the water out?
After blowing out all zones, we recommend doing a visual inspection of your sprinkler heads. Look for any signs of standing water. If you suspect water remains, especially in low-lying areas, it’s best to repeat the blow-out process for the affected zone to be absolutely sure.