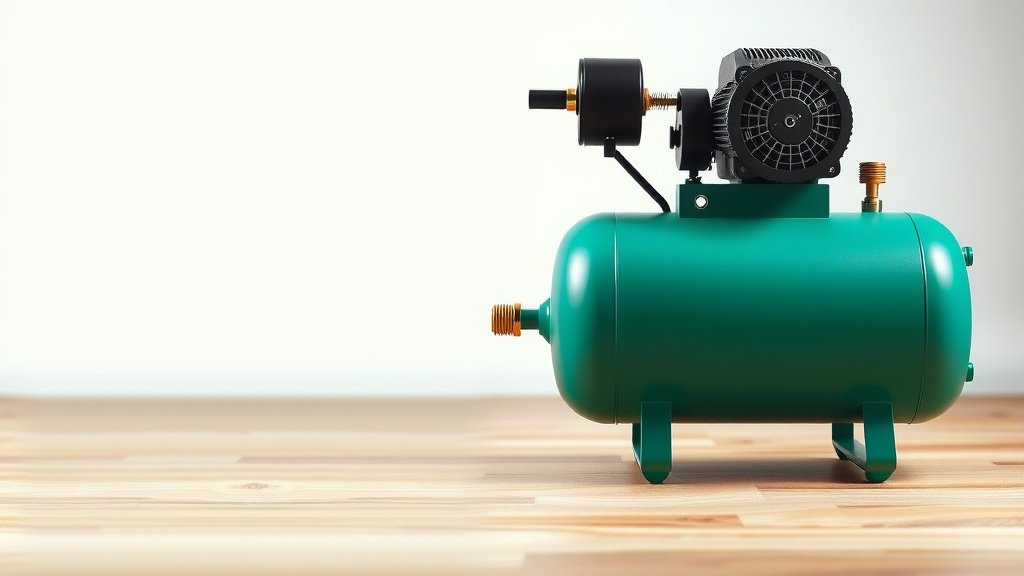
How to Break In Your New Air Compressor Easily
Breaking in a new air compressor is actually pretty simple. You’ll want to run it for about 15-30 minutes with no load to properly lubricate the cylinder and piston. This helps ensure your new air compressor performs at its best and lasts longer. It’s a quick step that makes a big difference.
Think of it like giving your new tool a gentle warm-up. This initial run-in period is essential for several reasons. It allows the internal components to seat properly and can prevent early wear and tear. Many manufacturers recommend this process to ensure optimal function from day one.
- Run the compressor for 15-30 minutes without attaching any tools.
- Ensure the tank is empty or nearly empty before starting.
- Monitor the compressor’s temperature and pressure.
- Check the oil level if your model requires it.
Ready to get your new air compressor ready for action? Let’s walk through the simple steps to break it in properly and ensure it serves you well for years to come.
Getting Your New Air Compressor Ready to Work
So, you’ve got a shiny new air compressor! That’s exciting. Before you hook up your nail gun or spray paint, there’s one simple but important step: breaking it in. Think of it like warming up your muscles before a workout. This initial run helps your compressor’s internal parts get used to each other and can prevent future problems. We’ll walk you through exactly what you need to do.
Why Breaking In Your Air Compressor Matters
You might be wondering why you can’t just plug it in and go. It’s all about longevity and performance. When an air compressor is brand new, the metal parts inside, like the piston rings and cylinder walls, are super smooth. Running it without a load allows these parts to gently rub against each other.
The Seating Process Explained
This rubbing action, called “seating,” helps them conform to each other perfectly. It creates a tighter seal. This means your compressor will be more efficient at building pressure. It also helps spread the initial lubricant around. This initial lubrication is vital for reducing friction from the start.
Preventing Early Wear and Tear
Skipping this step can lead to faster wear. Without proper seating, those metal parts might not seal as well. This can cause the compressor to work harder than it needs to. It can also lead to excessive heat buildup. Many manufacturers strongly recommend this break-in period to ensure their products perform as intended for many years. This guidance is backed by engineering principles aimed at reducing stress on new components.
Preparing for the Break-In Run
Before you even think about starting the compressor, let’s make sure you’re set up correctly. A few quick checks will ensure the process goes smoothly. You don’t want any surprises.
Choosing the Right Location
Find a well-ventilated area for your compressor. It will be running for a bit, and it needs plenty of fresh air. Avoid enclosed spaces like small sheds unless they have good airflow. You don’t want it to overheat.
Checking the Oil Level (If Applicable)
Many air compressors, especially larger ones, require oil. If yours does, now is the time to check the oil level. Consult your owner’s manual for the correct type of oil and the proper fill level. Low oil can cause serious damage, even during a break-in run. You’ll likely find a dipstick or a sight glass to help you check. Ensure it’s between the ‘add’ and ‘full’ marks.
Ensuring the Tank is Empty
For the break-in process, you want the compressor to run without having to build pressure in the tank. This means the tank should be empty or nearly empty before you start. You can release any existing pressure by opening the drain valve at the bottom of the tank. Let all the air out.
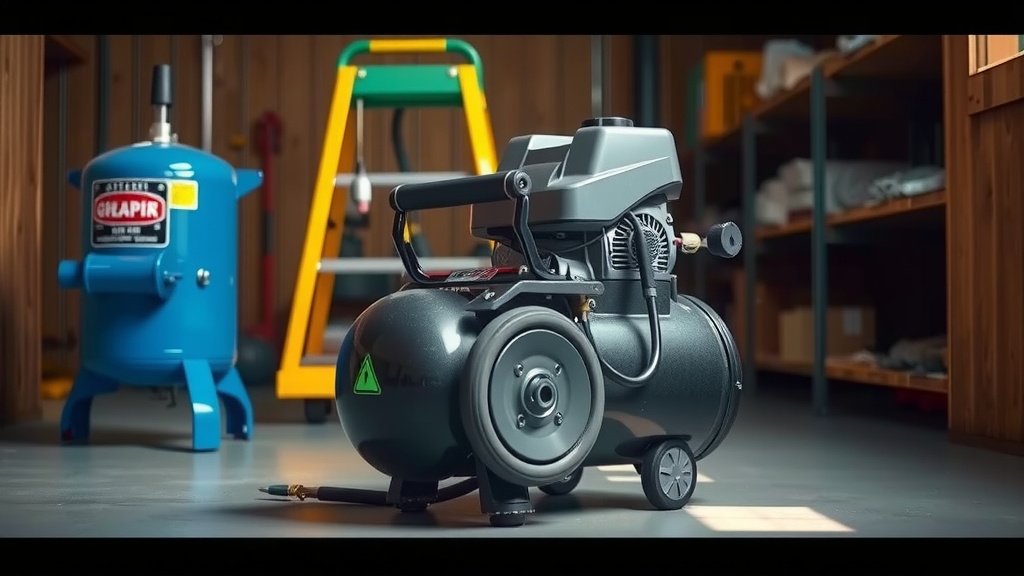
Performing the Break-In Procedure
Now for the main event! This is where you’ll actually run the compressor. It’s designed to be straightforward. Follow these steps closely for the best results.
Step 1: Connect Power and Start the Motor
Plug in your air compressor. Make sure the power switch is in the ‘off’ position first. Once plugged in, flip the switch to ‘on’. The motor should start up. If you have a switch for ‘auto’ or ‘manual’, set it to ‘manual’ or ensure it won’t automatically start building pressure yet. We just want the motor to run.
Step 2: Run Without Load
This is the most critical part. You absolutely do not want to connect any air tools or hoses to the compressor during this break-in period. The goal is to let the motor and pump run freely. This allows the internal components to lubricate and seat properly. Running it with a load too soon can prevent effective seating and increase wear.
Step 3: Let it Run for 15-30 Minutes
The general recommendation is to let the compressor run for about 15 to 30 minutes. This duration is usually enough time for the new parts to warm up and begin to seat. Don’t set a timer and walk away completely, though. Keep an ear out for any unusual noises. Also, keep an eye on the temperature. It should feel warm, but not excessively hot to the touch.
Step 4: Monitor Key Indicators
While it’s running, pay attention to a few things. Listen for any strange clanking or grinding sounds. These could indicate a problem. Watch the pressure gauge; it should remain at zero or very low since the tank is empty. Also, feel the body of the compressor; it will get warm as the motor and pump work. This is normal.
Post-Break-In Checks and Next Steps
Once the break-in period is complete, there are a few more things to do. These ensure everything is good to go for regular use.
Shutting Down Safely
Turn the compressor off using the power switch. Then, unplug it from the electrical outlet. This is just a good safety practice with any power tool.
Checking Oil Again (If Applicable)
If your compressor uses oil, it’s a good idea to check the oil level one more time after it has cooled down a bit. Some oil might have been consumed during the initial run. Top it off if necessary, following your manual’s instructions.
Performing the First Pressure Build
Now you can prepare for the compressor’s first real job: building pressure. Close the tank drain valve if you opened it. Set your pressure switch (if it has one) to the desired cut-in and cut-out points, or prepare to manually start and stop it. Let the compressor build pressure in the tank. Listen as it builds. Once it reaches its cutoff point, let it sit for a few minutes to ensure it holds pressure.
Your Air Compressor is Ready!
Congratulations! You’ve successfully broken in your new air compressor. It’s now ready for all your projects. This simple procedure helps ensure your tool will provide reliable service for a long time. Remember to always refer to your specific model’s owner’s manual for any unique instructions.
Break-In Checklist:
- Ensure good ventilation.
- Check and fill oil if needed.
- Verify tank is empty.
- Run motor for 15-30 minutes without load.
- Listen for unusual noises.
- Check oil again after run-in.
Conclusion
You’ve done it! Breaking in your new air compressor is a simple but essential step. By running it without load for 15-30 minutes, you’ve helped its internal parts seat properly and ensure good lubrication. This process prevents premature wear and sets your compressor up for long-term performance and efficiency. Now that your compressor is properly broken in, you can confidently move on to its first pressure build and tackle your projects. Remember to always keep your owner’s manual handy for specific care instructions. Happy compressing!
Frequently Asked Questions
How long should I run my air compressor for the break-in period?
Most manufacturers recommend running your new air compressor for about 15 to 30 minutes. This duration is typically enough for the internal components to warm up and begin the seating process correctly. Don’t run it for much longer than this initial period, as it’s not necessary.
Can I connect tools during the break-in run?
No, you should absolutely not connect any air tools or hoses during the break-in period. The goal is to let the motor and pump run freely without building pressure. Running it with a load too soon can prevent proper seating and lead to increased wear on new parts.
What if my air compressor doesn’t have oil?
Some air compressors are designed to be oil-free. If your model is oil-free, you can skip the steps related to checking and filling the oil. You’ll still need to perform the 15-30 minute run-in period without a load to allow the pump to seat its components properly.
Is it okay if the compressor gets warm during break-in?
Yes, it’s perfectly normal for your air compressor to get warm to the touch during the break-in run. This is because the motor and pump are working. However, it should not feel excessively hot. If it feels too hot to comfortably touch, shut it down and check your setup or consult the manual.
What should I do if I hear strange noises during break-in?
If you hear unusual noises like grinding, knocking, or excessive rattling during the break-in period, it’s a sign something might be wrong. Turn the compressor off immediately and consult your owner’s manual. You may need to check for loose parts or contact the manufacturer for support.