How to Blowout Sprinkler System With Air Compressor
Yes, you can blow out your sprinkler system with an air compressor to winterize it and prevent damage from freezing. This method uses compressed air to push water out of the pipes and sprinkler heads, safeguarding your system from costly repairs. It’s an effective way to protect your irrigation investment before the cold weather hits.
When done correctly, blowing out your sprinklers is a DIY-friendly task that can save you money on professional winterization services. We found that most residential systems can be cleared in under an hour with the right equipment and a little guidance. Proper preparation ensures all water is removed, preventing cracks and breaks caused by ice expansion during freezing temperatures. This is a key step for year-round system health.
- Gather necessary tools: air compressor, hose, fittings.
- Locate your system’s main shut-off valve.
- Connect compressor and slowly introduce air.
- Open zone valves one by one to clear lines.
- Ensure all water is expelled from pipes.
Let’s walk through exactly how to safely blow out your sprinkler system with an air compressor step by step, ensuring it’s ready for winter.
Clearing Your Sprinkler System with Air: A Step-by-Step Guide
You can absolutely safely blow out your sprinkler system with an air compressor to prevent winter damage. This essential maintenance task pushes water out of the pipes. We found that doing this yourself can save you money. It protects your system from freezing and bursting pipes. Let’s get your sprinklers ready for the cold months.
Essential Tools and What to Look For
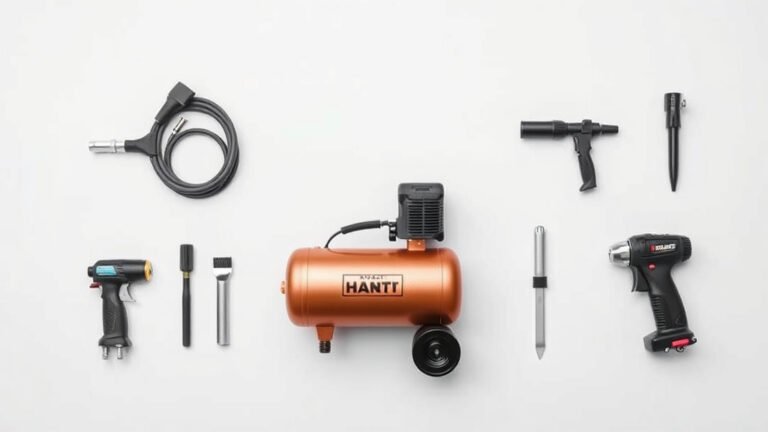
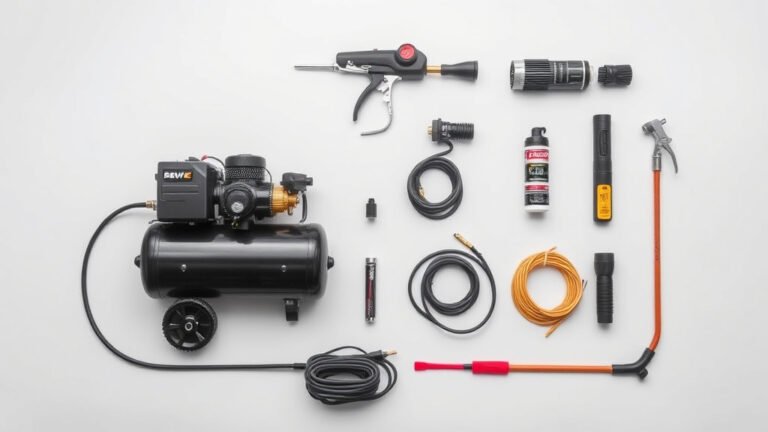
Before you start, gather everything you need. Having the right equipment makes the job much easier and safer. Many experts recommend having these items on hand:
The Air Compressor: Size Matters
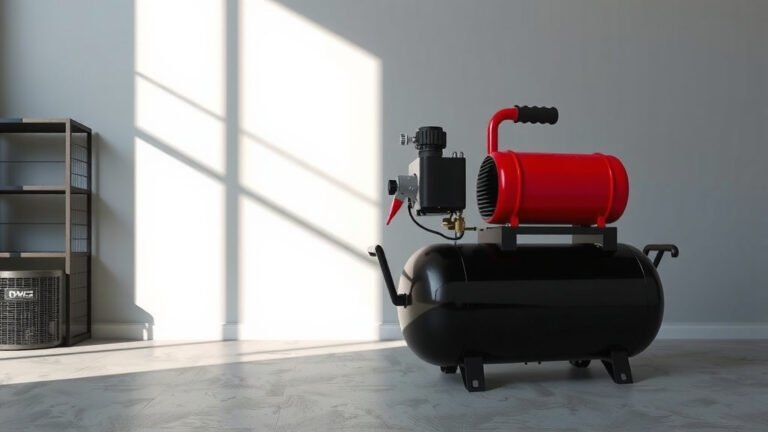
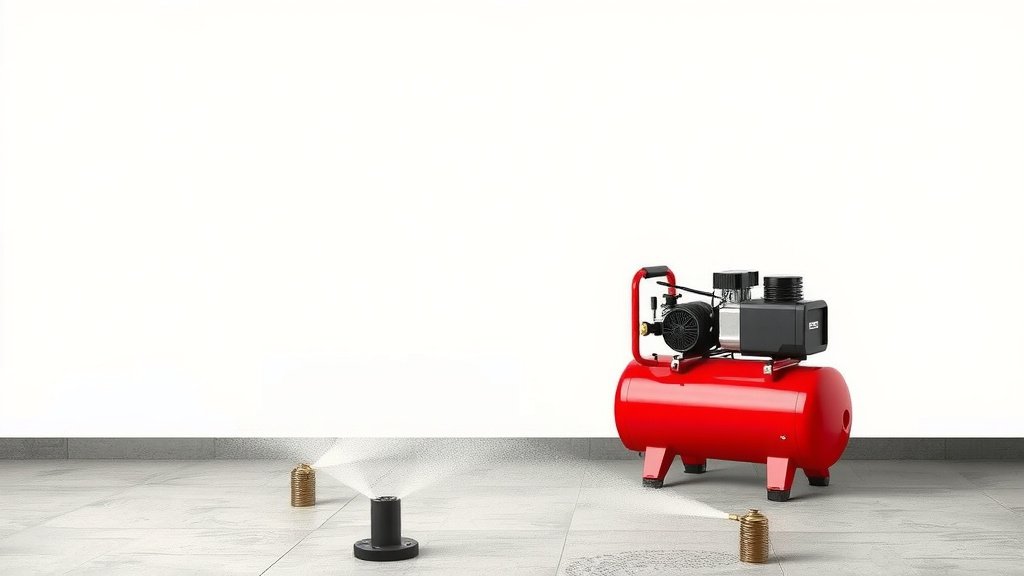
For most residential sprinkler systems, you’ll need an air compressor. We found that a compressor with a tank size of at least 20 gallons is often recommended. More importantly, look at the CFM (Cubic Feet per Minute) rating. You’ll want a compressor that can deliver at least 100 CFM. More CFM means you can clear the lines faster and more effectively. Check your compressor’s manual for its specifications. You might need to rent one if yours is too small.
Hoses and Fittings: Connecting Everything
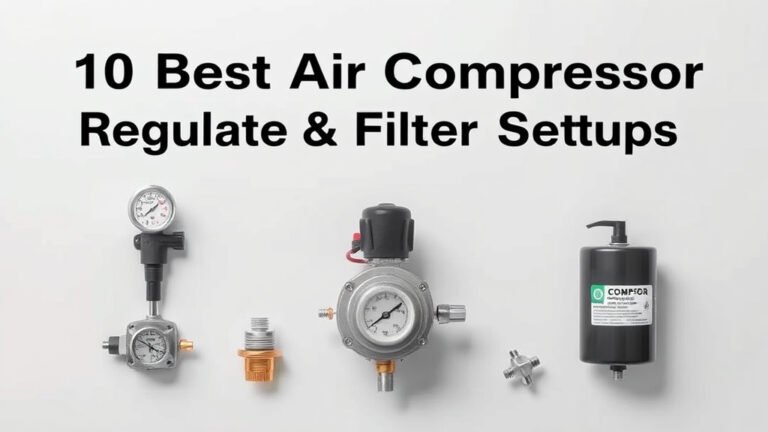
You’ll need a sturdy air hose rated for at least 150 PSI. Make sure it’s long enough to reach from your compressor to the connection point on your sprinkler system. You’ll also need specific fittings. These adapt your air compressor’s outlet to your sprinkler system’s inlet. Many hardware stores sell sprinkler winterization kits that include these. They often have quick-connect fittings, which are very handy.
Other Helpful Items
Don’t forget other small but important things. You might need a pipe wrench for any stubborn valves. Teflon tape can help create a good seal on threaded connections. Safety glasses are a must to protect your eyes from any debris or escaping water. A shovel might be handy if your main shut-off valve is buried.
Locating and Preparing Your System
Finding the right spots to connect your compressor is key. This step ensures you’re working with the main water supply.
Find the Main Shut-Off Valve
Your sprinkler system’s main water supply comes from your home’s main water line. You need to find the valve that controls water flow *only* to your sprinklers. This is often located near your water meter or where the main water line enters your house. Sometimes, it’s an outdoor faucet specifically for the irrigation system. If you’re unsure, check your home’s blueprints or call a plumber. This is the first place to turn off the water.
Turn Off Water and Drain the Backflow Preventer
Once you’ve found the main shut-off valve for your sprinkler system, turn it off completely. This stops any water from flowing into the system. Next, you’ll need to deal with the backflow preventer. This device protects your drinking water from irrigation water. It often holds water. Many backflow preventers have small drain valves. Open these slowly to let any trapped water out. This prevents it from freezing and damaging the device.
Disconnect from the Main Water Supply
You’ll need to disconnect the sprinkler system from your home’s main water line. This is usually done at the backflow preventer. Your winterization kit should have the necessary fittings to connect your air compressor hose here. Make sure the connection is secure. A loose connection can lead to air leaks and won’t effectively clear the lines.
The Blowout Process: Step-by-Step
Now comes the main event: introducing compressed air. Go slow and steady to avoid damaging your system.
Connecting the Air Compressor
Attach your air hose to the fitting you just connected to the sprinkler system’s inlet. Ensure the compressor is turned off and the tank is drained of any excess water. Then, connect the other end of the hose to your air compressor.
Slowly Introduce Air Pressure
This is a critical step. Start your air compressor and let it build pressure. Do NOT immediately blast air into the lines. We found that starting with low pressure, around 30-40 PSI, is best. Slowly increase the pressure as you open the zone valves. You want to hear the water being pushed out, not a violent rush of air. Many experts recommend a maximum pressure of 50-60 PSI for most systems. Check your sprinkler system’s manual for specific recommendations. Exceeding the recommended pressure can damage pipes and sprinkler heads.
Clearing Each Zone
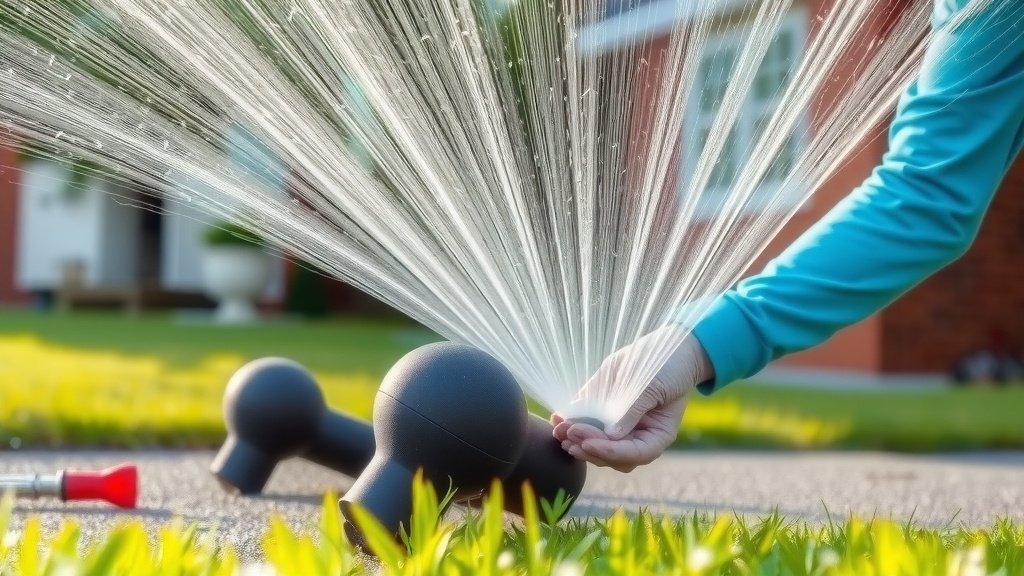
Your sprinkler system is likely divided into zones. Each zone is controlled by its own valve. You need to clear each zone individually. Locate the valve box for your sprinkler system. You may need to dig it up if it’s buried. Open the first zone valve slightly. You should hear and see water being expelled from the nearest sprinkler heads. Let the air run until you no longer hear water sputtering. Then, close the zone valve. Repeat this process for every zone in your system. Work from the valve box nearest the main water supply connection outwards.
Checking for Complete Drainage
As you clear each zone, walk around your property and check each sprinkler head. You want to see only air, no water, coming out. If you still see water sputtering, it means the line isn’t fully clear. You may need to run the air a bit longer for that zone. For stubborn areas, you might need to slightly increase pressure, but always stay within safe limits. Many guidelines suggest repeating the blowout process for any zone that still shows signs of water.
Final Steps and Disconnection
Once all zones have been cleared, turn off your air compressor. Disconnect the air hose from the sprinkler system. Reinstall any caps or covers on the valve connections. If you disconnected any pipes, reconnect them securely. Your sprinkler system is now ready for winter. You’ve successfully protected it from freezing temperatures!
Here’s a quick checklist to help you stay on track:
- Gather all necessary tools and fittings.
- Turn off the main water supply to the sprinklers.
- Drain the backflow preventer.
- Connect the air compressor hose securely.
- Slowly introduce air and clear each zone individually.
- Ensure all water is expelled from the system.
Conclusion
You’ve now learned how to successfully blow out your sprinkler system using an air compressor. This DIY method is a smart way to protect your irrigation system from winter’s harsh freeze. Remember, proper preparation and slow, steady air pressure are key to avoiding damage. By following these steps, you’ve saved yourself time and money while ensuring your sprinklers are ready for next spring. Now, go ahead and take that final step to disconnect your compressor and secure your system.
Frequently Asked Questions
What is the minimum air compressor CFM I need?
For most residential sprinkler systems, we found that a compressor capable of delivering at least 100 CFM is recommended. This ensures you can clear the lines quickly and effectively. If your current compressor doesn’t meet this requirement, consider renting a larger one for the job.
How much air pressure is safe for my sprinkler system?
It’s crucial to start with low pressure, around 30-40 PSI, and slowly increase it. Most experts suggest a maximum pressure of 50-60 PSI for typical systems. Always check your sprinkler system’s manual for specific recommendations to avoid damaging pipes or heads.
What if I still see water after blowing out a zone?
If you notice water sputtering from a sprinkler head, the line may not be fully clear. You might need to run air through that zone a bit longer. For stubborn areas, you can slightly increase pressure, but always stay within the safe limits mentioned earlier.
Do I need to turn off my main water supply before starting?
Yes, absolutely. Before you connect the air compressor, you must turn off the main water supply valve specifically for your sprinkler system. This prevents any water from flowing into the lines and allows the compressed air to do its job effectively.
Can I use a shop vac or leaf blower instead of an air compressor?
While a leaf blower might work for very small, simple systems, it generally doesn’t provide consistent enough pressure or volume. An air compressor is the preferred tool because it delivers reliable, controlled air pressure needed to thoroughly clear all the water from your pipes and sprinkler heads.