How to Drain Your Air Compressor: A Quick Guide
Draining water from your air compressor is **simple and essential** for its longevity. You can easily drain it by opening the drain valve located at the bottom of the tank. This prevents rust and moisture damage, keeping your compressor in top shape. It’s a quick maintenance task you shouldn’t skip.
Water buildup is a common issue with air compressors. It happens as the air inside the tank cools down. This condensation can cause serious problems if not removed regularly. Addressing it promptly ensures your tools get clean, dry air. It’s a key step in proper air compressor care.
- Open the drain valve at the bottom of the tank.
- Ensure the compressor is turned off and depressurized.
- Let all the water drain out completely.
- Close the valve securely afterward.
- Do this regularly to prevent rust.
Let’s walk through exactly how to drain your air compressor step by step. We’ll make sure you get it right.
Keeping Your Air Compressor Healthy: Draining Excess Water
You’ve got your air compressor, ready to power your projects. But did you know a hidden enemy lurks inside its tank? Water! This condensation is a natural byproduct of compressing air. If left unchecked, it can cause serious trouble. Fortunately, draining this water is a straightforward maintenance task. We’ll guide you through it, step-by-step.
Why You Absolutely Need to Drain Your Air Compressor
So, why is this simple act so important? Think of it like changing the oil in your car. Regular maintenance keeps things running smoothly. For air compressors, draining water prevents a cascade of problems.
Preventing Rust and Corrosion
Water and metal are not good friends over time. Inside your air compressor tank, water can lead to rust. This corrosion weakens the tank and can eventually cause leaks or even failure. A rusted tank is a ticking time bomb. Keeping it dry extends its lifespan significantly.
Protecting Your Tools and Projects
When water sits in the tank, it can get pushed out with the compressed air. Imagine blasting paint or inflating a tire with a spray of rusty water. It can ruin finishes, clog delicate tools, and contaminate your work. Clean, dry air is essential for professional results. Many sources, like equipment manufacturers’ guides, strongly advise regular draining.
Maintaining Air Quality
Besides rust, water can also harbor bacteria and mold. This can contaminate the air you use. For applications where air purity matters, like medical equipment or food processing, this is a major concern. Even for DIY projects, clean air is always better air.
Understanding Your Air Compressor’s Drain Valve
Every air compressor tank has a drain valve. It’s your primary tool for releasing water. These valves can come in a few common types. Knowing which one you have will make the draining process even easier.
Common Types of Drain Valves
You’ll typically find one of three main styles:
- Manual Ball Valve: This looks like a small faucet handle. You turn it to open and close. It’s very common on smaller portable compressors.
- Manual Petcock Valve: This has a small lever that you rotate. It’s similar to a ball valve but often a bit smaller and simpler.
- Automatic Drain Valve: These are less common on basic models. They open and close automatically based on pressure or a timer. If you have one of these, consult your manual. Our steps focus on manual valves.
Locating Your Drain Valve
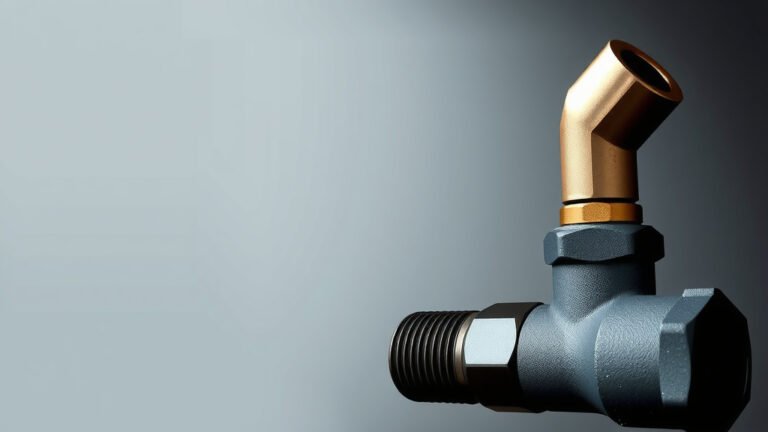
The drain valve is always located at the very bottom of the air compressor tank. It needs to be at the lowest point so all the water can escape. Look underneath the tank; you can’t miss it. It’s usually a brass or metal fitting with a handle or knob.
Step-by-Step Guide to Draining Your Air Compressor
Now that you know why and where, let’s get to the how. Draining is simple, but safety first is always the rule. Follow these steps carefully.
Step 1: Turn Off and Depressurize
This is the most critical step for your safety. Never attempt to drain a pressurized tank. First, turn off the compressor’s power switch. Then, disconnect the power cord from the wall outlet. After that, you need to release any air still in the tank. You can do this by opening a valve on the compressor or by attaching a hose to an outlet and letting the air out. Some experts recommend waiting a few minutes after shutoff for pressure to dissipate naturally.
Step 2: Position a Container
Water will come out, and it might be a bit dirty or rusty. Grab a bucket or a suitable container to catch the water. Place it directly under the drain valve. This saves you from making a mess on your floor. You might be surprised how much water comes out.
Step 3: Open the Drain Valve Slowly
For a ball valve, gently turn the handle 90 degrees. For a petcock valve, rotate the lever. You should hear a hiss as the air escapes, followed by water. If water doesn’t come out immediately, you might need to slightly release more pressure from the tank. Let the water flow freely into your container.
Step 4: Let It Drain Completely
Be patient. Allow all the water to drain out. This can take a few minutes, depending on how much condensation has built up. You’ll know it’s done when only air is coming out, or nothing at all. Many sources suggest letting it drain for an extra minute just to be sure.
Step 5: Close the Drain Valve Securely
Once draining is complete, close the valve. Turn the handle back to its original position. Make sure it’s snug but don’t overtighten it. You don’t want any leaks. Double-check that it’s fully closed.
Step 6: Re-pressurize (If Needed)
If you released all the air, you’ll need to turn the compressor back on to pressurize the tank again. If you only let out some air, you might not need to. Just ensure the tank is at your desired operating pressure before using it.
Making Draining a Habit: A Simple Checklist
Consistency is key. Incorporating this task into your routine will prevent future problems. Here’s a quick checklist to help you remember:
- Turn off and unplug the compressor.
- Release all tank pressure.
- Place a bucket under the drain valve.
- Open the valve and let water drain.
- Close the valve tightly.
- Check for leaks before storing or using.
Troubleshooting Common Issues
What if things don’t go as planned? Here are a couple of common hiccups and how to solve them.
Water Won’t Drain Out
If no water or air comes out, the valve might be clogged with debris or rust. First, try gently tapping the valve with a wrench handle. If that doesn’t work, you may need to carefully remove the valve (with the tank fully depressurized!) and clean it. Many maintenance guides recommend a thorough cleaning every few years. Sometimes, a replacement valve is the simplest solution if it’s heavily corroded.
The Valve is Stuck or Leaking
Stuck valves are usually due to rust or grit. Try applying a penetrating lubricant and let it sit for a bit. If it still won’t budge, you might need to replace it. If the valve leaks after closing, it might be worn out. A leaky valve needs to be replaced to maintain the compressor’s efficiency and safety.
How Often Should You Drain Your Air Compressor?
The frequency depends on how often you use your compressor and the humidity in your environment. A good rule of thumb is to drain it after each use. If you use it daily, drain it daily. If you use it weekly, drain it weekly. Many experts suggest draining at least monthly, even if you don’t use it often. High humidity environments mean more condensation, so more frequent draining is wise. You can often tell by listening to the compressor; if it runs for longer periods than usual, it might be a sign of water issues.
Conclusion
You’ve learned that draining water from your air compressor is a straightforward but vital maintenance task. Regularly removing condensation prevents rust, protects your tools, and ensures cleaner air for your projects. By understanding your drain valve and following the simple steps, you’re actively extending the life of your equipment. Make it a habit after each use, or at least monthly, and your air compressor will thank you with reliable performance for years to come. Your next step? Grab a bucket and check that valve after your next project!
Frequently Asked Questions
What happens if I never drain the water from my air compressor?
If you neglect draining, water will build up inside your tank. This can lead to rust and corrosion, weakening the tank and potentially causing leaks or failure. It can also push water through your air lines, damaging sensitive tools and ruining your projects.
Can I drain my air compressor while it’s still on?
No, you should never drain a pressurized air compressor. Always turn off the power, unplug it, and release any stored air before opening the drain valve to prevent injury and damage.
My air compressor tank is old. Is it safe to drain it?
Yes, draining an older tank is even more important, as it’s likely more susceptible to rust. Just be extra cautious. Ensure it’s fully depressurized before you begin, and watch for any signs of excessive corrosion or weakness in the tank itself.
Is the water that comes out harmful?
The water itself isn’t typically hazardous, but it can be dirty, rusty, and may contain sediment or bacteria. It’s best to catch it in a container and dispose of it properly. Avoid direct skin contact if possible, especially if the water appears heavily rusted.
Can I use a different type of valve to drain my compressor?
While the basic principle is the same, manual ball or petcock valves are standard for DIY draining. If your compressor has an automatic drain, consult your owner’s manual for specific operating instructions, as they function differently.