How to Change Air Compressor Hose Fittings Easily
Changing air compressor hose fittings is a straightforward repair you can do yourself. You just need the right tools and a few simple steps to get your compressor back to working order. This process will help you fix leaks or switch to different connector types without much hassle.
Having the correct fitting is key to a secure air connection. Different tools often require different fitting sizes or styles. We found that a loose or incorrect fitting can lead to air leaks, which reduces your compressor’s efficiency and your tool’s power. This guide will help you navigate the options. Having the correct fitting is key to a secure air connection; our guide on attaching an air hose to your compressor explains how.
- Identify the type of fitting you need.
- Gather your tools: wrench, new fitting, thread sealant.
- Prepare the hose end by cleaning it.
- Install the new fitting securely.
- Test for leaks.
Ready to get your air compressor working like new? Let’s walk through how to change those hose fittings step by step.
Updating Your Air Compressor Hose Fittings
Changing out an air compressor hose fitting is a common DIY task. It’s like swapping out a worn-out shoe sole. You just need to know which fitting to use. Doing this yourself can save you money and get your tools working again quickly.
Why You Might Need New Fittings
Over time, hose fittings can get damaged. Threads might strip, or the coupling might crack. Maybe you just bought a new tool that uses a different connector size. Whatever the reason, replacing a fitting is usually simple.
Common Reasons for Replacement
- Leaks: A worn-out fitting can cause air to escape. This wastes energy and reduces the power your tools get.
- Damage: Dropping a hose or stepping on it can bend or break a fitting.
- Compatibility: Different tools use different types of quick-connect fittings. You might need a new one to match your new tool.
- Wear and Tear: Metal fittings can corrode or wear down from frequent use.
Choosing the Right Replacement Fitting
Before you start, you need the right part. This sounds obvious, but there are many types. Most air compressor hoses use common fittings. You’ll find these at hardware stores or online.
Understanding Fitting Types
The most common type you’ll see is the industrial universal quick-connect coupler. These are designed to work with many different plug styles. They’re quite versatile. Many also offer a one-handed operation, which is a lifesaver when you’re working alone.
There are also specific standards. For example, the A-style and M-style fittings are common. A-style fittings are smaller and flow less air. M-style fittings are larger and allow more air to pass through. For most DIY tasks, you’ll likely be using an A-style or a universal type that accepts both.
What You’ll Need to Get Started
Gathering your supplies beforehand makes the job smoother. You don’t want to be halfway through and realize you’re missing something. Think of it like packing for a picnic; you want all your sandwiches and drinks ready.
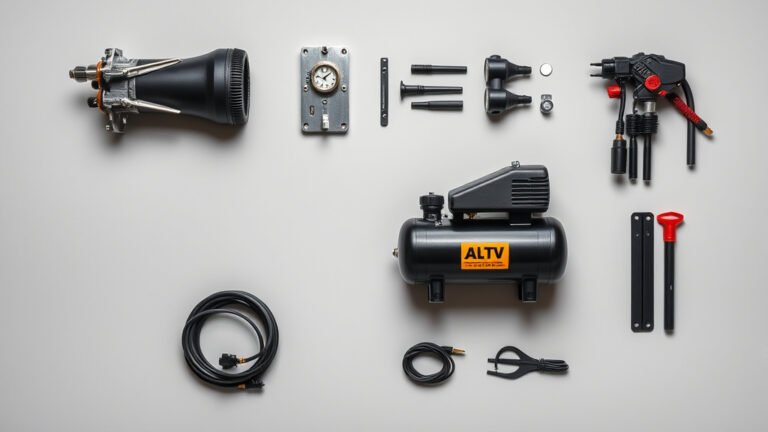
- New Fitting: Make sure it matches the size and thread type of your old one.
- Adjustable Wrench or Pliers: You’ll need these to grip and turn the old and new fittings.
- Thread Sealant Tape (Teflon Tape): This helps create a watertight seal on the threads.
- Wire Brush or Rag: For cleaning the hose threads.
- Safety Glasses: Always protect your eyes when working with tools.
Step-by-Step Guide to Changing Fittings
Let’s get this done! Take your time and follow these steps. You’ll have your compressor back in action in no time.
Step 1: Disconnect and Depressurize
First, always make sure the air compressor is turned off. Then, disconnect the air hose from the compressor. You need to release any stored air pressure. You can do this by opening the drain valve on your compressor tank. Or, if the hose is still connected to a tool, disconnect the tool. This ensures no air is suddenly released.
Step 2: Remove the Old Fitting
Now, grab your wrench. You’ll need to grip the base of the old fitting where it screws onto the hose. Turn it counter-clockwise to unscrew it. Sometimes, they can be a bit stubborn. If it’s stuck, try a bit more force. Research suggests that penetrating oil can help loosen stubborn fittings, but use it sparingly (Home Depot).
Make sure your wrench is on the part that screws into the hose, not the part that connects to other air tools. You don’t want to twist the hose itself.
Step 3: Clean the Hose Threads
Once the old fitting is off, look at the end of the hose. You’ll see the threaded part. It might have old sealant tape or gunk on it. Use a wire brush or a clean rag to remove any debris. Clean threads are essential for a good seal. Imagine trying to screw a lid onto a dirty jar; it just doesn’t work as well.
Step 4: Apply Thread Sealant Tape
This is a critical step for preventing leaks. Take your thread sealant tape (Teflon tape) and wrap it around the threads of the hose. You want to wrap it clockwise, in the same direction the new fitting will screw on. This way, the tape won’t bunch up as you install the new fitting. Wrap it about 3 to 5 times. This creates a good barrier against air escape.
Step 5: Install the New Fitting
Screw the new fitting onto the hose by hand first. Turn it clockwise until it’s snug. Once it’s finger-tight, use your wrench to tighten it a bit more. You don’t need to crank on it like you’re trying to win a contest. Just a quarter to half turn past finger-tight should be enough. Over-tightening can damage the threads on either the hose or the fitting.
Step 6: Test for Leaks
Turn your air compressor back on and let it build pressure. Listen carefully around the new fitting for any hissing sounds. If you hear any, there’s a leak. You might need to tighten the fitting slightly more. If it still leaks, you may need to remove it, clean the threads again, reapply the tape, and try again. Some experts recommend a soap and water spray test too. If you see bubbles, you have a leak (Lowe’s).
A Quick Checklist for Success
- Compressor off and depressurized.
- Correct new fitting selected.
- Threads cleaned thoroughly.
- Sealant tape wrapped correctly (clockwise).
- New fitting tightened firmly, not excessively.
- Leak test performed after pressurizing.
Conclusion
You’ve now learned how to successfully change your air compressor hose fittings. It’s a manageable DIY task that can fix leaks and ensure your tools get the power they need. By identifying the right fitting, gathering your tools, and following the steps carefully, you can save time and money. Don’t let a faulty fitting slow you down. Go ahead and tackle this repair yourself to get your air compressor running smoothly again!
Frequently Asked Questions
How do I know if my air compressor fitting is bad?
You’ll likely notice air hissing or leaking from the connection point, even when it’s supposed to be sealed. Reduced air pressure at your tools or a constantly running compressor can also be signs of a worn-out fitting.
Can I use any fitting on my air hose?
Not always. While universal fittings exist, it’s best to match the thread size and type to your hose and the tools you’ll be connecting. Mismatched fittings can cause leaks or won’t connect at all.
Do I really need Teflon tape for the new fitting?
Yes, thread sealant tape is highly recommended. It fills in tiny gaps in the threads, creating a tighter seal to prevent air leaks. Research consistently shows it’s key to a secure connection.
What happens if I over-tighten the new fitting?
Over-tightening can strip the threads on the fitting or the hose itself, leading to leaks or making it impossible to get a proper seal. You want it snug, but not forced.
How can I test for leaks after changing the fitting?
Once you’ve reconnected the hose and turned on your compressor, listen closely for any hissing sounds. A more effective method is to spray soapy water on the connection; if you see bubbles forming, you have a leak.