Campbell Hausfeld Air Compressor: How to Use It Easily
Using your Campbell Hausfeld air compressor is straightforward. You simply connect your air tool, turn on the compressor, and adjust the pressure for your specific job. It’s designed to be user-friendly, making projects easier.
Many folks find air compressors a bit intimidating at first. But a Campbell Hausfeld is built for reliable performance. Proper setup ensures you get the most out of it for tasks from inflating tires to running power tools. We’ll help you get started.
- Connect your tool to the hose.
- Turn on the compressor.
- Set the correct air pressure.
- Always check your tool’s requirements.
Ready to get that project moving? Let’s walk through exactly how to use your Campbell Hausfeld air compressor step by step.
Getting Your Campbell Hausfeld Air Compressor Ready for Action
So, you’ve got your trusty Campbell Hausfeld air compressor, and you’re ready to tackle that project. That’s fantastic! Using it is simpler than you might think. Let’s get it set up so you can get to work.
Understanding Your Compressor’s Basics
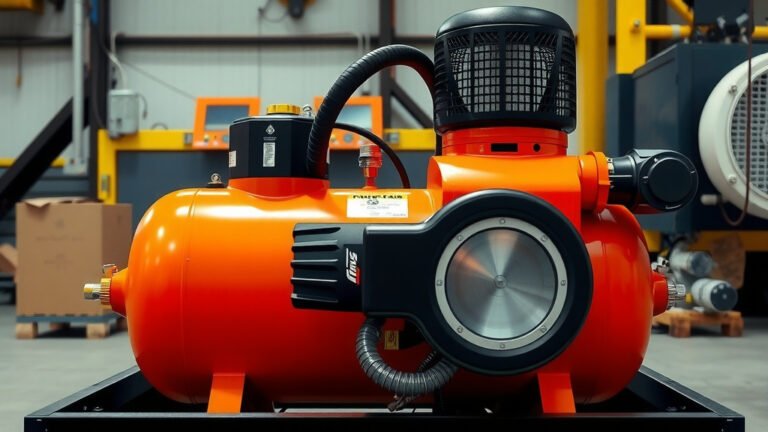
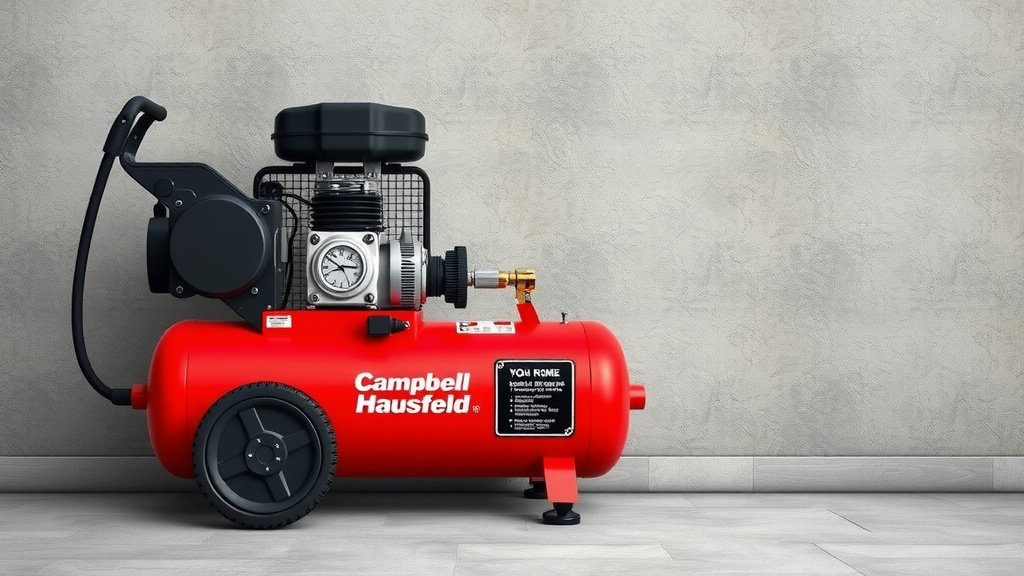
Before you even plug it in, it’s good to know a few things about your compressor. Most Campbell Hausfeld models have a tank that stores compressed air. This tank has a gauge that shows the pressure inside. You’ll also find a regulator knob. This is how you control the air pressure coming out to your tool.
The Tank Pressure Gauge
This gauge is your best friend for understanding what’s going on inside. It shows you the air pressure currently stored in the tank. It usually goes from 0 up to a maximum limit. Never try to exceed this maximum, as it could be unsafe.
The Regulator and Its Knob
The regulator lets you dial in the exact air pressure your tool needs. You’ll often see a second, smaller gauge connected to the regulator. This shows the output pressure – the pressure that’s actually going to your hose and tool. Adjusting this knob is key to making sure your tools work correctly.
Connecting Your Air Tools Safely
Connecting your air tool is a pretty straightforward step. Make sure the compressor is unplugged or turned off before you start. You’ll want to use the right type of hose and fittings. Quick-connect fittings are common and make things easy.
Choosing the Right Air Hose
Air hoses come in different lengths and diameters. A longer hose gives you more reach, but it can also cause a slight drop in pressure. The diameter of the hose needs to be appropriate for the CFM (cubic feet per minute) your tool uses. Most home use compressors work well with 1/4-inch or 3/8-inch hoses.
Attaching the Hose and Tool
Most Campbell Hausfeld compressors use a standard 1/4-inch industrial or automotive quick-connect fitting. Simply push the male end of your air hose coupler into the female receptacle on the compressor’s regulator. You should hear a click when it’s securely locked. Then, attach your air tool to the other end of the hose using its appropriate fitting.
Operating Your Compressor: Step-by-Step
Now that everything is connected, let’s get that air flowing. This process is designed to be simple and effective for most tasks.
Powering On and Filling the Tank
First, ensure your air tool is turned off or in a safe position (like a nail gun with the safety engaged). Plug in your compressor’s power cord. You should hear the motor start up. It will begin drawing air from the surroundings and compressing it into the tank. The tank pressure gauge will start to climb.
Waiting for Pressure to Build
The compressor will run until the tank reaches its maximum pressure. At this point, a pressure switch will automatically turn off the motor. You’ll know it’s ready when the motor stops and the tank pressure gauge shows a full tank. This might take a few minutes depending on your compressor’s size and how empty the tank was.
Setting the Correct Air Pressure (PSI)
This is a critical step for both tool performance and safety. Look at your air tool – it will have a recommended operating pressure, often listed in PSI (pounds per square inch). You might find this on a sticker, in the manual, or stamped onto the tool itself. Many experts recommend checking your tool’s manual first.
To set the pressure, slowly turn the regulator knob. Turning it clockwise usually increases pressure, while counter-clockwise decreases it. Watch the output pressure gauge. Adjust it to match the PSI required by your air tool. It’s often best to set it a little lower than the maximum the tool can handle, especially if you’re new to using it.
| Air Tool | Recommended PSI Range | Typical CFM Needed |
|---|---|---|
| Tire Inflator | 30-50 PSI | 1-3 CFM |
| Brad Nailer / Stapler | 70-100 PSI | 0.5-2 CFM |
| Impact Wrench (Light Duty) | 90-120 PSI | 4-6 CFM |
| Paint Sprayer (HVLP) | 30-50 PSI | 5-10 CFM |
| Air Ratchet | 90-100 PSI | 3-5 CFM |
Activating Your Air Tool
With the pressure set correctly, you can now activate your air tool. Pull the trigger or engage the mechanism according to the tool’s design. The compressed air from the tank will flow through the regulator and hose to power your tool.
Important Safety and Maintenance Checks
Your Campbell Hausfeld air compressor is built for durability, but a little care goes a long way. Performing these checks will keep it running smoothly and safely for years.
Draining the Air Tank
Water is a byproduct of compressing air. This water can collect in your tank over time and cause rust or damage. Most compressors have a drain valve at the bottom of the tank. After each use, or at least at the end of the day, open this valve slightly to let out any accumulated water and remaining air. Be ready for a hiss!
Checking for Leaks
Air leaks are not only wasteful but can also strain your compressor motor. Listen for any constant hissing sounds when the compressor is idle and the tank is pressurized. You can also use a soapy water solution on connections; bubbles will form at any leak points. Research indicates that even small leaks can waste a lot of air over time.
Regular Inspections
Periodically inspect the power cord for any damage. Check the air filter – if it’s clogged, it restricts airflow and makes your compressor work harder. Clean or replace it as per your compressor’s manual. Many manuals suggest checking this filter regularly.
Taking these steps ensures you’re using your Campbell Hausfeld air compressor effectively and safely. Now you’re ready for whatever project comes your way!
Conclusion
You’ve now got a solid understanding of how to use your Campbell Hausfeld air compressor. Remember to always check your tool’s PSI requirements before adjusting the regulator. Proper setup and connections are key for both performance and safety. Don’t forget those essential maintenance steps, like draining the tank after each use. This simple routine will help your compressor last longer and perform reliably for all your DIY projects. Now, go ahead and power up that next task with confidence!
Frequently Asked Questions
How do I know if I’m using the right air hose for my tool?
You’ll want to match the hose’s diameter and its ability to handle CFM (cubic feet per minute) to your air tool’s needs. Larger tools often require wider hoses to ensure consistent airflow and pressure. Checking your tool’s manual is always the best bet. You’ll want to match the hose’s diameter to your air tool’s needs; our guide can help.
What happens if I don’t drain the water from the tank?
Water accumulation in the tank can lead to rust and damage over time. It’s a byproduct of compressing air. Regularly draining the tank helps prevent corrosion and keeps your compressor in good working order for longer.
Can I just leave the compressor plugged in all the time?
It’s best practice to unplug your compressor when not in use or after the tank has reached full pressure and the motor has shut off. This is for safety and also prevents unnecessary wear on the motor and pressure switch.
My compressor motor keeps running but the tank isn’t filling. What could be wrong?
This usually indicates an air leak somewhere in the system. Listen for hissing sounds around fittings, hoses, or the tank itself. A damaged air filter can also restrict airflow and cause this issue.
Is it okay to use a higher PSI on my tool than recommended?
No, it’s not recommended. Using a PSI higher than your tool’s specification can cause damage to the tool, leading to poor performance or even immediate failure. Always set the regulator to the manufacturer’s recommended pressure.