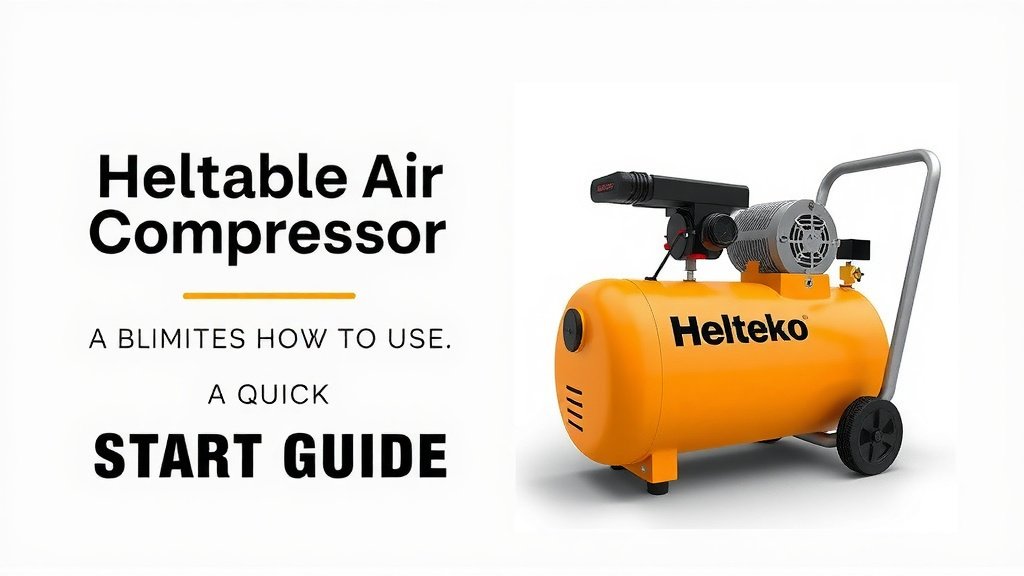
Helteko Portable Air Compressor: A Quick Start Guide
Using your Helteko portable air compressor is straightforward. You simply connect the hose to your tire’s valve stem, set your desired pressure on the device, and press the power button to start inflating. The compressor will automatically stop once your tire reaches the target PSI, making it a hassle-free way to maintain your vehicle’s tires.
These handy compressors are designed for convenience and ease of use. Whether you’re topping off your car tires before a trip or need to inflate sports equipment, your Helteko makes the job quick. It’s a practical tool that can save you time and keep your tires properly inflated for better fuel efficiency and safety.
- Connect the hose to the tire valve.
- Input your target tire pressure.
- Press the power button to inflate.
- The compressor stops automatically.
- Check your tires regularly.
Let’s walk through exactly how to get your Helteko portable air compressor up and running for any inflation need you might have. It’s simpler than you think!
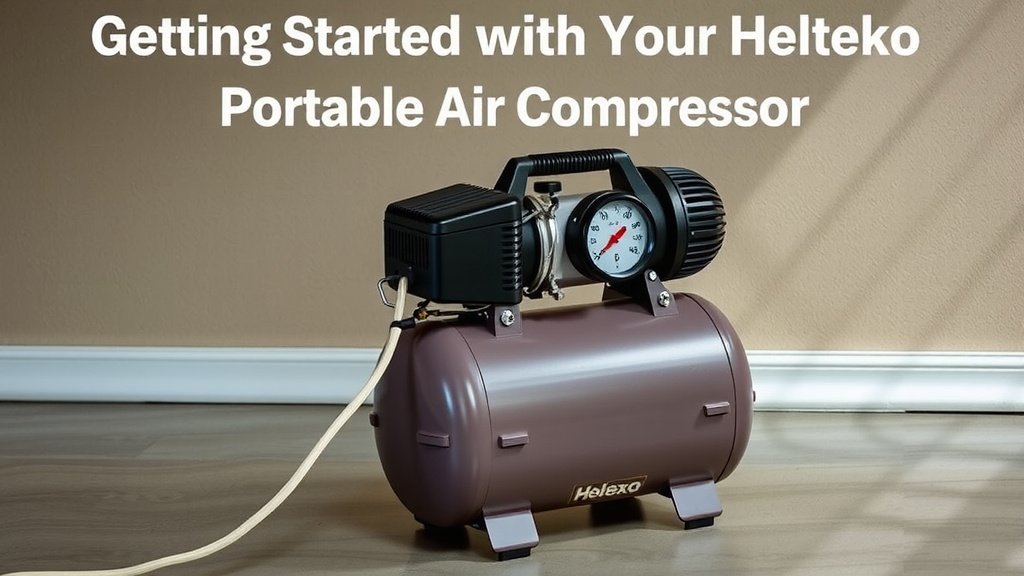
Getting Started with Your Helteko Portable Air Compressor
We know you’re eager to get your tires inflated. Using your Helteko portable air compressor is designed to be super simple. You’ll be back on the road or enjoying your day in no time. Let’s break down the process so you feel completely confident.
Understanding Your Helteko Compressor
Before you plug it in, take a quick look at your Helteko. You’ll typically find a power cord or a cigarette lighter adapter. There’s also an air hose with a nozzle for connecting to your tire valve. A display screen shows the current pressure and your set target pressure. It’s all pretty intuitive!
What’s Included in the Box?
Most Helteko models come with the main compressor unit, a power cord or adapter, and a flexible air hose. Some might include extra nozzle attachments for sports balls or other inflatables. We always recommend checking the packaging to make sure you have everything.
Pre-Inflation Checks: Safety First!
It’s always a good idea to do a quick check before you start. Ensure the power cord is in good condition, with no frayed wires. Make sure the air hose isn’t kinked or damaged. A little attention upfront means a smoother inflation experience.
Finding Your Tire’s PSI
Knowing the correct tire pressure is vital for safety and fuel efficiency. You can find this information in a few places. Look for a sticker on the driver’s side doorjamb in your car. It’s also listed in your vehicle’s owner’s manual. Don’t rely on the maximum pressure listed on the tire sidewall; that’s not your recommended PSI.
Many experts agree that maintaining the manufacturer’s recommended tire pressure is key to safe handling and optimal tire wear (National Highway Traffic Safety Administration).
Step-by-Step Inflation Guide
Now for the main event! Here’s how to connect and inflate your tires.
Connecting the Air Hose
First, locate your tire’s valve stem. It’s that little black rubber or metal nub sticking out from the wheel. Unscrew the cap from the valve stem if there is one. Then, firmly press the nozzle of the Helteko’s air hose onto the valve stem. You should hear a slight hiss of air, which is normal. Some hoses have a lock-on feature; if yours does, engage it to secure the connection.
Setting Your Target Pressure
Turn on your Helteko compressor. The display should light up. Use the adjustment buttons (usually marked with ‘+’ and ‘-‘) to set your desired tire pressure. Refer back to that PSI number you found on your car’s doorjamb or in the manual. It’s important to be precise here.
Starting the Inflation Process
Once your target pressure is set, press the power button. The compressor will begin to work, and you’ll see the pressure reading on the display increase. It might get a little noisy, but that’s perfectly normal. Just let it do its thing!
Monitoring the Inflation
Keep an eye on the display. You can also check the pressure with a separate gauge if you like, but the Helteko is designed to be accurate. The compressor will automatically shut off once it reaches the pre-set PSI. This is a fantastic feature that prevents over-inflation.
Disconnecting the Hose
After the compressor stops, carefully remove the air hose from the valve stem. Be ready for a small puff of air escaping. Quickly screw the valve stem cap back on. Repeat this process for each tire you need to inflate.
Inflating Other Items
Your Helteko isn’t just for tires! Many models come with adapter nozzles for sports equipment. If you need to inflate a basketball, soccer ball, or even an air mattress, simply attach the correct nozzle to the air hose and follow similar steps. Just remember to set the appropriate pressure for each item.
| Vehicle Type | Typical PSI Range | Where to Find It |
|---|---|---|
| Compact Cars | 30-35 PSI | Driver’s side doorjamb, Owner’s Manual |
| Sedans | 32-38 PSI | Driver’s side doorjamb, Owner’s Manual |
| SUVs/Trucks | 35-45 PSI | Driver’s side doorjamb, Owner’s Manual |
Always consult your vehicle’s specific recommendations, as these are just general examples.
Quick Tips for Optimal Use
We’ve found a few things make using your Helteko even better. Running the compressor for too long without a break can cause it to overheat. If you’re inflating multiple tires on a hot day, give it a few minutes to cool down between them. Many sources suggest that optimal tire pressure contributes to reduced tire wear (Consumer Reports).
Here’s a quick checklist to remember:
- Always know your correct tire PSI.
- Check the power cord and hose for damage.
- Ensure a secure connection to the valve stem.
- Set your target pressure accurately.
- Allow the compressor to cool if needed.
- Reconnect valve stem caps promptly.
Conclusion
You now have the knowledge to confidently use your Helteko portable air compressor. We’ve covered everything from understanding its parts to the simple steps for inflating your tires and other items. Remember, properly inflated tires mean better safety, fuel efficiency, and longer tire life. Don’t wait until you have a flat; use your Helteko regularly to keep your tires in top shape. Grab your compressor today and give your tires the attention they deserve!
Frequently Asked Questions
How do I know if my Helteko compressor is connected properly?
You’ll typically hear a slight hiss of air when the nozzle is attached firmly to the valve stem. If your hose has a locking mechanism, ensure it’s engaged. A secure connection prevents air from escaping and ensures efficient inflation.
Can I leave my Helteko compressor running unattended?
While the compressor automatically shuts off at the set PSI, it’s always best to monitor it. This allows you to catch any issues early and ensure the connection remains secure. Never leave any powered device running unattended for extended periods.
What if my Helteko compressor stops working mid-inflation?
Check if the power source is still connected securely. If you’ve been inflating for a while, the unit might have overheated; give it a few minutes to cool down before trying again. Also, inspect the hose and connections for any damage or blockages.
Can I use my Helteko compressor in very cold weather?
Yes, your Helteko compressor can generally be used in cold weather. However, extreme cold might affect the flexibility of the power cord and hose. Storing the compressor in a warmer place when not in use can help.
My Helteko compressor makes a loud noise; is that normal?
Yes, portable air compressors can be quite noisy during operation. This is normal as the motor works to build pressure. Just ensure the unit is on a stable surface and any sounds are consistent with normal operation, not grinding or rattling.