How to Adjust Your Air Compressor Pressure Settings
Adjusting your air compressor’s pressure is a straightforward process, often involving a simple regulator knob. You can typically change the output pressure by turning this knob until you reach your desired PSI setting. Always check your tool’s requirements first.
Understanding your air compressor’s settings is key to both tool efficiency and safety. Too much pressure can damage your tools or cause them to fail unexpectedly. Too little pressure means your tools won’t perform as intended. We found that a small adjustment can make a big difference.
- Set the correct PSI for your tool.
- Adjust the regulator knob slowly.
- Always start with lower pressure.
- Check the gauge for accuracy.
Let’s walk through exactly how to adjust your air compressor’s pressure step by step so you can get back to your project with confidence.
Getting Your Air Compressor Pressure Just Right
Adjusting your air compressor’s pressure is a common task. You might need to change it for different tools. Getting it wrong can cause problems. Too much pressure can harm your tools. Too little pressure means they won’t work well. We found that the regulator knob is your main tool for this.
Understanding Your Air Compressor’s Regulator
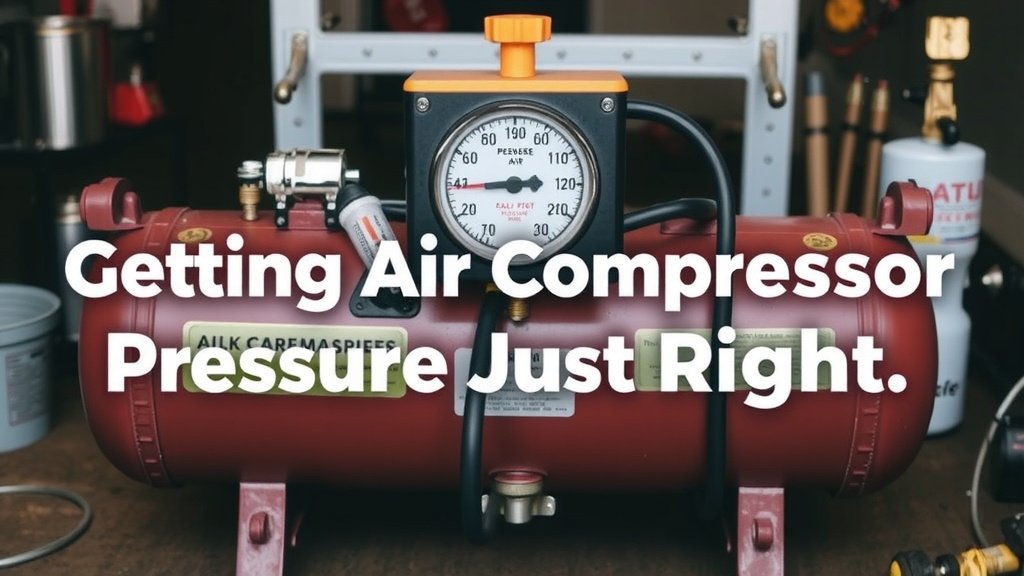
Most air compressors have a pressure regulator. This is usually a knob or dial. It lets you control the air output pressure. This pressure is measured in pounds per square inch (PSI). You’ll typically see a gauge showing the current PSI. This gauge is your guide.
How the Regulator Works
Think of the regulator like a faucet for air pressure. When you turn it, you’re adjusting a valve. This valve determines how much air gets through to your hose and tool. It’s a pretty simple system, really. Many sources confirm this basic operation.
Locating the Regulator and Gauge
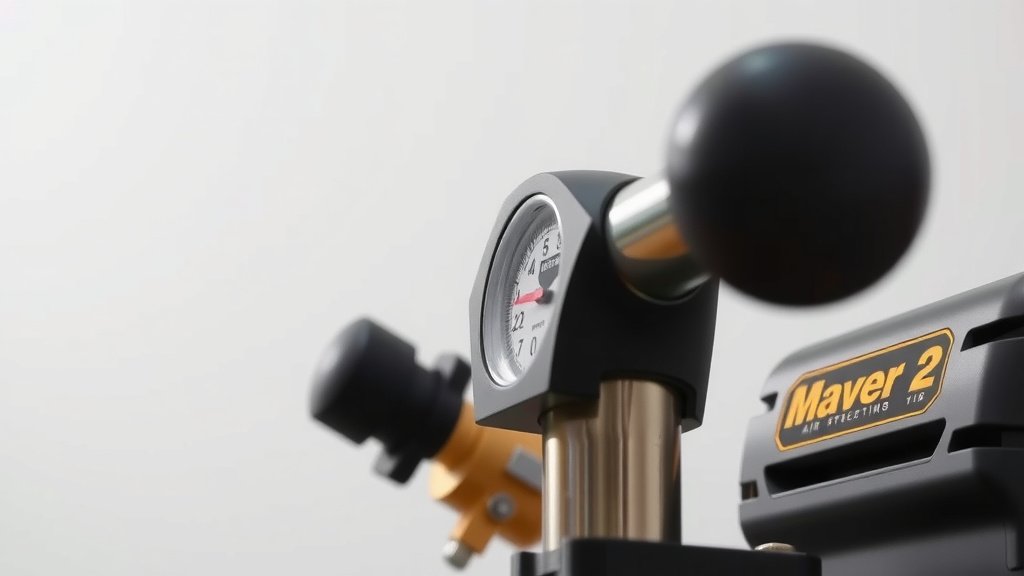
You’ll usually find the regulator near the air outlet. This is where you connect your air hose. Look for a knob or dial, often red or black. Next to it, you’ll see a pressure gauge. This gauge is vital for accurate settings. Some compressors have two gauges: one for tank pressure and one for regulated output pressure. Always focus on the output gauge for your tools.
Steps to Adjust Your Air Compressor Pressure
Now, let’s get this done. It’s not complicated, but taking your time is smart. We found that following these steps makes it easy.
Step 1: Check Your Tool’s PSI Requirements
This is the most important first step. Your tools have specific needs. Using the wrong pressure can be bad. For example, a brad nailer needs much less pressure than an impact wrench. We recommend checking the tool itself. Often, the required PSI is printed on the tool. If not, consult the tool’s manual. Many tool manufacturers provide clear guidelines.
Where to Find Tool Pressure Needs
Look for a sticker or plate on your tool. It might say “Max PSI” or “Operating Pressure.” If you can’t find it there, search online for your tool’s model number and “PSI requirement.” This research ensures you start on the right foot. We found that missing this step is a common mistake.
Step 2: Prepare Your Air Compressor
Make sure your compressor is turned on. Let it build up pressure in the tank. You need some air in the tank to make adjustments. Don’t connect your tool just yet. The regulator needs to be able to adjust the pressure freely. This setup ensures a safe starting point.
Step 3: Adjust the Regulator Knob
Locate the regulator knob. To increase pressure, turn the knob clockwise. To decrease pressure, turn it counter-clockwise. Do this slowly and watch the pressure gauge. Small adjustments are best. Don’t crank the knob all the way in one go. We found that gradual changes lead to better control.
Using the Pressure Gauge
Keep an eye on the output pressure gauge. As you turn the knob, the needle will move. Stop turning when the gauge shows the desired PSI for your tool. If you overshoot, just turn the knob the other way to lower it. Patience here is key. We’ve seen people rush this, and it’s usually not worth the hassle.
Step 4: Test Your Tool
Once the regulator is set, connect your air tool. Test it briefly. Does it perform as expected? If it feels weak, you might need slightly more pressure. If it seems too aggressive or vibrates excessively, you might need less. Make fine adjustments as needed. It’s a bit of trial and error sometimes.
Fine-Tuning the Pressure
If your tool isn’t quite right, disconnect it. Make another small adjustment to the regulator. Then reconnect and test again. This iterative process helps you dial in the perfect pressure. Many users find that 5-10 PSI can make a big difference in performance. Remember to check the tool’s maximum rating.
Safety Tips for Adjusting Pressure
Safety is always our top priority. Adjusting pressure incorrectly can be hazardous. Always follow these guidelines.
- Never exceed the maximum PSI for your tool or air hose. This can cause them to burst.
- Start with lower pressure and gradually increase it.
- Ensure all connections are secure before turning on the air.
- Wear safety glasses. Flying debris is always a possibility.
- Read your compressor’s manual for specific instructions.
Common Air Compressor Pressure Issues and Solutions
Sometimes, things don’t go as planned. Here are a few common problems.
Pressure Won’t Hold
If your regulator won’t maintain the set pressure, check for leaks. Listen for hissing sounds. Inspect the regulator knob and any associated seals. A worn-out regulator can also be the culprit. Many experts suggest checking the O-rings and seals first.
Gauge Seems Inaccurate
Pressure gauges can sometimes be off. If you suspect your gauge is wrong, consider using a separate, calibrated pressure gauge. You can test your compressor’s output against a known accurate gauge. If the gauge is faulty, it may need replacement.
Tool Not Performing
As mentioned, this is usually a pressure issue. Double-check the tool’s PSI requirement. Ensure your compressor is producing enough CFM (cubic feet per minute) for the tool, not just PSI. Some tools require a high volume of air, even at lower pressures.
A Quick Checklist for Pressure Adjustment
Before you start, or if you get stuck, run through this quick list:
- Confirm your tool’s PSI needs.
- Turn on the compressor and let it pressurize.
- Adjust the regulator knob slowly and carefully.
- Watch the output pressure gauge closely.
- Connect your tool and test its performance.
- Make fine-tune adjustments if necessary.
Conclusion
You’ve learned that adjusting your air compressor’s pressure is a skill that enhances both tool performance and your safety. Remember, checking your tool’s specific PSI needs is the critical first step. Then, use the regulator knob slowly while watching the gauge. Gradual adjustments and testing your tool will help you dial in the perfect setting. Don’t forget to always prioritize safety by never exceeding maximum ratings. Now, go confidently tackle your projects with the right pressure!
Frequently Asked Questions
How do I know if my air compressor regulator is working correctly?
A working regulator will hold the set pressure and respond smoothly when you turn the knob. If the pressure drops significantly or the knob feels loose and unresponsive, it might need attention. You can also test it by setting a pressure, waiting a few minutes, and checking if it remains stable.
Can I use the same pressure setting for all my air tools?
No, you absolutely should not. Different air tools have vastly different PSI requirements. For example, a delicate paint sprayer needs much less pressure than a heavy-duty impact wrench. Always consult your tool’s manual or markings for the correct PSI.
What if my air compressor doesn’t have a regulator knob?
Some older or very basic air compressors might not have an adjustable regulator. In such cases, you might need to purchase an inline regulator that attaches between your compressor’s main line and your tool. This accessory allows you to control the output pressure.
Is it safe to adjust the pressure while a tool is connected?
It’s best practice to disconnect your air tool before making significant adjustments to the regulator. While minor tweaks might be okay, disconnecting eliminates the risk of sudden pressure surges affecting the tool or causing injury. Always ensure the air supply to the tool is off when adjusting.
My pressure gauge is stuck or not moving. What should I do?
If your pressure gauge isn’t moving, it could be faulty or there might be a blockage. First, ensure your compressor is running and building tank pressure. If the tank pressure is fine but the output gauge is stuck, the gauge itself may need to be replaced. A qualified technician can help diagnose and fix this issue.