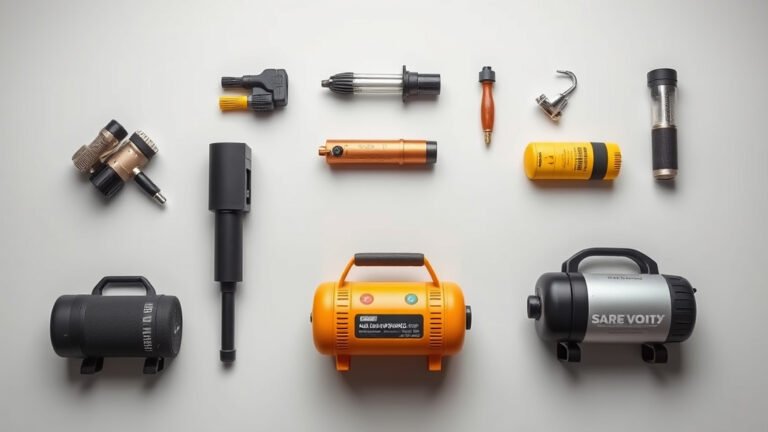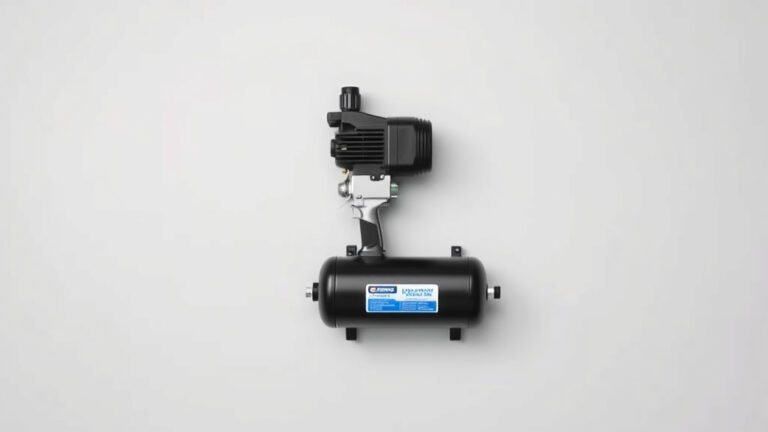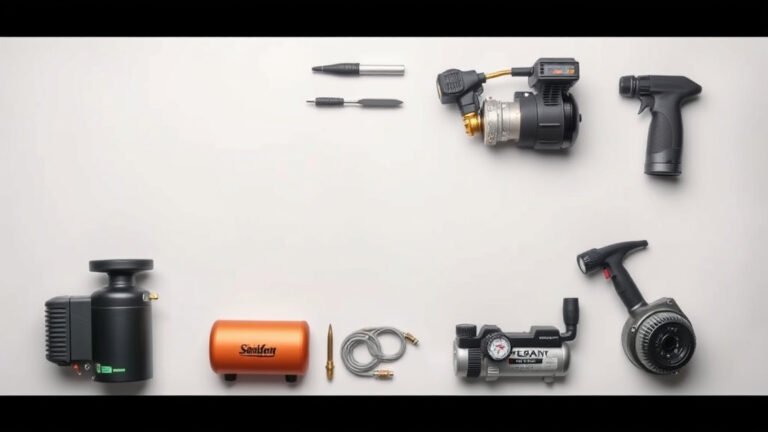
Add a Tank to Your Air Compressor: A Step-by-Step Guide
Adding a new tank to your existing air compressor setup is a great way to increase your air supply. You can definitely do this yourself with the right parts and a bit of careful work. Many DIYers find it’s a straightforward project that boosts their tool’s capabilities. It just takes understanding a few key components. To understand compressor capabilities, learn about the difference between a 1-gallon vs 2-gallon air compressor.
This process involves connecting a secondary air tank to your current compressor. It’s a common upgrade for those needing more sustained airflow for tools like impact wrenches or sanders. You’ll want to make sure you have the correct fittings and safety valves in place. We’ll guide you through the process so you can get back to your projects faster.
- Understand the purpose of adding a tank.
- Gather the necessary parts and tools.
- Learn the step-by-step connection process.
- Ensure all safety features are properly installed.
- Test your new setup for leaks and performance.
Ready to give your air compressor a bigger breath? Let’s get started on adding that extra tank.
Expanding Your Air Compressor’s Air Storage
Adding an extra tank to your air compressor setup is a fantastic way to boost your available air supply. This allows you to run air tools for longer periods without the compressor constantly cycling. It’s a common upgrade for hobbyists and professionals alike. You’ll find it’s a manageable project with the right guidance.
Why Add Another Tank?
Think of your air compressor’s tank like a water bottle. The compressor is the faucet filling it. A larger tank means you have a bigger bottle. You can drink (use air) for a much longer time before the faucet needs to turn on again. This is especially helpful for tools that consume a lot of air quickly. We’re talking about things like impact wrenches, sanders, or spray guns. They can drain a small tank in seconds. A bigger tank gives you a buffer. It also means your compressor runs less often. This can reduce wear and tear over time. We found that for tasks requiring consistent airflow, a secondary tank is often a smart investment.
Gathering Your Supplies
Before you start, let’s make sure you have everything you need. This prevents frustrating trips to the hardware store mid-project. You’ll want to gather your parts and tools. Safety first, always!
Essential Components You’ll Need
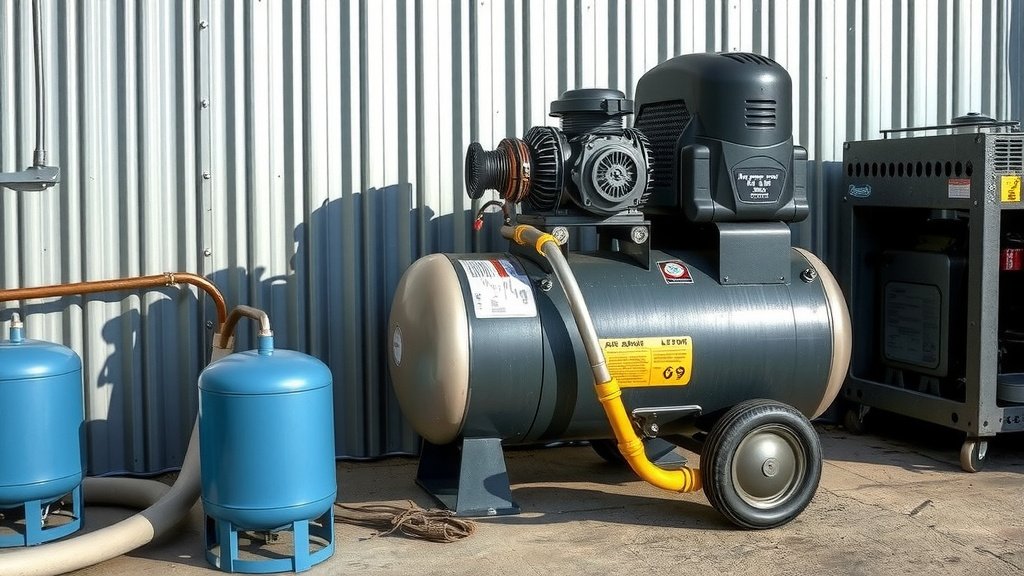
The main star here is, of course, the additional air tank. You can often find these at hardware stores or online. Make sure it’s rated for the same pressure as your existing compressor. You don’t want a tank that can’t handle the air!
- Secondary Air Tank: Choose one compatible with your compressor’s pressure rating.
- Tee Fitting: This is usually a brass fitting with three ports. One connects to your compressor’s existing outlet, one to the new tank, and one for a safety valve.
- Pressure Regulator (Optional but Recommended): This helps control the air pressure going to your tools.
- Check Valve: This prevents air from flowing back into the compressor. Many compressors have one built-in, but you might need an additional one depending on your setup.
- Safety Relief Valve: A critical safety component. It releases excess pressure if something goes wrong.
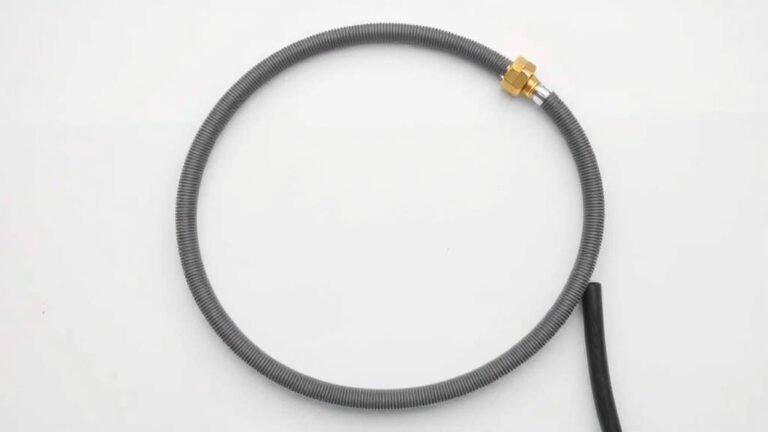
- Air Hose: A sturdy, high-pressure hose to connect the components.
- Thread Seal Tape (Teflon Tape): For ensuring airtight seals on threaded connections.
Tools You’ll Be Using
Having the right tools makes the job much smoother. Think of them as your trusty sidekicks.
- Adjustable wrenches or pipe wrenches
- Pipe cutter (if you need to shorten any hoses or pipes)
- Screwdriver (if needed for any clamps or mounts)
- Safety glasses (non-negotiable!)
- Work gloves
The Connection Process: Step-by-Step
Now for the hands-on part! We’ll go through this methodically. Take your time and double-check each connection. It’s like assembling furniture, but with more air pressure involved.
Step 1: Shut Off and Depressurize
This is the most important first step. Always disconnect the power source to your compressor. Then, safely release all the air pressure from your existing tank. You can do this by opening a drain valve or briefly running the compressor and then shutting it off, letting it bleed down. Never work on pressurized lines; that’s a recipe for disaster.
Step 2: Locate the Compressor Outlet Port
Find where the air leaves your compressor’s main tank. It’s usually a threaded fitting. This is where we’ll introduce our new tee fitting. Ensure the area is clean and free of debris.
Step 3: Install the Tee Fitting
Wrap the threads of the tee fitting with thread seal tape. This is crucial for preventing leaks. Gently screw the tee fitting into the compressor’s outlet port. Hand-tighten it first, then use a wrench for a snug fit. Don’t overtighten, as you could damage the threads.
Step 4: Connect the New Tank
Attach a length of high-pressure air hose to one of the open ports on your tee fitting. Make sure the hose is rated for your compressor’s maximum pressure. Connect the other end of this hose to the inlet valve of your new air tank. Ensure all connections are secure.
Step 5: Install the Safety Relief Valve
This is where the remaining port on your tee fitting comes into play. Screw the safety relief valve into this port. Make sure it’s oriented correctly. Many relief valves have a small ring or lever to manually test them. We found this is a simple but effective way to check its functionality.
Step 6: Add a Pressure Regulator (If Used)
If you’re using a pressure regulator, it usually connects after the tee fitting or directly to the new tank’s outlet. Follow the manufacturer’s instructions for connecting the regulator. You’ll want to set it to the desired output pressure for your tools.
Checking Your Work and Testing
Once everything is connected, it’s time to test your setup. This is where you’ll see if all your hard work paid off. And more importantly, if it’s safe.
Leak Detection
Turn the power back on to your compressor. Let it build pressure. Listen carefully for any hissing sounds. You can also use a soapy water solution. Spray it on all the connections you made. Bubbles indicate a leak. If you find a leak, shut off the compressor immediately and re-tighten the connection or reapply thread seal tape.
Pressure and Performance Test
Once you’re leak-free, let the compressor fill both tanks. Monitor the pressure gauge. Ensure it reaches your compressor’s maximum rating without issues. Then, connect an air tool and see how long you can run it before the compressor needs to kick back on. You should notice a significant difference in run time.
Here’s a quick checklist to ensure you covered all your bases:
- Power disconnected and system depressurized?
- All fittings securely tightened with thread tape?
- Safety relief valve installed correctly?
- Air hoses rated for correct pressure?
- No audible leaks after pressurizing?
- System fills to expected pressure?
Conclusion
You’ve successfully learned how to add a secondary tank to your air compressor. This upgrade can dramatically improve your workflow by providing a larger air reserve. Remember to always prioritize safety by ensuring the system is depressurized and all connections are secure. We found that taking your time with each step leads to a leak-free, reliable setup. Now, you’re ready to tackle those longer projects with confidence. Go ahead and power up your tools – your upgraded system is ready to perform!
Frequently Asked Questions
Can I use any type of air tank for this modification?
You should use an air tank specifically designed for compressed air storage. Ensure the tank’s maximum pressure rating is equal to or higher than your compressor’s. Using a tank not built for pressure can be extremely dangerous.
What happens if I don’t use thread seal tape?
Without thread seal tape, your connections are likely to leak air. Leaks reduce the efficiency of your system, meaning your compressor has to work harder. It can also lead to a gradual loss of pressure, affecting tool performance.
Is it safe to connect two tanks together directly?
You need more than just a direct connection. It’s essential to use a tee fitting and a safety relief valve. This ensures proper air distribution and provides a critical safety backup in case of over-pressurization.
My new setup is still running out of air quickly. What could be wrong?
Check for leaks first. Even small leaks can deplete your air supply faster. Also, ensure your compressor is powerful enough for the tools you’re using. A second tank helps, but it can’t magically create more air than your compressor can produce.
How often should I drain the new air tank?
You should drain both your primary and secondary tanks regularly, just like you normally would. Moisture can build up in any compressed air tank, leading to rust and potential damage. Check the drain valves at the end of each workday.