How to Blow Pool Lines with Air Compressor Safely
Yes, you can absolutely use an air compressor to blow out your pool lines. This is a highly effective method to remove water before winter. It helps prevent costly freeze damage to your plumbing. Your pool lines will be much safer this way.
Blowing out your lines is a key part of closing your pool for the season. It ensures that no water remains to expand when temperatures drop. We found this process is much better than just draining. It offers a more complete water removal.
- Use an air compressor designed for this job.
- Connect it securely to your pool’s plumbing.
- Slowly introduce air to push water out.
- Listen for gurgling sounds to confirm water is moving.
- Be patient and let the air do its work.
Below, we’ll walk you through exactly how to use your air compressor to blow out your pool lines step by step, making winterization a breeze.
Using an Air Compressor to Safely Clear Your Pool Lines
Blowing out your pool lines with an air compressor is a smart move. It’s a great way to prevent winter damage. Water left in your pipes can freeze and expand. This expansion can crack or burst your plumbing. That means expensive repairs down the road.
We found that using compressed air is often considered the most effective method for winterizing your pool’s plumbing system. It pushes out almost all the water, leaving very little room for freezing issues. Let’s get into the details so you can do it right.
Gathering Your Pool Winterization Tools
Before you start, make sure you have everything you need. This makes the process go much smoother and faster. You don’t want to be searching for a part when the air is already running.
Essential Equipment Checklist
Here’s what you’ll need:
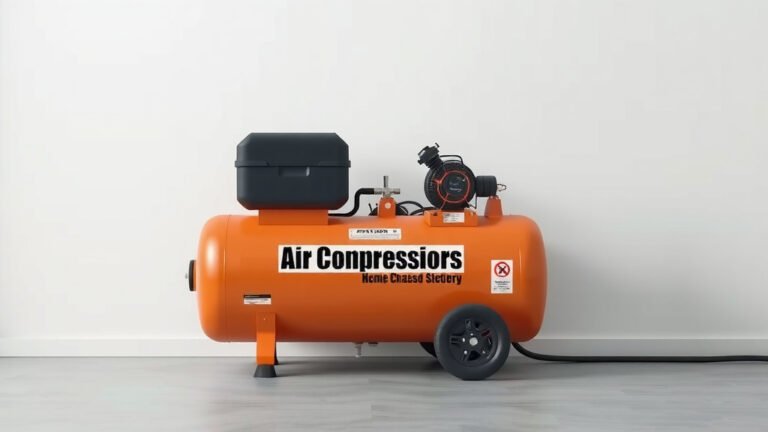
- A powerful air compressor. You’ll want one with enough CFM (cubic feet per minute) to handle the job. Most pool professionals recommend a compressor with at least 5 CFM at 90 PSI. You’ll want to ensure you have the right air compressor hose for the job, as discussed in this guide.
- An air compressor blow-out plug or adapter. This connects your compressor hose to your pool’s skimmer or pump outlet. Make sure it fits your equipment.
- Diverter valves or plugs for your return lines. These stop air from coming back out.
- A blower (optional, but helpful for stubborn water).
- The owner’s manual for your pool equipment.
- Safety glasses – always protect your eyes!
Choosing the Right Air Compressor
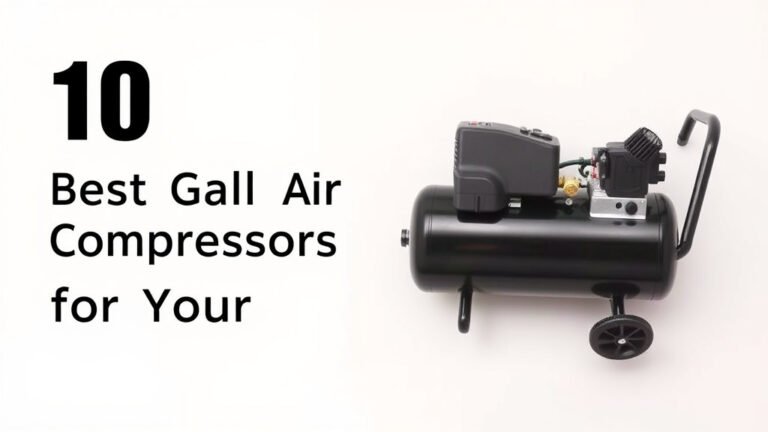
Not all air compressors are created equal. For blowing out pool lines, you need one that can deliver consistent, high volume air. Many DIYers find that a portable electric or gas-powered compressor works best. We’ve seen that compressors with a tank size of 20 gallons or more are generally sufficient for most residential pools. The CFM rating is more important than the tank size itself, though. Always check the PSI (pounds per square inch) rating too; you don’t want to over-pressurize your lines.
Preparing Your Pool for Air Blowing
Proper preparation is key to a successful blowout. This involves shutting down your pool equipment and setting up the plumbing to accept the air.
Step 1: Shut Down All Pool Equipment
Turn off your pool pump, heater, and any other accessories. You don’t want any of these running when you’re introducing air. Wait for the equipment to cool down if it was recently in use. Many pool professionals suggest letting the system sit for at least an hour after shutting it off.
Step 2: Lower Your Pool Water Level
This is an important step. You’ll need to lower the water level so it’s below your return lines. This ensures that when you blow the lines out, the water doesn’t just flow back in. Aim to lower the water about 4 to 6 inches below the skimmer opening. You can usually do this with a submersible pump or by backwashing your filter for an extended period.
Step 3: Drain Your Filter and Pump
Open the drain plugs on your filter tank and the pump. Let all the water drain out. This prevents freezing within these components as well. Make sure to keep track of these plugs so you don’t lose them!
Step 4: Disconnect Equipment and Plumb the Lines
Disconnect any flexible hoses from your pump and filter. Now, you’ll need to set up for the air. For your skimmer, remove the basket. Insert the blow-out adapter or plug into the skimmer line opening. For return lines, insert the diverter plugs into the wall fittings where the water usually comes out. These plugs are essential for directing the air properly and keeping it contained.
Blowing Out the Pool Lines with Air
This is the main event! With everything prepped, you’re ready to use the air compressor.
Connecting the Air Compressor
Attach your air compressor’s hose securely to the blow-out adapter you placed in the skimmer line. Ensure the connection is tight and leak-free. Any air escaping here won’t be pushing water out of your lines.
Introducing Air Gradually
Now, turn on your air compressor. Start with a low PSI setting, perhaps 20-30 PSI. You want to gradually increase the pressure as you hear water being pushed out. Many experts recommend not exceeding 30-35 PSI for most residential pool plumbing. Check your manufacturer’s recommendations to be safe. Listen for the sound of water being expelled from the return lines or the skimmer opening.
Monitoring the Water Flow
Watch and listen carefully. You should hear a gurgling or spitting sound as the air forces water out. Continue blowing air until you no longer hear water being expelled and only dry air is coming out. This might take a few minutes per line.
Working Through Each Line
If you have multiple return lines, you’ll need to repeat this process for each one. You might need to partially close the diverter plugs on the lines that are already clear to force more air through the stubborn ones. Be patient; it’s better to take your time than to rush and miss water.
Troubleshooting Common Issues
Sometimes, water can get trapped in low spots or bends in the plumbing. If you’re struggling to get all the water out, you might need to use a shop vac or a leaf blower in reverse mode to help draw out remaining moisture. Some professionals also recommend using a blower to push air through the lines after the compressor has done its main job.
Securing Your Lines After Blowing
Once you’re confident the lines are clear, it’s time to secure everything for the winter.
Plugging All Openings
Remove the blow-out adapter from the skimmer and insert a winterizing plug. Similarly, plug all return line fittings and any other openings where water could enter. Use appropriate winter plugs for these areas.
Blowing Out the Pump and Filter Again
After the lines are clear, it’s a good idea to blow air through the pump and filter one last time to ensure any residual water is removed from those components. You might need to re-connect hoses for this. The goal is to leave absolutely no standing water.
Adding Pool Antifreeze (Optional but Recommended)
For colder climates, many experts recommend adding a pool-specific antifreeze to the lines after blowing them out. This offers an extra layer of protection against any small amounts of water you might have missed. Be sure to use a non-toxic antifreeze designed for pools, never automotive antifreeze (which can harm your pool and is toxic).
Final Checks and Winterization Complete
Take a moment to double-check everything. Are all the plugs tight? Is all your equipment properly drained and stored? A final walk-around ensures you haven’t missed any steps. You’ve successfully used your air compressor to protect your pool lines from winter’s freeze. It’s a task that saves you a lot of potential headaches and money!
Conclusion
You’ve now learned how to effectively use an air compressor to blow out your pool lines. This crucial step in pool winterization prevents costly freeze damage and ensures your plumbing system is safe. Remember to gather all your tools, prepare your pool by shutting down equipment and lowering the water level, and then carefully introduce air to push out any remaining water. Securing all openings with winterizing plugs afterward is essential. Taking these steps will give you peace of mind throughout the winter months, knowing your pool is protected.
Frequently Asked Questions
What PSI should I use to blow out pool lines?
You should aim for a PSI between 20-30 to start, gradually increasing as needed. It’s generally recommended not to exceed 30-35 PSI for most residential pool plumbing. Always check your pool equipment’s manual for specific pressure recommendations to avoid damage.
Can I use a shop vac to blow out pool lines?
While a shop vac on its blower setting can help push some air through, it typically doesn’t provide enough consistent volume or pressure compared to a dedicated air compressor. It might be useful for small lines or as a secondary tool after using a compressor.
How long does it take to blow out pool lines?
The time can vary depending on your pool’s complexity and the power of your air compressor. Expect it to take anywhere from 15 minutes to over an hour. Patience is key; you need to ensure all water is expelled from each line.
What happens if I don’t blow out my pool lines?
If you don’t remove the water, it can freeze and expand inside your pipes. This expansion can cause cracks or bursts in your plumbing, leading to expensive repairs when spring arrives. It’s a critical step for preventing winter damage.
Do I need to blow out my pool lines if I live in a warm climate?
If you live in a region that doesn’t experience freezing temperatures, you likely don’t need to blow out your pool lines for freeze protection. However, regular draining and cleaning are still important for maintaining water quality and equipment health if you plan to shut down your pool for an extended period.