How to Change Air Compressor Tools: A Step-by-Step Guide
Changing air compressor tools is a quick process you can do yourself. You just need to turn off the compressor and release the air pressure before swapping them out. It’s a straightforward task that keeps your projects moving.
Knowing how to switch out your air tools safely ensures you can tackle different jobs without interruption. Many DIYers and professionals find this skill essential for efficiency. We found that understanding the basic steps helps prevent potential issues.
- Turn off the compressor first.
- Always release remaining air pressure.
- Quickly swap your air tool attachment.
- Turn the compressor back on.
Let’s walk through exactly how to change your air compressor tools step by step so you can get back to work.
Swapping Out Your Air Compressor Tools Safely
You’re ready to switch from your air nailer to your impact wrench. It sounds simple, and it mostly is! Changing air compressor tools is a task you can handle yourself. We found that following a few key steps ensures a safe and quick transition. This keeps your project moving forward without any unnecessary risks.
Preparing to Make the Change
Before you even think about touching the hose or coupler, take a moment to pause. The most important first step is to make sure your air compressor is off. This might seem obvious, but in the middle of a project, it’s easy to rush. Many accidents happen when equipment is still under power.
We found that turning off the compressor at its power source, whether it’s a wall switch or a breaker, is the best practice. Don’t just rely on the on/off switch on the unit itself. Ensuring there’s no power going to the motor prevents it from accidentally kicking on.
Releasing the Air Pressure: A Critical Step
After powering down, the next vital step is to release any stored air pressure. Your air compressor builds up pressure to power your tools. This pressure, even when the compressor is off, can still be significant. Releasing it makes everything safe to handle.
You’ll typically find a valve or a knob on the compressor for draining the tank. Locate this valve. Slowly open it to let the air escape. You’ll hear a hissing sound as the pressure diminishes. We found that it’s best to let out most, if not all, of the air from the tank.
The Role of the Regulator
Many air compressors have a regulator. This device controls the air pressure delivered to your tools. While you’ve released the main tank pressure, there might still be some residual pressure in the hose and the regulator itself. You can often adjust the regulator down to zero or its lowest setting.
We found that some hoses have a small bleed valve, but most systems rely on the main tank drain. For extra safety, you can also gently squeeze the trigger on the tool you were using. This can help vent any remaining air trapped in the hose line.
Disconnecting Your Current Tool
Once the pressure is gone, you can disconnect the tool you were using. Air tool fittings, often called quick-connect couplers, are designed for easy changes. You’ll usually see a sleeve on the coupler. You need to pull this sleeve back to release the tool’s air line.
As you pull the sleeve back, the male end of the air hose will detach from the tool. Make sure you’re holding onto both parts. We found that some couplers can be a bit stiff, especially if they’re dirty. A little wiggle can help, but don’t force it.
What If It’s Stuck?
If you’re having trouble disconnecting a coupler, it might be clogged with debris. Sometimes, a quick wipe with a clean rag can help. If it’s really stuck, and you’ve confirmed all pressure is released, a very gentle application of lubricant like WD-40 might work. Let it sit for a minute before trying again.
Always ensure you’ve released the pressure first. Trying to force a stuck coupler when pressure is still present is dangerous. We found that regular maintenance of your air fittings can prevent these issues.
Connecting Your New Air Tool
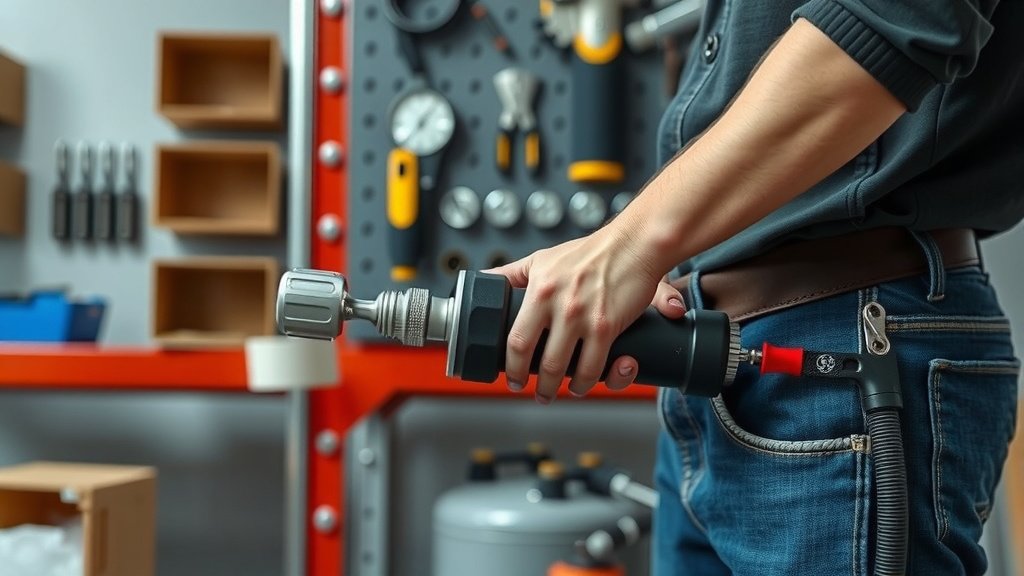
Now for the exciting part – attaching your new tool! This is the reverse of disconnecting. Take the male end of your air hose, the part with the quick-connect fitting, and align it with the female port on your new tool. You’ll likely need to pull back the coupler’s sleeve again.
Push the hose fitting firmly into the tool’s port. Once it’s seated, slide the sleeve forward. You should hear or feel a distinct ‘click’ as it locks into place. This means your tool is securely attached. We found that giving the tool a gentle tug ensures it’s properly connected.
Checking the Connection
Before you turn the compressor back on, it’s wise to double-check the connection. Is the sleeve fully forward? Does the tool feel firmly attached to the hose? A loose connection can lead to air leaks, reducing your tool’s power and potentially causing a sudden disconnection.
We found that a quick visual inspection and a gentle pull are usually enough. You want to be certain it’s secure. This prevents air from escaping and ensures your tool will function correctly.
Bringing the Compressor Back Online
With your new tool securely attached, you’re almost ready to get back to your task. Now it’s time to turn your air compressor back on. Go back to the power source you used to turn it off. Flip the switch or reset the breaker.
The compressor will start building pressure in the tank again. Listen for any unusual noises. Once it reaches its cut-off pressure, it will stop. You can then adjust your regulator to the recommended pressure for your new tool. We found that consulting your tool’s manual for the correct pressure setting is always a good idea.
Quick Checklist for Safe Tool Swapping
Here’s a quick rundown to keep in mind:
- Turn off the compressor’s main power.
- Release all stored air pressure from the tank.
- Disconnect the old tool by pulling back the coupler sleeve.
- Connect the new tool by pushing the hose fitting into the coupler.
- Ensure the coupler sleeve locks the fitting securely.
- Turn the compressor back on and set the regulator.
Common Air Tool Fittings and Their Differences
While most air tool connections are similar, especially in North America, there are a few types you might encounter. The most common is the “Industrial Interchange” or “I/I” style fitting. These are very durable and widely used.
You might also see “Automotive Interchange” or “A/I” fittings. These are generally smaller and less robust, often found on lighter-duty tools. For the most part, they are compatible with I/I fittings, but it’s best to stick to one system if possible.
We found that manufacturers often use proprietary fittings, especially for specialized tools. Always check what type of connector your tool uses. If you’re unsure, the manual or the manufacturer’s website is a good place to look. Having a few different adapter types on hand can be useful.
When to Seek Professional Help
For the vast majority of tool changes, you won’t need assistance. However, if you’re ever uncomfortable or notice something seems wrong with the fittings or the hose, don’t hesitate to get help. A damaged fitting or hose can be a safety hazard.
If your coupler is consistently sticking or leaking air even after cleaning, it might be time for a replacement. Many hardware stores sell replacement couplers. We found that replacing a worn-out coupler is a simple fix that can save you a lot of frustration and potential issues down the line.
Conclusion
You’ve got the know-how to swap your air compressor tools like a pro now. Remember, safety always comes first. Turning off the compressor and releasing the air pressure are non-negotiable steps. We found that these simple actions make the whole process smooth and safe for you. Taking a moment to secure the connection ensures your new tool works at its best. Now you’re ready to tackle any project with confidence. Go ahead and power up your compressor for your next job!
Frequently Asked Questions
How often should I check my air compressor fittings for wear?
We found that checking your fittings for wear should be part of your regular maintenance routine. A quick visual inspection every few months, or before a big project, is usually sufficient. Look for any cracks, kinks, or signs of damage to the rubber or metal parts.
Can I use a different brand’s quick coupler if mine is worn out?
Generally, yes, as long as you’re using common interchange fittings like the “Industrial Interchange” type. We found that most North American air tool fittings are compatible. Always double-check the compatibility to ensure a secure and leak-free connection for your new coupler.
What if my quick coupler is really stuck and won’t release the hose?
First, confirm all air pressure is completely released from the system. If it’s still stuck, a little gentle wiggling might help. We found that sometimes a bit of penetrating oil applied to the coupler mechanism can loosen it up if it’s just gunked up.
Do I need to adjust the regulator every single time I change a tool?
Yes, it’s best practice to adjust the regulator for each new tool. Different air tools require different pressure levels to operate correctly and safely. We found that using a tool at the wrong pressure can damage it or lead to poor performance, so always check the manual.
Is it okay to leave an air tool connected to the hose when the compressor is off?
It’s generally okay to leave a tool connected, but you should still ensure the compressor is turned off and the air pressure is released if you’re going to store it for an extended period. We found that leaving a tool connected with residual pressure in the hose doesn’t pose a major risk, but releasing pressure is always safer.