Disassemble and Reassemble Your Reciprocating Air Compressor
Disassembling and reassembling a reciprocating air compressor might seem daunting, but it’s totally doable with the right guidance. You can successfully take apart and put back together your air compressor by following a step-by-step process and paying close attention to details. Proper disassembly and reassembly are key to keeping your compressor running smoothly and safely, ensuring it delivers the air pressure you need for your projects. This guide will help you tackle this task with confidence.
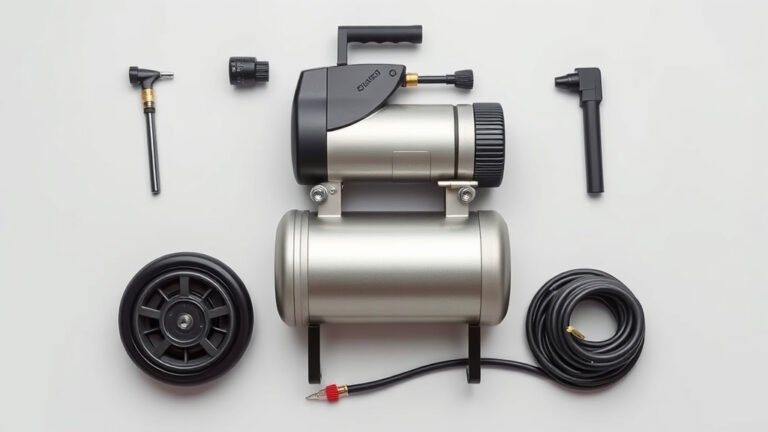
When you’re preparing to work on your air compressor, it’s essential to understand the basic parts involved. Knowing how the motor, pump, tank, and valves interact is helpful. Many DIYers find that taking photos as they go greatly aids the reassembly process. This approach helps prevent common mistakes and ensures all components are returned to their correct positions.
- Always disconnect power before starting.
- Organize parts and hardware carefully.
- Refer to your compressor’s manual.
- Test the compressor after reassembly. Test the compressor after reassembly to ensure it’s functioning correctly; our guide on adjusting the pressure switch can help fine-tune its operation.
Let’s walk through exactly how to get your reciprocating air compressor taken apart and put back together correctly, step by step.
Taking Apart and Reassembling Your Reciprocating Air Compressor
When you need to dive into the inner workings of your reciprocating air compressor, knowing the steps for disassembly and reassembly is key. It’s not as scary as it might sound if you approach it methodically. We’re going to break down how to do it safely and effectively, so your compressor is ready for its next job.
Getting Ready: Safety First and Tool Time
Before you even think about touching a wrench, safety is your absolute top priority. We can’t stress this enough: always disconnect the power. This means unplugging it from the wall or turning off the circuit breaker. You don’t want any unexpected power surges while your hands are near moving parts. It’s a basic step, but critical for preventing serious injury.
Gathering Your Tools and Supplies
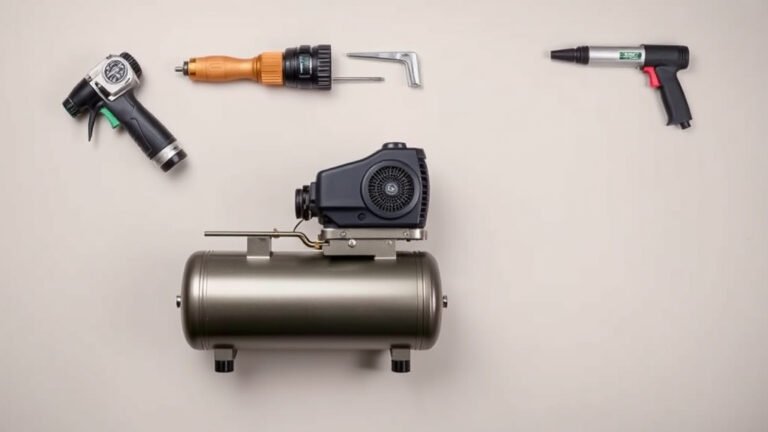
Having the right tools ready will make the whole process smoother. You’ll likely need a set of metric and standard wrenches and sockets, screwdrivers (both Phillips and flathead), pliers, and possibly an Allen wrench set. Don’t forget a container for screws and small parts. A good quality shop rag or paper towels are also a must for cleaning as you go.
Documenting Your Work
This is where your phone becomes your best friend. Before you remove any part, take a picture or even a short video. Seriously, photos are your best reassembly guide. Many people find this the single most helpful tip. You’ll be amazed at how much faster and easier it is to put everything back when you can refer to a visual record.
Disassembly: Step-by-Step Process
Now that you’re prepped and have your camera ready, let’s get started on taking it apart. We’ll focus on the main components you’re likely to encounter.
Accessing the Pump Assembly
First, you’ll probably need to remove the outer housing or shroud that covers the pump and motor. This is usually held on by a few bolts or screws. Keep these fasteners in a designated spot. Once the cover is off, you’ll have a clearer view of the pump mechanism. You might need to remove belts from the motor pulley if your compressor has them.
Removing the Cylinder Head and Valves
The cylinder head is where the magic of compression happens. It’s typically secured by bolts. Loosen these bolts evenly, going in a criss-cross pattern, much like you would with lug nuts on a car wheel. This prevents warping. Once the head is off, you’ll see the valves. They are often held in place by a valve plate or retainer. Note their orientation and order; they are usually specific and directional.
Taking Apart the Piston and Connecting Rod
Beneath the cylinder head is the piston. You might be able to lift the piston and connecting rod assembly out of the cylinder bore directly. Sometimes, you may need to remove the crankcase cover from the bottom to access the crankshaft and connecting rod bolts. Again, document every connection and the order of any washers or shims. The piston rings are delicate; handle them with care.
Draining and Inspecting the Tank
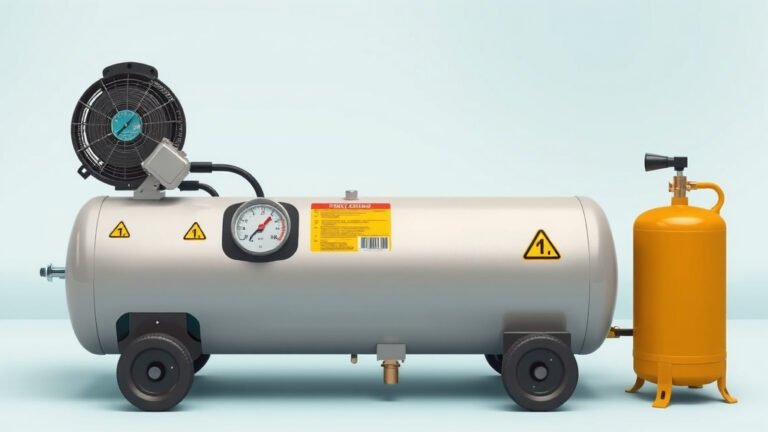
While not always part of a pump-specific repair, if you’re doing a deeper dive, you might consider the tank. Always ensure the tank is completely depressurized before attempting any work. Drain any water that may have accumulated. Inspect the inside of the tank for any signs of rust or corrosion that could compromise its integrity. Many experts recommend a thorough inspection of the tank during significant compressor maintenance (OSHA).
Reassembly: Putting It All Back Together
Reassembly is essentially the reverse of disassembly, but with a bit more attention to detail. This is where those photos will really shine!
Reinstalling the Piston and Connecting Rod
Carefully reinsert the piston and connecting rod assembly back into the cylinder. Ensure the piston rings are correctly seated and oriented. If you removed the crankcase cover, reattach the connecting rod to the crankshaft, using the correct torque specifications if you have them. Make sure any seals or gaskets are properly aligned.
Replacing the Cylinder Head and Valves
Now, it’s time for the cylinder head. Ensure the valves are correctly placed and oriented in the valve plate. Then, carefully position the head back onto the cylinder. Tighten the head bolts in the same criss-cross pattern you used for removal. Tightening them evenly is vital for a good seal and to prevent damage. Don’t overtighten, but ensure they are snug.
Final Touches and Belt Alignment
Reattach any covers or shrouds you removed. If your compressor has a drive belt, put it back on the pulleys. Adjust the belt tension according to your compressor’s manual. Properly tensioned belts are important for efficient power transfer and prevent premature wear on the motor and pump bearings. Check that everything is secure and all fasteners are in place.
Pre-Startup Checklist
Before you plug it back in and flip the switch, run through this quick checklist. It’s like a final safety sweep:
- All fasteners are tightened.
- Belts (if applicable) are installed and properly tensioned.
- No tools or rags are left inside the compressor housing.
- The cylinder head is seated correctly and bolts are torqued.
- The power cord is free from damage.
Taking apart and putting back together your air compressor is a rewarding task that can save you money and give you a better understanding of your equipment. Just remember to work slowly, stay organized, and prioritize safety at every step. With a little patience, you’ll have your compressor purring like new!
Conclusion
You’ve successfully navigated the process of taking apart and putting back together your reciprocating air compressor. Remember, careful disassembly, proper organization, and meticulous reassembly are key to ensuring your compressor’s longevity and performance. By following the steps and prioritizing safety, you’ve gained hands-on experience that can save you time and money. Now that your compressor is reassembled, make sure to run a final check of all connections and belts before powering it on. Don’t hesitate to perform a brief test run to confirm everything is functioning as it should.
Frequently Asked Questions
What if I lose a small part during disassembly?
If you misplace a small part, take a moment to retrace your steps carefully. Check any containers you used for hardware. If it’s truly lost, consult your air compressor’s manual to identify the part and order a replacement. Sometimes, ordering a hardware kit for your model can be a good solution.
How tight should I make the cylinder head bolts?
You should tighten cylinder head bolts evenly in a criss-cross pattern to prevent warping. While your manual may specify torque settings, a snug fit is generally sufficient for DIY repairs. Overtightening can damage the head or cylinder, while undertightening can lead to leaks.
Can I use a different type of oil when reassembling?
It’s best to use the exact type of oil recommended in your air compressor’s manual. Using the wrong oil can affect lubrication, cooling, and the overall performance of the pump. Always stick to the manufacturer’s specifications for optimal results and to avoid potential damage.
Do I need to replace seals or gaskets?
It’s a good practice to replace seals and gaskets, especially if they appear worn, cracked, or damaged during disassembly. These components are essential for creating proper seals and preventing air leaks. Replacing them during reassembly can prevent future issues and ensure efficient operation.
How do I know if I reassembled it correctly?
After reassembly, perform a thorough visual inspection to ensure all parts are secure and properly aligned. Then, follow the pre-startup checklist. Once powered on, listen for unusual noises, check for air leaks, and ensure the compressor builds pressure as expected. Your compressor’s manual can provide details on normal operating sounds and performance.