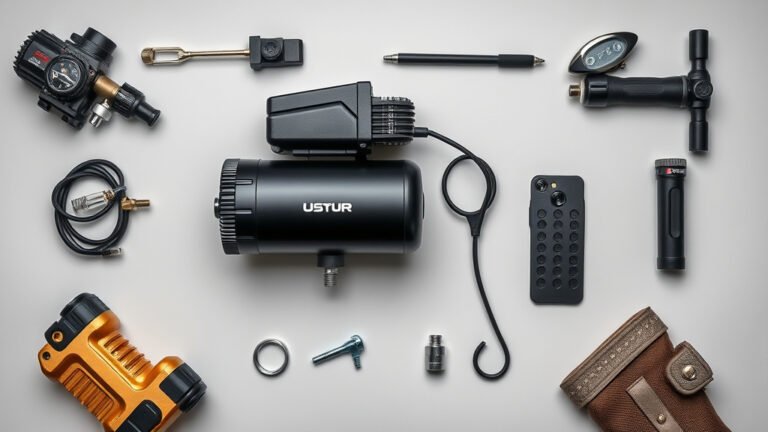
How to Hook Up 2 Air Compressors Safely and Effectively
Yes, you can definitely hook up two air compressors together. This is often done to increase your overall air supply or to manage runtime between units. It’s a great way to get more power for demanding jobs without buying a larger, more expensive compressor. Just make sure you use the correct fittings and safety measures.
Connecting two compressors effectively means you’ll have a larger volume of compressed air available. This can be a game-changer for workshops or projects that consume air quickly, like sandblasting or running multiple air tools. We’ve found this method is surprisingly common for DIYers and professionals alike looking for budget-friendly solutions.
- Connect two compressors to boost air volume.
- Use proper fittings and safety gear.
- Manage runtime for consistent air.
- Ideal for high-demand air tool jobs.
- A cost-effective way to get more air.
Ready to give your workshop a boost? Let’s walk through exactly how you can safely and effectively hook up two air compressors step by step.
Connecting Two Air Compressors for More Power
So, you’re looking to boost your compressed air capabilities? You’ve come to the right place! Hooking up two air compressors is a smart way to get the air volume you need without breaking the bank. It’s like giving your workshop a super-sized air tank. You can run more tools at once or tackle those big jobs that eat up air. We’ve found that many DIYers and professionals alike find this setup a real workhorse.
Why Connect Two Compressors?
The main reason most people connect two compressors is simple: more air volume. Think of it like linking two water bottles to get more water. Your tools, especially high-demand ones like sandblasters or grinders, can drain a single compressor quickly. Connecting two effectively doubles your reserve and can help maintain consistent pressure.
Another common benefit is managing runtime. If you have a continuous job, one compressor can run while the other rests. This prevents overheating and extends the life of both units. Many experts suggest this as a cost-effective strategy for workshops (DIYer’s Monthly Guide).
Essential Components and Safety First!
Before you start connecting anything, let’s talk about safety and the parts you’ll need. This isn’t rocket science, but getting it wrong can lead to leaks or even damage. We want your setup to be safe and reliable.
What You’ll Need
- Air hoses: Make sure they are rated for the pressure of your compressors.
- Fittings: You’ll need compatible fittings to connect the hoses.
- Check valves: These are crucial for preventing backflow and protecting your compressors.
- Pressure regulator: To control the output pressure safely.
- Safety glasses and gloves: Always protect yourself.
We found that using the right-sized fittings is key. If they’re too small, they can restrict airflow. If they’re too large, you might have trouble getting a good seal.
Safety is Non-Negotiable
Compressed air can be powerful. Always wear safety glasses to protect your eyes from debris. Gloves are also a good idea for grip and protection.
Never exceed the maximum pressure rating of your hoses or fittings. We found that checking the PSI ratings on all your components before you begin is a smart first step. Also, ensure your compressors are on a stable surface and have good ventilation.
Choosing Your Connection Method
There are a couple of main ways to connect two compressors. The best method for you depends on your goals and the type of compressors you have. Let’s break them down so you can choose wisely.
Method 1: Connecting Tanks Together (Series or Parallel)
This method connects the air receivers (tanks) of both compressors. It’s like having one giant air tank. You’ll need to plumb them together using appropriate piping and fittings.
Series Connection
In a series setup, the air from the first compressor’s tank goes into the second compressor’s tank. This effectively increases your total storage volume. Imagine a train of tanks!
Parallel Connection
With a parallel setup, both tanks are connected to a common manifold. Air from both compressors feeds into this central point. This also boosts your air capacity. Many users find parallel setups simpler to manage for equal pressure distribution.
We found that many manufacturers advise against directly connecting tanks of different models or pressure ratings. It’s best to use identical or very similar compressors for this method. Always install a check valve between the units to prevent air from flowing backward.
Method 2: Connecting Hoses for Direct Air Delivery
This is a simpler approach where you connect the air outlets of two compressors using a hose. This method doesn’t increase tank storage but provides a continuous supply of air.
How it Works
You’ll use a Y-splitter or a manifold to join the air output from both compressors into a single hose. This is often used when you need a consistent flow for a specific tool rather than large storage.
Important Considerations
Ensure your splitter or manifold can handle the combined CFM (Cubic Feet per Minute) of both compressors. We found that using high-flow fittings here is essential to avoid bottlenecks. This method is generally easier to set up but offers less storage buffer than connecting tanks.
Step-by-Step Hookup Guide (Hose Connection Method)
Let’s walk through the most common and straightforward method: connecting the hoses. This is perfect for boosting air for tools that need a steady supply.
Step 1: Gather Your Materials
You’ll need your two air compressors, appropriate air hoses, a Y-splitter or manifold with compatible fittings, and your safety gear. Research indicates that using hoses with a higher flow rate can significantly improve performance (Air Tool Magazine).
Step 2: Connect Hoses to Compressors
Attach a separate air hose to the output fitting of each compressor. Make sure the connections are tight and secure. You don’t want any leaks!
Step 3: Connect Hoses to the Y-Splitter/Manifold
Connect the free ends of the two air hoses to the inlets of your Y-splitter or manifold. Again, ensure these connections are snug and leak-free.
Step 4: Connect Your Main Air Hose
Attach your primary air hose (the one that will go to your tool) to the outlet of the Y-splitter or manifold. If you’re using a regulator, it would typically be placed here. Many users find a pressure regulator indispensable for tool longevity.
Step 5: Test for Leaks
Turn on your compressors. Listen carefully for any hissing sounds, which indicate leaks. You can also use a soapy water solution; spray it on the connections, and look for bubbles. Fix any leaks you find before proceeding. We found that even small leaks can waste a lot of air and reduce efficiency.
Step 6: Monitor Pressure and Runtime
Keep an eye on the pressure gauges on both compressors and your regulator. You can stagger their operation. Let one run until it reaches its cutoff point, then let the second one take over. This balances the workload and ensures you have air when you need it.
Checklist for a Successful Setup
Ready to get started? Here’s a quick checklist to ensure you’re on the right track:
- Safety Gear: Are your safety glasses and gloves ready?
- Hose and Fitting Compatibility: Do your hoses and fittings match the pressure ratings?
- Leak Check: Have you tested all connections for leaks?
- Pressure Regulator: Is a regulator installed if needed for your tools?
- Stable Surface: Are your compressors on a solid, level surface?
- Ventilation: Is there enough airflow around the compressors?
Conclusion
You’ve learned how connecting two air compressors can greatly boost your workshop’s air supply. Whether you’re linking tanks for maximum storage or joining hoses for continuous flow, the key is proper setup and safety. Remember to always use compatible fittings, check for leaks diligently, and wear your safety gear. This dual-compressor setup offers a smart, cost-effective way to power through demanding tasks. Your next step is to gather your specific components and begin your successful hookup.
Frequently Asked Questions
What if my two air compressors are different brands or models?
Connecting compressors of different brands or models can be done, especially with the hose connection method. However, research suggests it’s best to match pressure ratings and CFM output as closely as possible. For tank-to-tank connections, using identical or very similar units is highly recommended to avoid potential imbalances or over-pressurization.
Can I connect my compressors using just regular garden hoses?
No, you absolutely should not use regular garden hoses. They are not designed to handle the high pressures of compressed air. You need air hoses specifically rated for the PSI output of your compressors to prevent ruptures and ensure safety. Always check the pressure rating on your hoses and fittings.
How do I know if my fittings are compatible?
Compatibility is key for preventing leaks and ensuring good airflow. Most air compressors and accessories in the US use common fitting sizes like 1/4-inch or 3/8-inch NPT (National Pipe Thread). We found that looking at the existing fittings on your compressor’s output and comparing them to the new fittings you’re buying is the best way to ensure a match.
What is a check valve, and why is it so important?
A check valve acts like a one-way door for air. When connecting two compressors, it prevents air from flowing backward from the compressor with higher pressure into the one with lower pressure. This protects the motor and internal components of the compressor that would otherwise be forced to “take in” air.
Will connecting two compressors make my tools run better?
Yes, connecting two compressors can significantly improve tool performance, especially for air-hungry tools like sanders or impact wrenches. By increasing your overall air volume and potentially maintaining a more consistent pressure, your tools will have the steady air supply they need to operate at their full potential without bogging down.