Pressure Washer Snow: How To Make It With Air Compressor
Yes, you can make snow with a pressure washer and an air compressor, but it’s important to understand the process and limitations. This method relies on creating a fine mist of water that freezes rapidly due to the cold air. We’ve found it’s a surprisingly effective way to create a bit of winter magic for events or decorations when conditions are right. You’ll need a good setup for snow-making fun.
Creating artificial snow this way involves more than just spraying water around. It’s about the precise mixture of water and air. This technique is often used for temporary winter displays. Many people find this method achievable with the right equipment and a bit of practice.
- Mix water and cold air for freezing.
- Requires a pressure washer and air compressor.
- Best in cold, humid conditions.
- Creates temporary, decorative snow.
Ready to create your own winter wonderland? Let’s walk through exactly how this works step by step and what you’ll need to get started.
Creating Your Own Snow with Household Tools
You absolutely can create a snowy effect using a pressure washer and an air compressor. This method works by atomizing water into tiny droplets. These droplets then freeze as they hit the cold air. It’s a fun way to bring a touch of winter to your yard. Think of it as making a very fine mist that turns into ice crystals. Many people find this technique surprisingly effective for temporary decorations.
Understanding the Science Behind the Snow
The core principle is simple: supercooled water. When water is sprayed as a fine mist, it has a lot of surface area exposed to the air. If the air is cold enough, these tiny droplets lose heat rapidly and freeze before they hit the ground. The air compressor plays a key role here. It helps to break the water into the finest possible mist.
The Role of Temperature and Humidity
This snow-making method is highly dependent on your local weather. For the best results, you need conditions that are cold and humid. Ideally, the temperature should be below freezing (32°F or 0°C). However, even temperatures a few degrees above freezing can sometimes work if the humidity is very high. Think of a foggy winter morning – that moisture is your friend.
- Lower temperatures increase your chances of freezing.
- High humidity means more moisture in the air to freeze.
- Wind can blow your snow away before it forms.
- Dry air will cause the water to evaporate instead of freeze.
We found that temperatures between 20°F and 30°F (-7°C to -1°C) are often the sweet spot. Humidity levels above 80% are also very beneficial. Without these conditions, you’ll mostly just get wet, not snowy.
Gathering Your Snow-Making Equipment
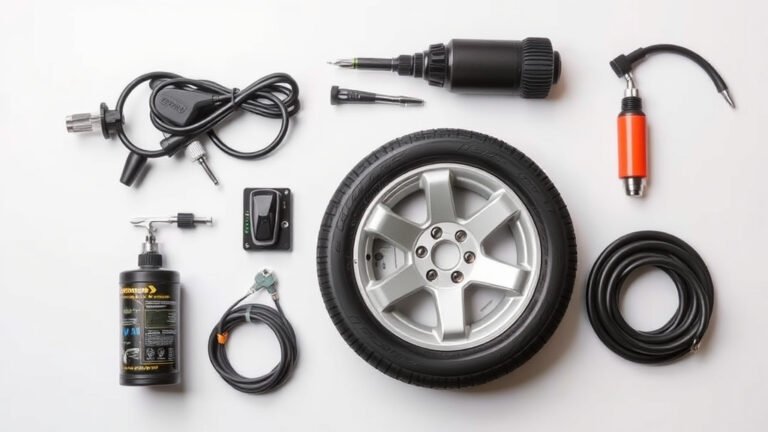
To get started, you’ll need a few key pieces of equipment. Having the right tools makes the process much easier. You’ll also want to consider safety gear. Working with water and electricity, even outdoors, requires caution.
Essential Tools and What They Do
First, you’ll need a pressure washer. This will supply the water and give it the initial push. It doesn’t need to be an industrial-grade machine. A standard home use pressure washer, around 1500-2000 PSI, is usually sufficient. You’ll also need a source of clean water connected to it.
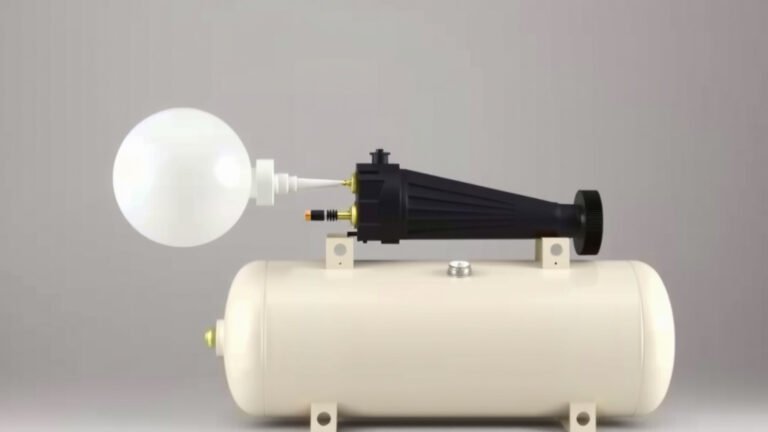
Next, an air compressor is vital. This machine provides the compressed air needed to atomize the water. The finer the mist, the better your chances of creating snow. Look for a compressor that can deliver a consistent flow of air, measured in CFM (cubic feet per minute). A compressor with a higher CFM rating will generally produce a finer mist.
You’ll also need a way to connect the water from the pressure washer to the air stream. This is often done with a specialized nozzle or a mixing device. Many DIY setups use a simple Y-connector or a venturi injector. These devices pull water into the air stream.
Optional but Helpful Accessories
A long hose for your pressure washer is a good idea. This allows you to position the compressor and water source safely away from the snow-making area. You might also want a sturdy tripod or mount to hold your nozzle steady. This helps direct the spray where you want it. A long hose for your pressure washer is a good idea, and a cold-weather air compressor hose can also be beneficial.
Consider having a filter on your water source. This prevents debris from clogging your nozzle. A good nozzle is key; look for one designed for fine misting or fogging. Some people use garden sprayers as a component, but a pressure washer offers more control.
Setting Up Your Snow-Making System
Setting up requires careful planning. You want to ensure everything is connected securely. Leaks can reduce your effectiveness and make a mess. Safety should be your top priority throughout this process. Always follow manufacturer instructions for your equipment.
Connecting the Water and Air
The most common setup involves connecting your pressure washer’s output hose to an air-water mixing device. This device then attaches to your air compressor’s hose. The air compressor forces air through the device, drawing in water from the pressure washer. This mixture exits as a fine spray.
Research and found that many DIY enthusiasts use a venturi injector. This is a simple, inexpensive part that creates a vacuum to suck water into the air stream. You’ll need adapters to connect your hoses to the injector. Ensure all connections are tight and secure to prevent leaks.
Testing and Adjusting the Spray
Once connected, it’s time for a test run. Turn on the water supply and the air compressor. You should see a fine mist spraying from the nozzle. If the mist is too coarse, adjust the air pressure. More air pressure generally means a finer mist. If you’re not getting enough water, check your pressure washer’s output and the water supply.
You might need to experiment with different air pressure settings. The ideal pressure will vary based on your specific equipment. We found that a gentle, widespread mist is more effective than a powerful jet. You want the water to have time to freeze.
The Step-by-Step Snow-Making Process
Now that your setup is ready, you can begin making snow. This is where you’ll see your hard work pay off. Remember, patience is key, especially when you’re first learning.
Step 1: Choose Your Location and Conditions
Pick an area where you want the snow. Make sure it’s a spot where the snow can accumulate safely. Open areas are usually best. Check the weather forecast. Cold temperatures and high humidity are your best friends here. If it’s too warm or dry, you won’t get much snow.
Step 2: Position Your Equipment
Set up your pressure washer and air compressor so they are stable. Position them away from the direct spray path. Ensure they have access to power and water. Keep electrical cords away from water puddles.
Step 3: Start the Water and Air Flow
Turn on your water supply. Then, turn on your pressure washer. Next, power up your air compressor. Slowly increase the air pressure to achieve a fine mist. Direct the nozzle towards the area where you want snow to form.
Step 4: Create Your Winter Wonderland
Move the nozzle slowly back and forth to cover the desired area. The water droplets will freeze as they travel through the cold air. You should start to see a fine dusting of snow accumulating. Don’t expect heavy snowfall like you’d get from nature. This method creates a light, decorative layer.
Step 5: Monitor and Adjust
Keep an eye on your equipment and the snow accumulation. Adjust the air pressure or water flow as needed. If the mist looks too wet, increase the air pressure. If it’s too airy and not producing enough water, decrease the air pressure slightly or check your water supply.
Quick Snow-Making Checklist:
- Check weather for cold, humid conditions.
- Test all equipment connections for leaks.
- Ensure electrical cords are safely positioned.
- Start with lower air pressure and increase gradually.
- Move nozzle slowly for even coverage.
- Adjust settings based on mist quality.
Important Considerations and Limitations
While this method is effective for creating a snowy effect, it’s important to be realistic. This isn’t going to produce the same amount of snow as a professional snow machine. It’s more for decorative purposes or a bit of winter fun.
Safety First!
Working with electrical equipment and water always carries risks. Ensure your pressure washer and air compressor are in good working order. Keep all electrical connections dry. Avoid operating in icy conditions where slips are a hazard. Many safety guidelines recommend using GFCI outlets when working with water and electricity outdoors (CDC).
Environmental Factors Matter Most
As we’ve discussed, the temperature and humidity are your biggest factors. If it’s not cold enough, the water will just melt. If it’s too windy, your snow will blow away. This method is best suited for very specific, cold days. It’s not a year-round solution.
The Result: Temporary, Decorative Snow
The snow created this way is typically a light, fluffy dusting. It’s perfect for creating a winter scene for a party or holiday display. However, it will melt quickly once the temperature rises or the sun comes out. It’s a temporary effect, not a lasting snowfall.
| Equipment | Primary Role | Importance | Notes |
|---|---|---|---|
| Pressure Washer | Water supply and initial force | High | 1500-2000 PSI recommended. Clean water source needed. |
| Air Compressor | Atomizes water into mist | High | Needs sufficient CFM for fine mist. Consistent air flow is key. |
| Mixing Device (e.g., Venturi Injector) | Combines air and water | High | Connects pressure washer output to air compressor hose. |
| Nozzle | Forms the fine mist | High | Look for “fogging” or “misting” nozzles. |
| Hoses and Connectors | Link all components | Medium | Ensure secure, leak-proof connections. |
You might find that the snow is very delicate. It can disappear with a strong breeze. Think of it as creating a beautiful, ephemeral scene. Many find the visual effect well worth the effort on the right day.
Conclusion
You’ve learned how to create a bit of winter magic using your pressure washer and air compressor. Remember, success hinges on the right conditions: cold temperatures and high humidity are your best friends. With careful setup and adjustments, you can achieve a beautiful, temporary snow effect for decorations or special events. Don’t expect heavy snowfall, but a delicate dusting can be truly enchanting. So, check the forecast, gather your gear, and get ready to bring a touch of frost to your space!
Frequently Asked Questions
What are the ideal weather conditions for making snow with a pressure washer and air compressor?
The ideal conditions are temperatures below freezing (32°F or 0°C) and high humidity, ideally above 80%. Colder air allows water droplets to freeze more easily. High humidity means there’s more moisture in the air to help the mist freeze before it falls.
Can I make snow if the temperature is slightly above freezing?
Sometimes, yes, if the humidity is extremely high. Think of a very foggy or misty day. However, the success rate is much lower. For reliable snow creation, temperatures consistently below freezing are best.
How fine does the water mist need to be?
The finer the mist, the better your chances of creating snow. A very fine mist, almost like fog, exposes more water surface area to the cold air, allowing it to freeze rapidly. You want droplets that freeze mid-air, not large blobs of water that just fall wet.
Is this method safe for my lawn or garden?
The snow created is essentially frozen water, so it’s generally safe for your lawn and garden. However, the water itself could potentially damage delicate plants if sprayed too forcefully or continuously. It’s best to direct the spray to areas where accumulation is desired, like pathways or decorative spots.
How long will the snow last?
The snow made with this method is temporary and will melt as soon as the temperature rises above freezing or if it’s exposed to direct sunlight. It’s best suited for short-term decorative effects, like for a party or a holiday display.