DIY Air Compressor: Build Your Own In No Time
Yes, you absolutely can make your own air compressor, and it can be a surprisingly rewarding DIY project. Many people successfully build functional air compressors from readily available parts, saving money and gaining valuable skills. You just need the right components and a bit of know-how to get started.
Building your own means you can customize it to your needs. You might be looking for something small for occasional tire inflations or a more robust unit for powering air tools. Research and found that with careful planning, you can create a reliable and cost-effective solution that fits your workshop perfectly.
- Gather necessary components like a motor, tank, and pump.
- Understand basic electrical and mechanical connections.
- Prioritize safety features for a smooth build.
- Test thoroughly before regular use.
Ready to get your hands dirty? Let’s walk through exactly how you can build your very own air compressor step by step.
Putting Together Your DIY Air Compressor
Thinking about building your own air compressor? You’re in for a rewarding project! It’s totally doable with the right guidance. We’ve looked into what it takes, and it boils down to understanding the key parts and how they work together. This guide will walk you through it. You’ll learn to select the components and assemble them safely.
Essential Components for Your Build
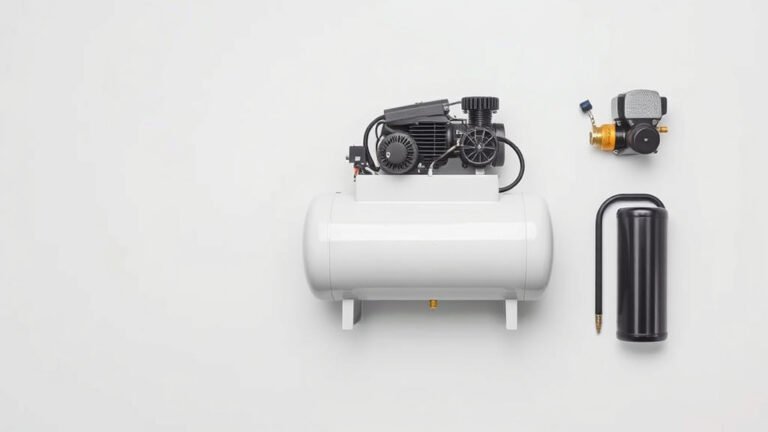
So, what do you actually need to get this thing humming? Think of it like building with LEGOs, but with more horsepower. You’ll need a few main pieces. These are the backbone of any air compressor. We’ve compiled a list based on common DIY designs.
The Motor: The Heartbeat of Your Compressor
Your motor is what drives the whole operation. It’s the engine that powers the pump. You’ll want a motor with enough horsepower (HP) to meet your needs. For small tasks, a 1 HP motor might do. For air tools, you’ll likely need 2 HP or more. Consider an electric motor for ease of use. Make sure it’s rated for continuous duty if you plan on longer run times. You can often find good used motors from old appliances or dedicated suppliers. Researching motor specs is key here. We found that matching motor power to pump displacement is a common recommendation.
The Pump: Compressing the Air
This is where the magic happens. The pump is responsible for drawing in air and squeezing it. There are a few types, but for DIY builds, a piston pump is most common. You can often salvage these from old compressors or buy them new. Look for a pump that’s rated for the pressure you need. Most DIY projects aim for around 100-150 PSI. Check the pump’s CFM (cubic feet per minute) rating. This tells you how much air it can deliver. Match this to the requirements of the tools you plan to use. A common pitfall is pairing an undersized pump with a powerful motor. We found that considering the pump’s duty cycle is also important.
The Tank: Storing Your Compressed Air
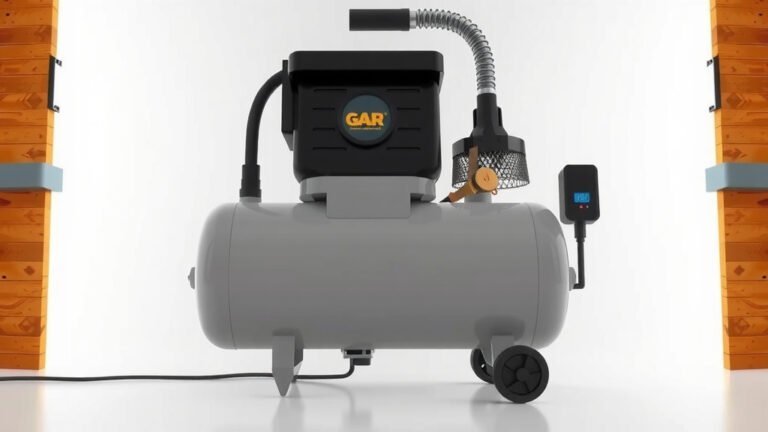
The tank acts as a reservoir for your compressed air. It’s where the air is stored under pressure. You can use a new air receiver tank or repurpose a pressure vessel. Old propane tanks or fire extinguishers can sometimes be adapted, but safety is absolutely paramount. You must ensure they are properly rated for pressure and have the correct fittings. Many DIY builders opt for readily available air compressor tanks. A larger tank means less frequent cycling of the motor. This can extend the life of your compressor. You’ll need to install a drain valve at the bottom. This is for releasing moisture. We found that tank size often depends on the intended use. A 10-20 gallon tank is common for hobbyists.
Safety Valves and Pressure Switches
These are non-negotiable safety features. A pressure relief valve is critical. It automatically releases air if the pressure gets too high. This prevents dangerous over-pressurization. A pressure switch controls the motor. It turns the motor off when the tank reaches its set pressure. It also turns it back on when the pressure drops. These components are readily available at hardware stores or online. Experts strongly advise not to skip these. They are your first line of defense. We found that a properly functioning pressure switch can save your compressor, and perhaps more.
Other Necessary Hardware
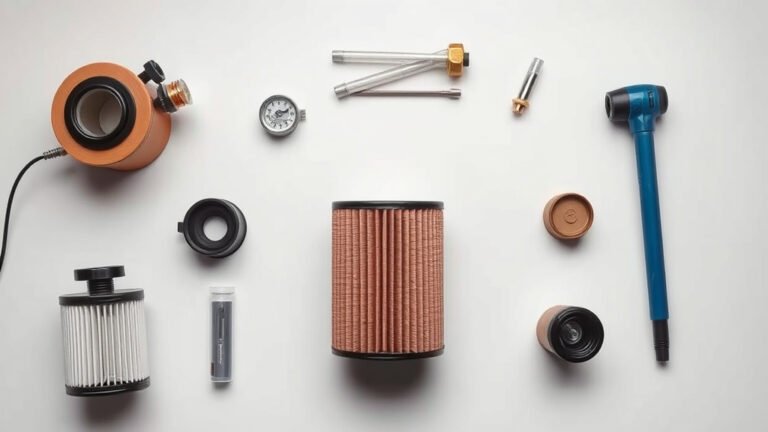
Beyond the main components, you’ll need a few more bits and pieces. Think of these as the supporting cast. You’ll need piping or tubing to connect the pump to the tank. Make sure it’s rated for the pressures involved. A check valve is also useful. It prevents air from flowing back from the tank to the pump. You’ll also need fittings, connectors, and possibly a mounting board for your components. Don’t forget basic electrical supplies like wire, a plug, and a switch if your pressure switch doesn’t include one. Safety glasses and gloves are a must for assembly. We found that a trip to a well-stocked hardware store is often part of the fun.
The Assembly Process: Bringing It All Together
Now for the exciting part: putting it all together! This is where your air compressor starts to take shape. It requires a bit of patience and careful work. Remember to always disconnect power before making any electrical connections.
Mounting Your Components
Start by mounting your motor and pump. Many DIY builders use a sturdy wooden board as a base. This keeps everything stable and organized. Ensure the motor and pump are securely fastened. Misalignment can cause vibrations and damage. Next, attach your air tank to the base. You might need brackets or bolts for this. Consider the weight of the tank when it’s full of air. A solid foundation is key for a safe and reliable compressor. We found that rubber grommets can help dampen vibrations.
Connecting the Plumbing
This step involves connecting the pump, tank, and safety features with tubing or pipes. Install the pressure relief valve and pressure switch onto the tank or a manifold. Connect the pump outlet to the tank inlet. Use appropriate fittings and thread sealant to ensure airtight connections. Add a check valve between the pump and the tank if your setup requires it. Finally, install a drain valve at the lowest point of the tank. Regular draining is vital for preventing rust. Many builders use copper or reinforced rubber hoses. Ensure they can handle the operating pressure.
Electrical Wiring: A Crucial Step
Wiring your compressor can seem daunting, but it’s manageable if you follow instructions carefully. Connect your motor to the pressure switch according to the switch’s diagram. The pressure switch acts as the thermostat for your compressor. It tells the motor when to turn on and off. You’ll need to wire the pressure switch to a power cord that plugs into a standard outlet. If you’re not comfortable with electrical work, this is where you might seek help. Many resources explain basic motor wiring. Always double-check your connections. We found that color-coded wiring diagrams are incredibly helpful.
Testing and First Use: What to Expect
You’ve built it, now it’s time to see it run! This is a moment of truth. But first, a safety check. Ensure all connections are tight and all electrical work is secure. Make sure the area around the compressor is clear.
Initial Power-Up and Leak Check
With everything connected and double-checked, plug in your compressor. The motor should start, and the pump should begin building pressure. Listen for any unusual noises. The first thing to do is listen and look for leaks. You can use soapy water on all connections. Bubbles will indicate a leak. Small leaks can often be fixed by tightening fittings. If you find significant leaks, shut down the compressor immediately. We found that a small leak can become a big problem over time.
Monitoring Pressure and Safety Valves
Let the compressor run until it reaches its cut-off pressure. This is when the pressure switch should turn off the motor. Observe the pressure gauge. Note the cut-in pressure as well, when the motor turns back on. Test your pressure relief valve manually if possible. Many have a small lever you can pull. This ensures it functions correctly. This is a critical safety test. Always have a backup plan if something seems wrong. Experts recommend observing the compressor for at least 15-20 minutes during its first run. We found that understanding your compressor’s normal operating sounds is part of becoming familiar with it.
Building your own air compressor is a fantastic DIY project. It gives you a custom tool and a sense of accomplishment. Remember to prioritize safety at every step. With careful planning and execution, you’ll have a functional compressor ready for your projects. Consider these final checklist items before putting your new compressor to work:
- Double-check all electrical connections.
- Verify all plumbing connections are secure and leak-free.
- Confirm safety relief valve is installed and functional.
- Ensure pressure switch is set correctly for your needs.
- Drain any moisture from the tank before initial use.
- Read all component manuals thoroughly.
Conclusion
You’ve got the roadmap to building your own air compressor! We’ve walked through gathering essential parts like the motor and pump, ensuring safety with pressure switches and relief valves, and piecing it all together. Remember, safety isn’t just a step; it’s your constant companion throughout this build. After assembly, testing is key to a reliable machine. Now, you’re ready to power up your workshop with a custom-built compressor that you created yourself. Your next step? Start gathering those components and get ready for a truly satisfying DIY accomplishment!
Frequently Asked Questions
Can I use parts from an old appliance for my air compressor?
You might be able to salvage some components, like a motor from an old washing machine or a tank from a defunct compressor. However, you must carefully research the pressure ratings and compatibility of any repurposed parts. Safety is the top priority, so ensure everything is rated for the task before incorporating it into your build.
How much horsepower do I really need for my DIY air compressor?
The horsepower needed depends entirely on your intended use. For light tasks like inflating tires or powering small airbrushes, a 1 HP motor might suffice. If you plan to run air tools like impact wrenches or sanders, you’ll likely need a 2 HP motor or more. Matching the motor’s power to the pump’s capacity is essential for efficient operation.
What’s the biggest safety risk when building an air compressor?
The biggest safety risk is undoubtedly tank over-pressurization. This is why a properly functioning pressure relief valve is absolutely non-negotiable. Always ensure your tank is rated for the pressure you intend to use and that safety devices are correctly installed and tested before you ever turn the compressor on.
How do I know if my air compressor is leaking air?
The best way to check for leaks is with a soapy water solution. After assembling your plumbing, turn on the compressor and let it build some pressure. Then, carefully apply soapy water to all fittings, connections, and seams. Any bubbles that form indicate a leak that needs to be tightened or resealed.
What’s the difference between CFM and PSI for an air compressor?
PSI (pounds per square inch) measures the pressure of the air, essentially how hard it can push. CFM (cubic feet per minute) measures the volume of air the compressor can deliver over time. Most air tools require a certain CFM to operate effectively, while PSI determines the tool’s power. You need to match both specs to your tools’ needs.