Master Air Compressor Painting Techniques for a Smooth Finish
Yes, you can absolutely paint using an air compressor, and it’s a fantastic way to get a smooth, professional finish on almost any surface. When you use an air compressor with the right paint sprayer, you gain better control and can cover large areas much faster than with traditional brushes or rollers. It might seem a bit daunting at first, but with a little know-how, you’ll be painting like a pro in no time.
Using an air compressor for painting opens up a world of possibilities for your DIY projects. It’s especially useful for achieving that flawless look on furniture, cars, or even walls. We found that understanding the basics of air pressure and paint viscosity is key to avoiding common pitfalls like drips or uneven coverage.
- Choose the right paint sprayer attachment.
- Set your air compressor to the correct pressure.
- Thin your paint to the proper consistency.
- Practice your spraying technique on scrap material.
- Clean your equipment thoroughly after use.
Ready to transform your next painting project? Let’s walk through exactly how to use an air compressor for painting, step by step.
Getting Started with Air Compressor Painting
Using an air compressor for your painting projects can seem a bit technical at first. But don’t worry, we’ve broken it down. You can achieve a super smooth finish. Think of it like using a fancy spray can, but with much more control. Many DIYers find this method saves them a lot of time and effort. Plus, the results often look like they came from a professional shop.
Choosing the Right Spray Gun Attachment
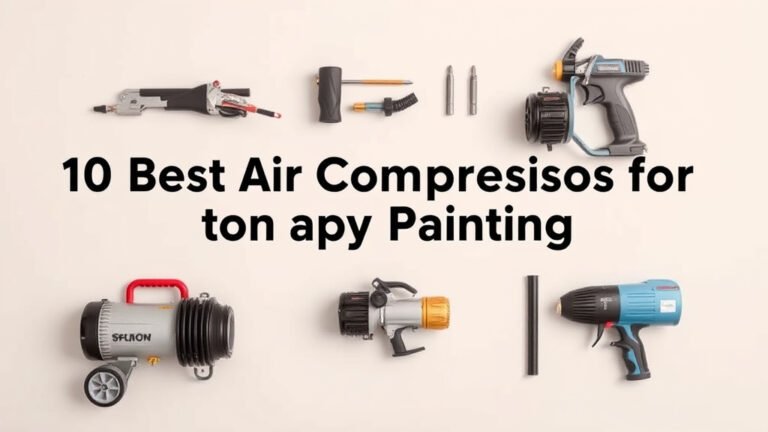
The first thing you’ll need is a paint sprayer attachment for your air compressor. There are a few main types. The most common is the HVLP sprayer. HVLP stands for High Volume, Low Pressure. These are great because they use less paint and create less overspray. That means less wasted paint and less mess to clean up later. You’ll also see conventional spray guns, which are powerful but can be less efficient. For most home projects, an HVLP sprayer is your best bet.
Understanding Air Pressure and Paint Viscosity
Getting the air pressure and paint thickness just right is crucial. Too much pressure can cause splattering. Not enough pressure means the paint won’t atomize properly. You’ll end up with drips or uneven coverage. Paint thickness, or viscosity, is just as important. If your paint is too thick, it won’t flow through the sprayer. If it’s too thin, it will run. Most paint cans will give you a general idea of how to thin them for spraying.
What is Viscosity and Why Does It Matter?
Viscosity is basically how thick or thin a liquid is. Think of honey versus water. Honey has high viscosity, and water has low viscosity. For airbrushing, you want your paint to have a medium viscosity. It needs to be thin enough to spray but thick enough to have good coverage. You can test this using a viscosity cup. Many paint manufacturers provide specific recommendations for thinning their products for different spray methods.
Setting the Right Air Pressure
The correct air pressure depends on your spray gun and the type of paint you’re using. You’ll typically find the recommended pressure range printed on your spray gun. A good starting point for many HVLP sprayers is between 25-40 PSI (pounds per square inch). It’s always best to check your spray gun’s manual. You might need to adjust it slightly based on the paint and your desired finish. Many air compressors have a built-in regulator to control this. You can often adjust the pressure with a regulator on your air compressor, so test it on scrap material.
Preparing Your Workspace and Materials
Before you even think about spraying, you need to prepare your area. Painting can be messy, even with the best equipment. You’ll want to protect everything you don’t want painted. This includes floors, furniture, and light fixtures. Use drop cloths or plastic sheeting. Open windows or use fans for ventilation. This is important for your health and helps the paint dry properly. Many experts recommend good ventilation for any painting job (CDC).
Masking and Protecting Surfaces
Proper masking is key to a clean paint job. Use painter’s tape to cover edges and trim. It creates a sharp, clean line. Make sure the tape is pressed down firmly. This prevents paint from seeping underneath. For larger areas, use masking paper or plastic. If you’re painting something like a car door, you’ll want to mask off the windows and surrounding panels. Precision here saves a lot of cleanup time later.
Ventilation and Safety Gear
Always work in a well-ventilated area. Paint fumes can be harmful if inhaled over time. Open doors and windows, or use fans to move air out of your workspace. You should also wear a respirator mask designed for paint fumes. Safety glasses are a must to protect your eyes from stray paint particles. Gloves will keep your hands clean and protected too. Your health is your most important asset when doing DIY projects.
The Actual Spraying Process
Once everything is prepped, it’s time to spray! The technique you use is just as important as the setup. Start with a small test spray on a piece of cardboard or scrap wood. This helps you get a feel for the trigger and the spray pattern. Keep the spray gun moving at a consistent speed. Overlap each pass by about 50%. This ensures even coverage without missing spots.
Holding the Spray Gun and Trigger Control
Hold the spray gun perpendicular to the surface you’re painting. Keep it about 6-8 inches away. Start your spray stroke *before* you pull the trigger. Then, move the gun across the surface. Release the trigger *after* you’ve finished your stroke. This technique prevents those unsightly blobs of paint at the start and end of your passes. Practice this movement until it feels natural. It’s all about smooth, controlled motion.
Applying Multiple Thin Coats
It’s much better to apply several thin coats of paint than one thick one. Thick coats are more likely to run and drip. Let each coat dry to the touch before applying the next. This usually takes about 15-30 minutes, but check your paint’s instructions. Thin coats build up coverage gradually and result in a much smoother, more durable finish. Patience is key here!
Cleaning and Maintaining Your Equipment
Proper cleaning is essential if you want your air sprayer to last. Paint left in the gun can dry and clog the internal parts. This will ruin its performance. You’ll need to clean the spray gun immediately after you finish painting. Follow the manufacturer’s instructions for cleaning. This usually involves flushing the gun with a solvent, like mineral spirits for oil-based paints or water for latex paints. Disassemble the parts that the manual says to clean.
Step-by-Step Cleaning Checklist
- Empty any remaining paint from the cup and gun.
- Flush the spray gun with the appropriate cleaner (water or solvent).
- Disassemble the nozzle and needle parts as per the manual.
- Clean these parts thoroughly with a brush and cleaner.
- Wipe down the exterior of the spray gun.
- Reassemble the gun once all parts are dry.
Conclusion
You’ve learned how using an air compressor can give your projects a professional, smooth finish. We covered choosing the right spray gun, setting the correct air pressure, and thinning your paint. Proper preparation of your workspace and safety gear are essential steps. Remember that consistent technique and applying thin coats make a big difference. Finally, don’t forget to clean your equipment right away to keep it working perfectly for your next job. Your next painting project is within reach!
Frequently Asked Questions
What if my paint is too thick or too thin?
If your paint is too thick, it won’t atomize properly and can clog your sprayer. You’ll need to thin it further according to the paint manufacturer’s recommendations. If it’s too thin, you might get poor coverage and runs.
How do I know if I’m using the right air pressure?
Check your spray gun’s manual for the recommended pressure range. A good starting point for many HVLP guns is 25-40 PSI. You can often adjust the pressure with a regulator on your air compressor, so test it on scrap material.
Can I use an air compressor to paint with any type of paint?
Yes, you generally can paint with most types of paint, but you might need different thinning agents or cleaning solvents. Latex and acrylic paints typically use water for thinning and cleanup, while oil-based paints need mineral spirits or similar solvents.
How often should I clean my air sprayer?
You should clean your air sprayer immediately after each use. Even small amounts of dried paint can clog the internal parts and affect performance. A thorough cleaning will help your equipment last much longer.
What kind of safety gear do I really need?
You’ll definitely need a respirator mask specifically designed for paint fumes to protect your lungs. Safety glasses are crucial to shield your eyes from airborne particles, and gloves will keep your hands clean and protected.