How to Attach an Air Compressor Nozzle Easily
Putting a nozzle on your air compressor is a straightforward process you can do in minutes. Simply screw the new nozzle onto the compressor’s air outlet, ensuring a tight fit. You’ll want to make sure it’s securely attached to prevent air leaks before you start using it.
Getting the right nozzle for your job is important for efficient work. Different nozzles are designed for various tasks, like inflating tires or cleaning surfaces. Making sure your nozzle is compatible with your compressor’s fitting is key to a proper connection and optimal performance. We found that a loose connection wastes air and power.
- Ensure the nozzle is screwed on tightly.
- Check for compatibility with your compressor’s fitting.
- Tight connections prevent air leaks and save energy.
- Different nozzles are best for different jobs.
Let’s walk through exactly how to get your air compressor nozzle attached, step by step, so you can get back to your project.
You’ve got your air compressor ready to go, but what about the right attachment for the job? Putting a nozzle on your air compressor is a quick and easy way to tailor its power for tasks like cleaning, inflating, or even painting. Let’s get that nozzle attached so you can tackle your project efficiently.
Connecting Your Air Compressor Nozzle
Attaching a nozzle to your air compressor is usually a simple screw-on process. You’ll want to make sure it’s snug to avoid air leaks.
Choosing the Right Nozzle for Your Task
Before you connect anything, think about what you need the air compressor to do. Different nozzles have different shapes and flow rates.
For Inflating Tires and Sports Balls
You’ll likely want a tire chuck or a ball needle adapter. These are specifically designed to fit into valves. A tire chuck often has a lever or a screw-on mechanism for a secure connection. The ball needle is similar to what you’d see on a bicycle pump.
For Cleaning and Blowing Dust
A blow gun nozzle is your best bet here. These come in various lengths and styles, from simple pistol grips to longer, more precise tips. They provide a focused blast of air to clear debris. We found that a longer nozzle can help you reach into tighter spots.
For Painting and Coating
If you’re using your compressor for spray painting, you’ll need a spray gun attachment. These are more complex and connect via hoses. This is a different setup than a simple nozzle and often requires specific compressor capabilities.
For General Purpose Use
Many compressors come with a basic nozzle attachment that works for a variety of light-duty tasks. If you’re just blowing dust off a workbench, this will likely do the trick. We found these are often good starting points.
Understanding Your Compressor’s Outlet Fitting
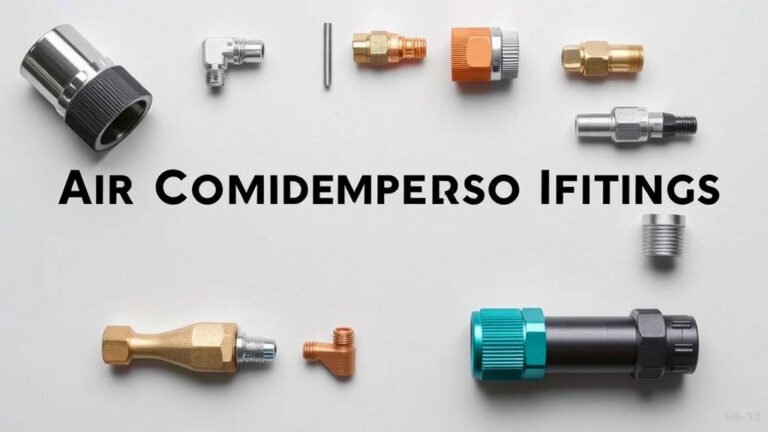
Air compressors use different types of fittings to connect hoses and attachments. The most common in the US is the industrial I/M or Chicago coupling. You’ll also see T-style or automotive couplers. It’s important your nozzle matches this.
The fitting is the part that screws onto or connects to the air compressor’s outlet port. Most nozzles will have a corresponding fitting on their end. You can often find adapters if your nozzle and compressor don’t have matching fittings, but it’s best to get a nozzle with a compatible connector.
Common Fitting Types
- Industrial I/M (or Chicago Coupling): A very common, durable coupling often found on professional-grade compressors. It typically has a sleeve you pull back to connect and disconnect.
- T-Style (or Automotive): These are smaller and frequently used on DIY or smaller compressors. They often connect directly by screwing on or pushing in.
- A-Style (or Industrial Interchange): Another common industrial fitting, similar in function to the I/M but with a slightly different design.
We found that checking the size and type of your compressor’s outlet port is a key first step. If you’re unsure, take a picture of your compressor’s outlet port and visit your local hardware store. They can help you identify it.
Step-by-Step: Attaching the Nozzle
Here’s how to get that nozzle securely attached. It’s simpler than you might think.
1. Ensure the Compressor is Off and Depressurized
Safety first! Always make sure your air compressor is turned off. Also, release any stored air pressure. You don’t want any sudden bursts of air while you’re working. Many compressors have a pressure release valve you can use. It’s a good habit to get into, just like checking twice before you cross the street.
2. Identify the Air Outlet Port
Find where the air comes out of your compressor. This is usually a threaded port, often with a quick-connect fitting already attached. Look for a spot where you’d connect a hose. It’s typically located on the side or back of the compressor unit.
3. Check the Nozzle’s Fitting
Examine the end of your nozzle. Does it have a male threaded end or a female quick-connect socket? Compare this to the outlet on your compressor. Do they look like they’ll connect easily? Many nozzles come with a standard 1/4-inch fitting, which is very common.
4. Connect the Nozzle
This is the main event! If your nozzle has a threaded end, simply screw it into the compressor’s outlet port. Turn it clockwise until it feels snug. You don’t need to crank on it with all your might, but it should be tight and secure. If your compressor has a quick-connect fitting, align the nozzle’s connector with the port and push it in. You might hear a click as it locks into place.
Many modern compressors use a quick-connect system. These are fantastic for speed. You simply pull back a sleeve on the compressor’s port, insert the nozzle’s plug, and then release the sleeve. It locks automatically. We found this method makes switching attachments a breeze.
5. Test for Leaks
Once attached, turn on your compressor. Listen for any hissing sounds that might indicate an air leak. If you hear one, turn the compressor off and ensure the nozzle is screwed in tightly or seated correctly in the quick-connect. Sometimes, a bit more tightening is all that’s needed.
A small amount of escaping air might be normal right at the connection point if you have a threaded fitting and haven’t used Teflon tape, but a steady hiss means it’s not sealed properly. Many experts suggest using plumber’s tape (Teflon tape) on threaded fittings for a better seal (CDC guidelines on basic tool use).
Quick Checklist for a Secure Nozzle Connection
Here’s a handy list to run through before you power up:
- Compressor is off and depressurized.
- Nozzle type matches your intended task.
- Nozzle fitting is compatible with the compressor outlet.
- Nozzle is screwed on or connected snugly.
- Listen for air leaks after turning on the compressor.
- Tighten slightly if minor leaks are detected.
Conclusion
You’ve now learned how to confidently attach a nozzle to your air compressor. Remember, matching the nozzle to your task and ensuring a secure, leak-free connection is key. We found that taking just a few moments to confirm compatibility and tightness saves a lot of frustration later. So, with your new nozzle in place, you’re ready to power through your projects efficiently and safely. Your next step is simple: grab your correctly attached nozzle and get to work!
Frequently Asked Questions
How do I know if my nozzle fitting is compatible with my air compressor?
Check the end of your nozzle and the outlet port on your compressor. Most nozzles have a 1/4-inch fitting, which is common. Compare the type of connector, like threaded or quick-connect, to ensure they match. If you’re unsure, take a picture to your local hardware store for help.
Can I use a nozzle on my air compressor if it has a different fitting type?
While you might be able to find adapters, it’s always best to use a nozzle with a fitting that directly matches your compressor’s outlet. Using incompatible fittings can lead to air leaks and reduced performance. We found that the right adapter can work, but a direct fit is ideal.
What should I do if I hear air leaking after attaching the nozzle?
Turn off your compressor immediately. Then, re-check the connection. For threaded fittings, try tightening it a bit more, or consider using plumber’s (Teflon) tape for a better seal. If it’s a quick-connect, ensure it’s fully seated and locked in place.
Do I need to use Teflon tape on threaded nozzle connections?
Using plumber’s tape, also known as Teflon tape, on threaded fittings is recommended by many experts. It helps create a tighter seal and prevents air leaks. This is especially helpful for preventing those small hisses that can reduce your compressor’s efficiency.
What’s the difference between a tire chuck nozzle and a blow gun nozzle?
A tire chuck is designed to fit securely onto tire valves for inflation, often with a lever or screw mechanism. A blow gun nozzle is typically shaped to provide a concentrated blast of air for cleaning dust and debris from surfaces or equipment.