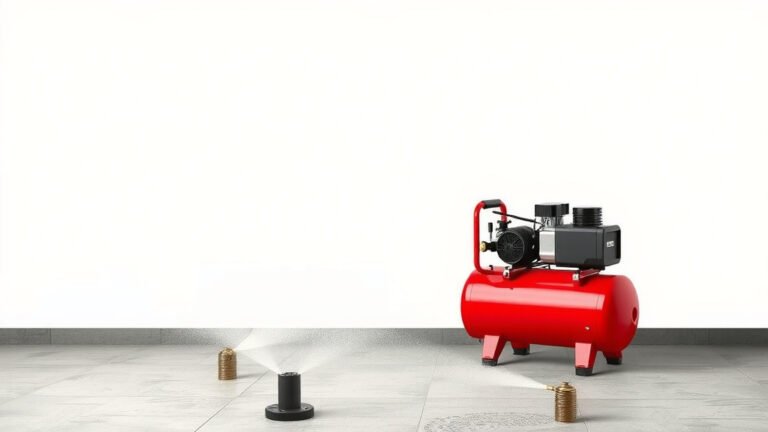
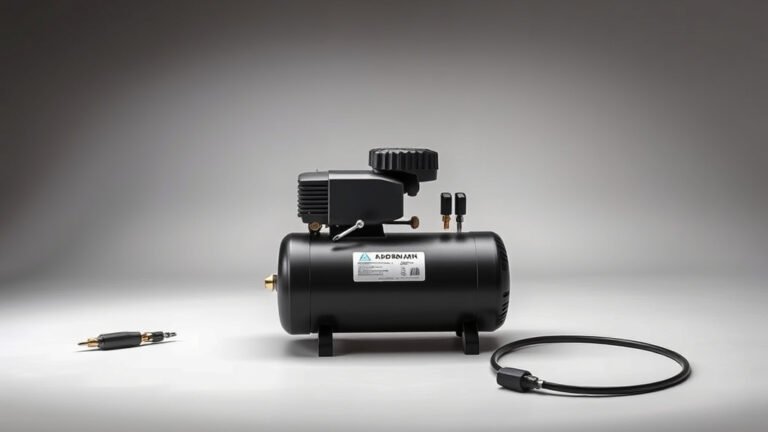
How to Remove Water From Your Air Compressor Easily
The easiest way to remove water from your air compressor is by regularly draining the tank using the built-in drain valve. You can also install an automatic drain valve for hands-free water removal. This keeps your compressor running smoothly and prevents rust. Getting rid of this moisture is a simple yet vital maintenance step for any compressor owner. It’s much easier than you might think!
Water in your air compressor is a common problem. It builds up from the air your compressor pulls from the surroundings. This moisture can cause serious damage over time. Ignoring it can lead to costly repairs and shorten your compressor’s lifespan. Preventing water buildup is key to maintaining optimal performance and ensuring its longevity.
- Drain your air compressor tank regularly.
- Consider an automatic drain valve for convenience.
- Check and clean the drain valve if it gets clogged.
- Understand why water forms in your compressor.
- Know the risks of leaving water inside.
Below, we’ll walk you through the different methods for draining water from your air compressor, from manual draining to helpful upgrades. Let’s get this moisture out!
Keeping Your Air Compressor Moisture-Free
Regularly draining water from your air compressor is the simplest way to keep it running well. This moisture can cause rust and damage your tools. Let’s look at how you can get rid of it.
Understanding How Water Gets In
You might wonder how water even gets into your air compressor in the first place. It’s a pretty straightforward process, actually. Air itself contains moisture, or humidity. When your compressor pulls in air from its surroundings, it also pulls in this water vapor.
The Science of Condensation
Inside the compressor tank, the air gets compressed. This compression process increases the temperature. As the air cools down, the water vapor it holds turns back into liquid water. Think of it like the condensation you see on a cold glass on a humid day. This collected water then settles at the bottom of your tank.
Environmental Factors
The amount of moisture in the air can change based on where you live and the weather. Humid climates will naturally lead to more water buildup in your compressor. Even in drier areas, humidity can increase during certain times of the year. So, no matter your location, water is always a potential issue.
Manual Draining: The Hands-On Approach
The most common method for removing water is by manually draining the tank. Most air compressors have a small valve at the very bottom. This is your drain valve, and it’s your best friend in this fight against moisture.
Locating the Drain Valve
You’ll typically find the drain valve at the lowest point of the air compressor tank. It might look like a small knob, a lever, or a petcock. Take a moment to look under your tank. You can’t miss it, really. It’s usually the only thing down there besides the tank itself.
The Draining Process Step-by-Step
Before you start, make sure the compressor is turned off and the tank has no pressure. You don’t want any air escaping suddenly. Here’s what you do:
- Place a small container or bucket underneath the drain valve.
- Slowly open the drain valve. You might hear a hiss as any residual air escapes.
- Let the water drain out completely. It might take a few minutes. You’ll see a stream of water, sometimes with a rusty color.
- Once the water stops flowing, close the drain valve tightly.
We found that doing this regularly is key. Many experts recommend draining it after every use, or at least weekly if you use it often. This simple act prevents a lot of potential problems down the line.
When to Drain More Frequently
If you live in a very humid area, or if you notice a lot of water coming out each time, you should drain it more often. It’s better to be safe than sorry. Checking it frequently is always a good practice. You want to catch that water before it becomes a real issue.
Automatic Drain Valves: Set It and Forget It
For those who find manual draining a bit of a chore, there’s a great upgrade: an automatic drain valve. These devices take the work out of your hands. They do the draining for you on a schedule.
How Automatic Drain Valves Work
An automatic drain valve is installed in place of your manual valve. It uses either a timer or a sensor to detect when water has collected. When it senses enough water, or when its timer goes off, it opens briefly to release the moisture. Then it closes again automatically.
We found that timer-controlled models are quite popular. They open for a few seconds every 30 minutes to an hour. This ensures that water doesn’t build up over long periods. It’s a fantastic way to maintain a dry tank with zero effort on your part.
Benefits of Automation
The biggest benefit is convenience. You don’t have to remember to drain the tank. This is especially helpful if your compressor is in a hard-to-reach spot. It also ensures consistent moisture removal. This helps maintain optimal air quality for your tools. Many professionals swear by them. They say it’s a small investment for big peace of mind.
Installation Considerations
Replacing the manual drain valve with an automatic one is usually a straightforward DIY task. You’ll need a wrench and perhaps some thread sealant tape. Make sure you purchase a valve that fits your compressor’s drain port size. Always turn off and depressurize the tank before starting any work. If you’re not comfortable with basic plumbing, a local repair shop can help.
Troubleshooting Common Drain Valve Issues
Sometimes, the drain valve itself can cause problems. If you’re not getting any water out, or if it won’t close properly, you might have a clogged or faulty valve.
Dealing with Clogged Valves
Rust and debris can sometimes block the drain valve. If you open it and nothing comes out, or only a trickle, it might be clogged. You can try gently tapping the valve with a wrench. If that doesn’t work, you may need to remove it.
Once removed, clean the valve thoroughly with a wire brush. You can also use a small pick to clear out any stubborn blockages. Rinse it out and reattach it. Be sure to check for leaks after reattaching.
When to Replace the Valve
If the valve is old, corroded, or damaged, it might be time for a replacement. A valve that leaks after being tightened is a prime candidate for replacement. This is another task that is usually manageable for a DIYer. Just be sure to get the correct size and thread type for your compressor.
Why Preventing Water Buildup is So Important
You might be tempted to skip draining the tank if you don’t use your compressor often. But ignoring this task can lead to serious issues. Water in the tank isn’t just an annoyance; it’s a real threat to your equipment.
The Risk of Rust and Corrosion
Steel tanks are susceptible to rust when exposed to water. Rust weakens the tank over time. In extreme cases, a severely rusted tank can fail, which is a dangerous situation. Rust particles can also get into your compressed air line. This can contaminate your tools and the projects you’re working on.
Damage to Air Tools and Equipment
Water is not good for your air-powered tools. It can cause internal parts to rust and seize up. This leads to poor performance, increased wear, and premature failure of your expensive tools. Think about your spray guns, impact wrenches, or nail guns. They all perform better with clean, dry air.
Impact on Project Quality
If you use your compressor for painting, sandblasting, or any other finishing work, water in the air can ruin your project. Water droplets can cause paint runs, blemishes, or uneven finishes. For precision work, clean air is non-negotiable. Many industry standards call for dry air (e.g., some medical applications require very low dew points).
Checklist: Keeping Your Compressor Dry
Here’s a quick checklist to help you stay on top of moisture removal:
- Check the tank regularly for visible signs of moisture.
- Drain the tank manually after each use, or at least weekly.
- Listen for hissing when draining to ensure air is escaping.
- Inspect the drain valve for clogs or damage periodically.
- Consider an automatic drain valve if convenience is a priority.
- Store your compressor in a dry environment when possible.
Conclusion
You’ve learned that keeping water out of your air compressor is essential for its health and the quality of your work. We covered how condensation forms and the risks it poses, from rust to tool damage. You now know the simple steps for manual draining and the convenience of automatic valves.
Don’t let moisture become a problem. Make draining your air compressor tank a regular habit. Check your valve today and ensure your compressor is ready for your next project. Your tools and your projects will thank you for it!
Frequently Asked Questions
How often should I drain my air compressor?
It’s best practice to drain your air compressor tank after each use if possible. If you don’t use it daily, aim for at least once a week. This simple step prevents significant moisture buildup over time.
Can I leave water in the air compressor tank overnight?
While leaving a small amount of water overnight might not cause immediate damage, it’s not recommended. Consistent exposure to water will eventually lead to rust and potential problems. Draining it is always the safest bet.
What happens if I don’t drain the water from my air compressor?
If you don’t drain the water, it can cause rust inside the tank, weakening it over time. This moisture can also damage your air tools, leading to poor performance and premature failure. It can even affect the quality of your projects.
Are automatic drain valves worth the investment?
Yes, automatic drain valves are often worth the investment, especially if you find manual draining inconvenient or have a hard-to-reach compressor. They provide consistent moisture removal with no effort, ensuring your tank stays dry.
What should I do if my drain valve is stuck and won’t open?
If your drain valve is stuck, it’s likely clogged with rust or debris. Try gently tapping it with a wrench. If that doesn’t work, you may need to remove the valve and clean it manually with a wire brush. Make sure the compressor is off and depressurized first.