Adjusting Your Air Compressor Governor: A Step-by-Step Guide
Adjusting your air compressor governor is a straightforward process that can **boost efficiency and safety**. You’ll want to make sure your compressor’s pressure settings are just right for your tools. This guide will show you **how to adjust the governor** correctly and safely.
Getting your governor set up properly is more than just tweaking a dial. It’s about **optimizing performance** and ensuring your equipment lasts. Many issues can stem from incorrect pressure, so taking the time to **get it right matters** a lot.
- Understand why adjusting is needed.
- Identify the governor’s parts.
- Learn the basic adjustment steps.
- Know the safety precautions.
- Troubleshoot common problems.
Let’s walk through exactly how to adjust your air compressor governor step by step, making sure you feel confident and secure throughout the process.
Fine-Tuning Your Air Compressor Governor Settings
Adjusting your air compressor’s governor is a smart move for better performance and longevity. You want your compressor to work efficiently, not too hard and not too little. This adjustment ensures it hits the sweet spot.
Think of your governor as the compressor’s brain. It tells the engine when to speed up, slow down, or shut off based on air pressure. Getting this setting right is key for smooth operation and preventing unnecessary wear and tear.
Understanding the Role of the Governor
Your air compressor governor is a **critical safety and efficiency device**. Its main job is to control the engine’s speed based on the air pressure in the tank. This prevents over-pressurization and saves fuel.
When your air tank fills up, the governor senses the rising pressure. It then signals the engine to slow down or switch to idle mode. This is often called “unloading” the compressor. When pressure drops, it tells the engine to speed back up and start compressing air again.
Why Adjust the Governor?
There are a few good reasons why you might need to adjust your air compressor governor. Perhaps you’ve changed the tools you’re using, and they require a **different operating pressure**. Or maybe the compressor isn’t reaching its cut-in pressure (when it starts pumping) or cut-out pressure (when it stops pumping) reliably.
Research shows that operating equipment outside its recommended pressure range can lead to **reduced efficiency and potential damage** (Occupational Safety and Health Administration). Correctly adjusting the governor ensures your tools get the air they need without stressing the compressor.
Identifying Governor Components
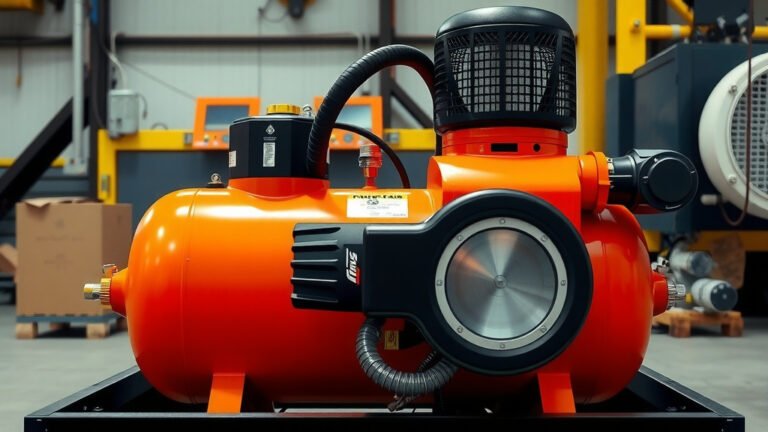
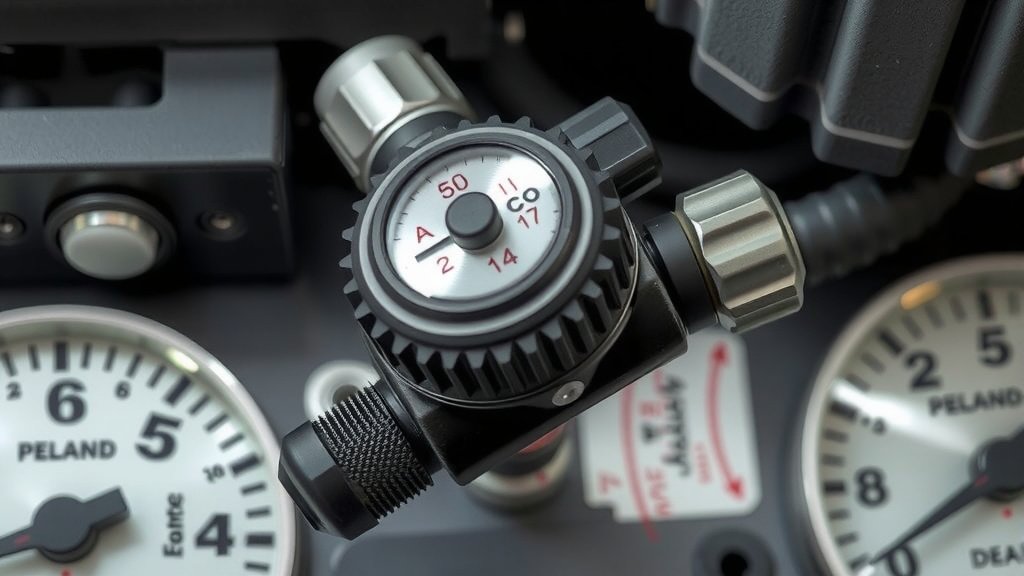
Before you can adjust anything, you need to know what you’re looking at. Most compressor governors have a few key parts:
- Pressure Switch: This is the sensor that monitors the air pressure in the tank.
- Linkage: These are the rods and levers that connect the pressure switch to the engine’s throttle control.
- Adjustment Screws/Knobs: These are what you’ll actually turn to change the pressure settings. There are usually separate ones for the cut-in and cut-out pressures.
- Springs: Springs help provide tension and regulate the movement of the linkage.
Don’t worry if yours looks a bit different. The basic principle remains the same across most models. We found that visually inspecting the parts can help you get a feel for how they interact.
Steps for Adjusting Your Air Compressor Governor
Now, let’s get down to business. Adjusting the governor involves setting both the cut-in and cut-out pressures. It’s like setting the low and high limits for your compressor’s operation.
Safety First!
Before you touch anything, **safety is your top priority**. Never attempt adjustments while the compressor is running, unless specifically instructed by the manufacturer for a particular setting. Always wear safety glasses. Ensure the compressor is in a well-ventilated area. We found that taking a moment to prepare can prevent serious accidents.
Setting the Cut-Out Pressure (Maximum Pressure)
The cut-out pressure is the **maximum pressure your compressor will reach** before it stops pumping. To adjust this, you’ll typically turn a screw or knob on the governor assembly. Listen to what experts recommend: many suggest increasing the pressure slightly if your tools demand it, but never exceeding the compressor’s or your tools’ maximum rated pressure.
First, let the compressor run and build pressure. Watch your pressure gauge. When the compressor unloads (shuts off or idles), note the pressure reading. This is your current cut-out pressure. To increase it, you’ll usually turn the adjustment screw clockwise. To decrease it, turn it counter-clockwise. Make small adjustments, let the tank pressure drop, and then let the compressor cycle again to see the effect.
Important Considerations for Cut-Out Pressure
It’s crucial to **respect the pressure limits** of your equipment. Over-pressurizing can damage hoses, fittings, and tools. Check your compressor’s manual for its maximum allowable pressure. Many guidelines recommend setting the cut-out pressure 10-20 PSI above your typical working pressure (National Industrial Safety Council). This gives you a buffer.
Setting the Cut-In Pressure (Minimum Pressure)
The cut-in pressure is the **minimum pressure at which the compressor starts pumping** again after dropping. This is usually set by adjusting a different screw or knob. You want this to be low enough that you don’t run out of air, but not so low that the compressor cycles too frequently.
To find your current cut-in pressure, let the compressor run and use air until it unloads. Then, watch the pressure gauge as it drops. Note the pressure reading when the compressor kicks back on. To adjust, you’ll typically turn a screw. Clockwise usually increases it, and counter-clockwise decreases it. Again, make small changes and observe the results.
Finding the Right Balance
The difference between your cut-in and cut-out pressure is called the “cut-out differential.” A smaller differential means the compressor cycles more often. A larger differential means you have a wider pressure range, which might lead to less consistent tool performance. We found that a common differential is around 20-30 PSI for many general-purpose compressors.
Testing Your Adjustments
After making adjustments, it’s time to test. Let the compressor run through a few cycles. Use your air tools as you normally would. Does the compressor cut out at the desired pressure? Does it cut in at an appropriate level? Is the air supply consistent?
Pay attention to how the compressor sounds and behaves. You’re looking for a **smooth, predictable operation**. If you notice any sputtering, inconsistent pressure, or unusual noises, it’s time to re-evaluate your settings or consult your manual.
Troubleshooting Common Governor Issues
Sometimes, even after adjustments, you might run into problems. Here are a few common ones:
- Compressor won’t start: Check that the pressure switch isn’t stuck in the “off” position or that the unloader valve isn’t stuck open.
- Compressor runs constantly: This could mean the cut-out pressure is set too high, or the pressure switch isn’t sensing the pressure correctly. A leak in the tank or discharge line can also cause this.
- Compressor cycles too often: The cut-in pressure might be too close to the cut-out pressure. Adjust the cut-in pressure lower or the cut-out pressure higher.
- Pressure is too low or too high: This is a direct indicator that your governor settings need adjustment. Double-check which screw controls which pressure.
When to Seek Professional Help
While many governor adjustments are straightforward, some issues might point to a more complex problem. If you’re unsure, or if your compressor exhibits **unusual behavior**, it’s always best to contact a qualified technician. They have the expertise and tools to diagnose and fix more serious issues safely.
Remember, your air compressor is a powerful tool. Treating it with care and performing regular maintenance, including governor adjustments, will ensure it serves you reliably for years to come.
Conclusion
You’ve now learned how to properly adjust your air compressor governor. This process ensures your equipment operates safely and efficiently. By correctly setting the cut-in and cut-out pressures, you can optimize performance and prevent premature wear. Remember to always prioritize safety and consult your compressor’s manual if you’re unsure about any step. Take the next step by reviewing your compressor’s manual and performing a safety check before you begin adjusting.
Frequently Asked Questions
What is the difference between cut-in and cut-out pressure?
The cut-in pressure is the point at which your compressor starts pumping air again after the pressure has dropped. The cut-out pressure is the maximum pressure your compressor reaches before it automatically stops pumping or idles. Setting these correctly is key for consistent air supply.
Can I adjust the governor while the compressor is running?
Generally, no. For most air compressors, it’s safest to make governor adjustments when the compressor is turned off. Some specific steps might require it to be running to observe pressure changes, but always follow your manufacturer’s instructions and err on the side of caution.
How do I know if my air compressor governor needs adjusting?
You might need an adjustment if your compressor isn’t building enough pressure, is cycling on and off too frequently, or is running constantly without reaching its shut-off point. Also, if you’ve changed the types of tools you’re using, their pressure needs might require a governor adjustment.
What tools do I need to adjust the governor?
Typically, you’ll only need a few basic tools. This often includes a set of wrenches or sockets to access the governor assembly, a pressure gauge (which your compressor likely already has), and possibly a screwdriver for adjustment screws. Safety glasses are a must.
Is it safe to increase the maximum cut-out pressure?
You can increase the cut-out pressure within the safe operating limits of your compressor and your air tools. Always check your compressor’s manual and tool specifications to avoid over-pressurization, which can cause damage or create a safety hazard. Never exceed the maximum rated pressure for any component in your system.