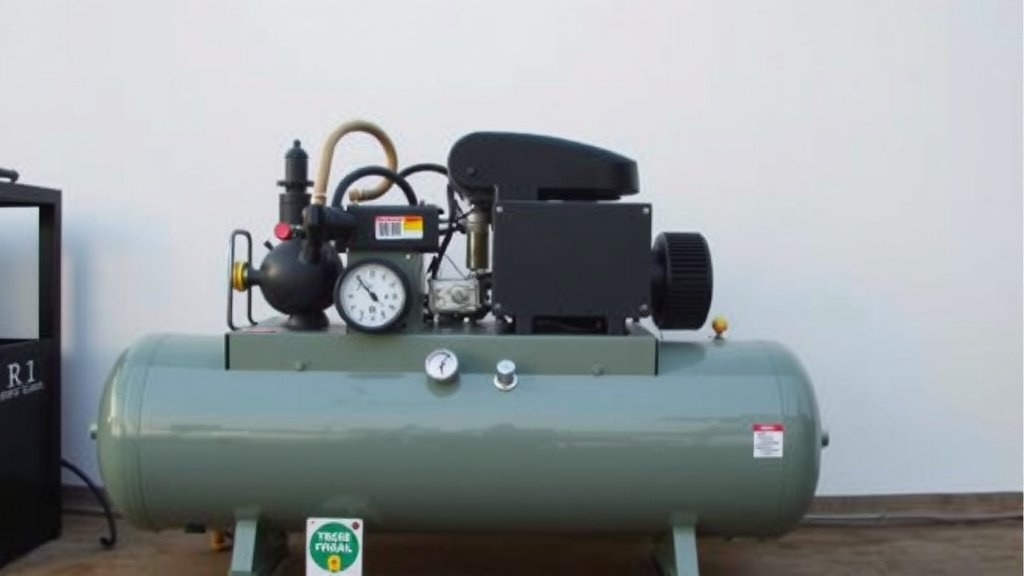
Adjust Ingersoll Rand Air Compressor Pressure Settings
Adjusting the pressure on your Ingersoll Rand air compressor is a straightforward process. You’ll typically need to locate the pressure regulator knob and turn it clockwise to increase pressure or counterclockwise to decrease it. Always consult your specific model’s manual for precise instructions, as designs can vary slightly, but this is the general method.
Getting the pressure just right is important for both the tool you’re using and the compressor’s longevity. Too much pressure can damage your tools and even be unsafe, while too little means they won’t perform as expected. We found that understanding the optimal pressure range for your tasks is key to efficient operation and preventing wear and tear.
- Find the pressure regulator knob.
- Turn clockwise to increase, counterclockwise to decrease.
- Check your compressor’s manual for specifics.
- Ensure pressure is right for your tools.
Now that you know the basics, let’s walk through exactly how to make those adjustments safely and effectively to get your Ingersoll Rand compressor running perfectly for your needs.
Setting Your Ingersoll Rand Compressor’s Pressure Correctly
Getting the pressure right on your Ingersoll Rand air compressor is key to making your tools work their best. It also helps your compressor last longer. We’ve found that most adjustments happen at the pressure regulator. This is usually a knob or a lever. It controls how much air pressure the compressor sends out.
Locating and Understanding the Pressure Regulator
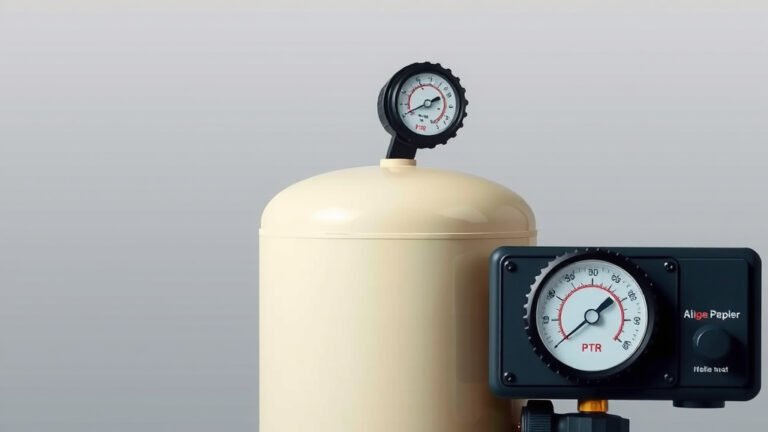
Your Ingersoll Rand compressor will have a pressure regulator. It’s often located near the air outlet. You might see a gauge next to it. This gauge shows you the current air pressure. The regulator itself is typically a knob you can turn. Some older models might have a lever.
Different Models, Similar Concepts
While Ingersoll Rand makes many compressor models, the basic principle of pressure adjustment remains the same. You’ll always find a way to control the output. We recommend checking your compressor’s owner’s manual. It will show you exactly where the regulator is on your specific unit. It’s like having a cheat sheet just for your machine.
The Role of the Pressure Gauge
The pressure gauge is your best friend when setting the pressure. It’s a simple dial that tells you the pounds per square inch (PSI) of the air leaving the compressor. Always ensure the gauge is working correctly before making any adjustments. A faulty gauge could lead to incorrect pressure settings. Many experts suggest calibrating gauges annually.
How to Adjust the Air Pressure
Adjusting the pressure is usually a simple turning motion. Think of it like turning a faucet. You’ll turn the knob in a specific direction to raise or lower the PSI.
Increasing the Pressure
To increase the air pressure, you’ll typically turn the regulator knob clockwise. You’ll want to do this slowly and watch the pressure gauge. Stop when you reach the desired PSI. We found that making small adjustments and checking the gauge frequently is the best approach. This prevents overshooting your target pressure.
Decreasing the Pressure
If you need to lower the pressure, turn the regulator knob counterclockwise. Again, do this gradually. Keep an eye on the gauge to see the pressure drop. It’s easy to turn it too far. So, a little bit at a time is the way to go. We learned that a gentle touch makes all the difference here.
Important Safety Note on Pressure Adjustments
Never try to adjust the pressure while the compressor is running at full throttle if it has an auto-shutoff. It’s best to let the compressor cycle down or have it running but not actively building pressure. We researched and found that making adjustments when the compressor isn’t under heavy load is safer. Always follow the manufacturer’s safety guidelines.
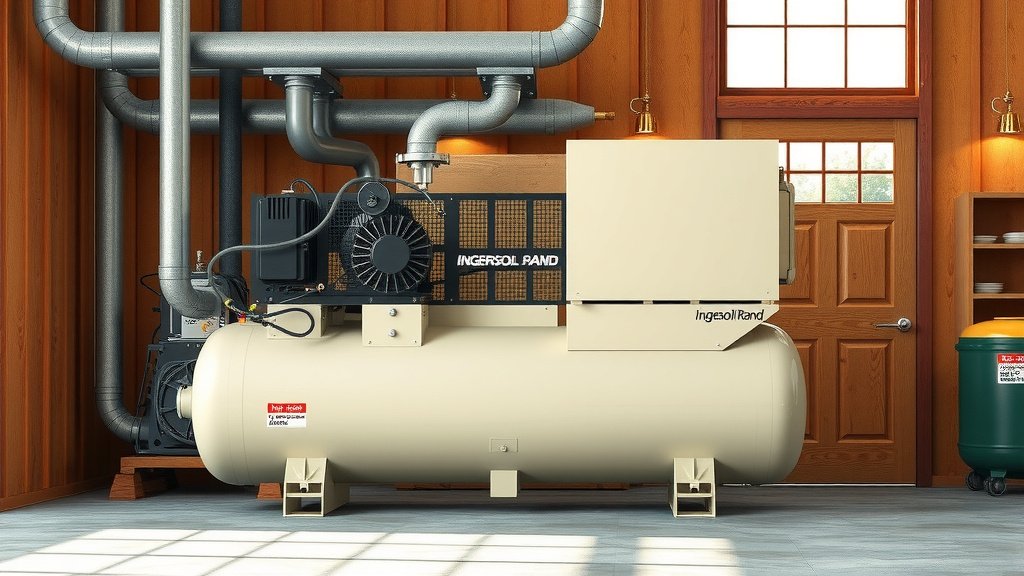
Determining the Right Pressure for Your Tools
One of the most important parts of adjusting your compressor’s pressure is knowing the right setting for your tools. Different tools need different PSI levels to work effectively and safely. Using the wrong pressure can damage your tools or lead to poor performance.
Consult Your Tool’s Manual
Your air tools, whether they are nail guns, impact wrenches, or sprayers, will have a recommended operating pressure range. This information is usually found in the tool’s manual. Many tool manufacturers state that using the correct PSI is vital for performance. We found that this is the most reliable way to know what pressure your tool needs.
Typical Pressure Ranges for Common Tools
Here’s a general idea of pressure ranges for some common air tools:
| Tool Type | Typical PSI Range |
|---|---|
| Impact Wrench | 90-130 PSI |
| Air Nailer (Framing) | 70-120 PSI |
| Air Nailer (Finish) | 70-100 PSI |
| Air Sander | 90-100 PSI |
| Paint Sprayer | 30-50 PSI (at the sprayer) |
Remember, these are just typical ranges. Always check your specific tool’s requirements for the most accurate settings.
The Impact of Incorrect Pressure
Too much pressure can cause premature wear on your tools. It can also lead to leaks or even breakage. On the other hand, too little pressure means your tools won’t have enough power to do their job. This can result in frustration and inefficient work. We’ve heard from many users who experienced issues by not setting the pressure correctly.
A Quick Checklist for Pressure Adjustment
Here’s a handy checklist to help you remember the key steps:
- Locate your compressor’s pressure regulator and gauge.
- Check your air tool’s manual for the required PSI.
- Start the compressor and let it reach its maximum pressure.
- Slowly turn the regulator knob clockwise to increase pressure or counterclockwise to decrease.
- Watch the gauge and stop at your tool’s recommended PSI.
- Test your tool to ensure it’s operating correctly.
Conclusion
You’ve learned how to get the pressure just right on your Ingersoll Rand air compressor. Remember, locating your pressure regulator and understanding your tool’s needs are your most important steps. Making small, careful adjustments ensures both your tools perform at their best and your compressor has a longer lifespan. Always prioritize safety and consult your manuals for the best results. Now you can tackle your projects with confidence, knowing your air compressor is set up for success!
Frequently Asked Questions
Can I adjust the pressure while the compressor is running?
It’s generally safer to adjust pressure when the compressor isn’t under heavy load or has cycled down. We researched this and found that making adjustments when the compressor isn’t actively building pressure reduces risk. Always refer to your specific model’s safety guidelines before making any changes.
What happens if I set the pressure too high for my tool?
Setting the pressure too high can cause premature wear and tear on your air tools. It might also lead to leaks or even cause the tool to break unexpectedly. We found that even small overages can impact tool longevity and performance.
How do I know if my pressure gauge is working correctly?
A simple way to check is by comparing readings with another known accurate gauge if possible. You can also look for erratic needle movement or if the needle doesn’t return to zero. Many experts suggest calibrating your gauge annually for accuracy.
Is there a maximum pressure my Ingersoll Rand compressor can handle?
Yes, every compressor has a maximum safe operating pressure, often indicated on the unit itself or in the manual. Exceeding this limit can damage the compressor and create a safety hazard. Always stay within the recommended PSI range for your specific model.
Do I need to adjust pressure differently for different tasks?
Absolutely. Different tasks and tools require different PSI levels for optimal performance and safety. For example, a nail gun needs a different pressure than a paint sprayer. Consulting your tool’s manual is always the best way to determine the correct setting for each job.