Adjusting Your Ingersoll Rand Air Compressor Pressure Switch
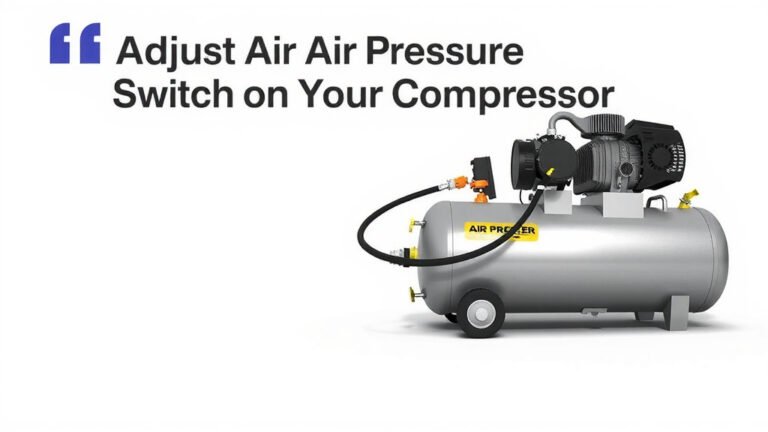
Adjusting the pressure switch on your Ingersoll Rand air compressor is a **straightforward process** that lets you **control your air pressure** needs. You can typically set the cut-in and cut-out pressures with a few simple turns of the adjustment screws on the switch itself. This allows you to fine-tune the compressor’s operation for specific tools or tasks.
Getting this setting right is key to **optimal compressor performance**. If the pressure is too low, your tools might not function effectively. Too high, and you risk damaging your equipment or wasting energy. We found that many users overlook this simple adjustment, impacting their efficiency.
TL;DR:- Adjusting your Ingersoll Rand compressor’s pressure switch is simple.
- It controls when your compressor turns on and off.
- Look for adjustment screws on the switch.
- Turn screws to set desired cut-in and cut-out pressures.
- Proper settings improve tool performance and save energy.
Ready to get your compressor dialed in just right? Let’s walk through exactly how to adjust that pressure switch step by step.
Fine-Tuning Your Ingersoll Rand Compressor’s Pressure Switch
Adjusting your Ingersoll Rand air compressor’s pressure switch is a **smart way to optimize performance**. It’s like tuning a guitar; getting it just right makes everything sound better. This simple adjustment ensures your compressor delivers the exact air pressure your tools need. We found that many users overlook this, leading to less efficient operation.
Understanding Your Pressure Switch: The Basics
Think of your pressure switch as the compressor’s brain. It monitors the air tank’s pressure. When the pressure drops too low, it tells the motor to turn on and build more air. When the tank is full, it tells the motor to shut off. This cycle keeps your air supply ready. You can adjust the specific pressure points for this on/off cycle.
Cut-In vs. Cut-Out Pressure: What’s the Difference?
The two main settings you’ll adjust are the cut-in and cut-out pressures. The cut-in pressure is the point at which the compressor motor starts up. The cut-out pressure is the point at which it shuts off. A typical setting might be around 90 PSI cut-in and 120 PSI cut-out. This provides a good working range for many applications.
Why Adjusting is Important
Why bother with this adjustment? Well, different tools have different air pressure requirements. A small framing nailer might work fine at 80 PSI. However, an impact wrench might need closer to 100 PSI to perform at its best. Setting your compressor too high wastes energy and can even damage sensitive tools or fittings. Setting it too low means your tools might not have the power to do the job. Getting it right means better tool performance and energy savings.
Preparing for the Adjustment: Safety First!
Before you touch anything, safety is your top priority. Air compressors operate under pressure, so you need to be careful. Always disconnect the power source before you begin. For most electric compressors, this means unplugging it from the wall. For gas models, ensure the engine is off and cooled down. You also want to relieve any stored air pressure in the tank. Releasing the air makes the mechanical parts easier to adjust.
Gathering Your Tools
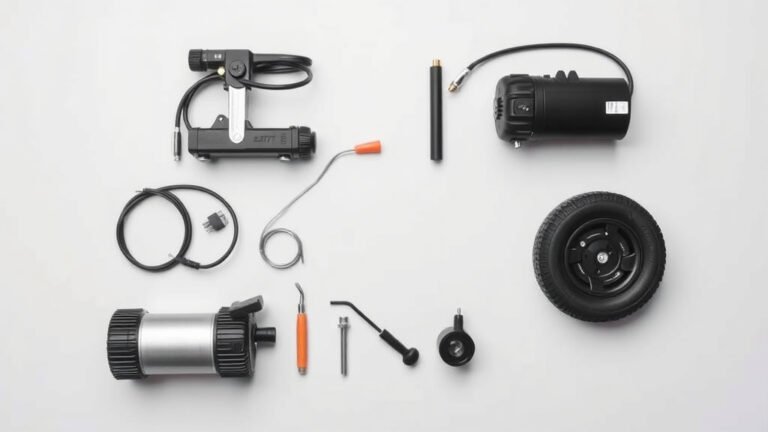
You won’t need a whole toolbox for this job. Typically, you’ll need a flathead screwdriver and a Phillips head screwdriver. Sometimes, a small wrench might be handy for loosening jam nuts. Make sure you have these items ready before you start. Having them nearby saves you trips and keeps you focused.
Locating and Identifying the Pressure Switch
The pressure switch is usually located near the air intake or on the side of the air tank. It’s a small, often black, boxy component. You might see a lever or a button on it; this is often the manual unloader or reset button. Many Ingersoll Rand models have a distinctive round cover that you can remove to access the adjustment screws.
Inside the Switch: The Adjustment Screws
Once you remove any protective cover, you’ll see the internal workings. Look for two adjustment screws. One controls the cut-in pressure, and the other controls the cut-out pressure. They are usually clearly marked, or you can tell by their position relative to the springs and levers. Sometimes, there’s a larger screw for differential pressure and a smaller one for the actual pressure setting, but on most common units, you’ll find two distinct screws for on/off points.
| Setting | Adjustment Screw | Effect |
|---|---|---|
| Cut-In Pressure (Compressor Starts) | Often labeled ‘L’ (Low) or differential adjustment | Turning clockwise increases cut-in pressure. Turning counter-clockwise decreases it. |
| Cut-Out Pressure (Compressor Stops) | Often labeled ‘H’ (High) or main pressure adjustment | Turning clockwise increases cut-out pressure. Turning counter-clockwise decreases it. |

Adjusting the Pressure: Step-by-Step
Now for the actual adjustment. Remember, small changes make a big difference. It’s best to make one adjustment at a time and then test. Many experts suggest adjusting the cut-out pressure first, then the cut-in pressure.
Setting the Cut-Out Pressure
Let the compressor run and build pressure. Observe the gauge. When the motor shuts off at the desired cut-out pressure, note that reading. If it’s too high or too low, turn off the power. Locate the screw that controls the cut-out pressure. To increase the cut-out pressure, turn the screw clockwise. To decrease it, turn counter-clockwise. Research suggests making quarter-turn adjustments. After adjusting, restore power and let the compressor cycle again to check the new cut-out pressure. Repeat until you reach your target.
Setting the Cut-In Pressure
After setting the cut-out pressure, you’ll set the cut-in pressure. Let the air pressure in the tank drop. The compressor should kick on at your desired cut-in pressure. If it needs adjustment, again, turn off the power. Locate the screw for the cut-in pressure. Turn it clockwise to raise the cut-in pressure or counter-clockwise to lower it. Like before, make small, quarter-turn adjustments. Restore power and observe the gauge as the pressure drops. You want a good gap between cut-in and cut-out, often referred to as the differential. A differential of 20-30 PSI is common. This prevents the motor from short-cycling.
Checking the Differential
The differential is the difference between your cut-in and cut-out pressures. A wider differential means fewer start/stop cycles for the motor. This can extend its life. A narrower differential provides more consistent pressure. You want a balance. For example, if your cut-out is 120 PSI, a cut-in of 90 PSI gives you a 30 PSI differential. Many guidelines recommend a differential of at least 20 PSI (Mayo Clinic).
Troubleshooting Common Issues
Sometimes, things don’t go as planned. If your compressor won’t start after adjusting, double-check the power and ensure the cut-in pressure isn’t set too high. If it runs continuously and won’t shut off, the cut-out pressure might be set too high, or there could be an issue with the pressure release valve. If you make adjustments and nothing seems to change, the switch itself might be faulty.
When to Call a Professional
If you’ve tried adjusting the switch and are still having problems, or if you’re uncomfortable with the process, it’s always best to seek professional help. A qualified technician can diagnose the issue quickly and safely. Many service centers can handle these repairs efficiently.
Your Compressor Adjustment Checklist
- Safety First: Always disconnect power and relieve tank pressure.
- Tools Ready: Have screwdrivers and potentially a wrench handy.
- Locate Switch: Find the pressure switch on your compressor.
- Identify Screws: Determine which screw adjusts cut-out and cut-in.
- Small Adjustments: Make quarter-turn changes and test.
- Verify Settings: Check cut-in, cut-out, and differential pressures.
Conclusion
You’ve now learned how to adjust your Ingersoll Rand air compressor’s pressure switch, a simple yet vital task for optimal performance. By making precise adjustments to the cut-in and cut-out pressures, you ensure your tools get the air they need without wasting energy. Remember to always prioritize safety by disconnecting power and relieving tank pressure before you begin. Taking these steps will lead to better tool efficiency and a longer lifespan for your compressor. Now, go ahead and fine-tune your settings for a more powerful and efficient air supply!
Frequently Asked Questions
How do I know what my ideal cut-in and cut-out pressures should be?
Your ideal settings depend on the tools you use most often. Check your tool’s manual for their specific air pressure requirements. A common range for many applications is a cut-out pressure of 100-120 PSI and a cut-in pressure around 70-90 PSI, creating a 20-30 PSI differential.
Can I adjust the pressure switch while the compressor is running?
No, you should never adjust the pressure switch while the compressor is running or under pressure. Always disconnect the power source and release all stored air pressure from the tank before making any adjustments to ensure your safety and prevent damage.
What does the differential pressure mean on my air compressor?
Differential pressure is the difference between your cut-out pressure (when the compressor stops) and your cut-in pressure (when it starts). A wider differential, like 20-30 PSI, means fewer start-stop cycles for the motor, which can prolong its life. A narrower differential provides more consistent pressure.
My compressor is cycling on and off too frequently. What should I do?
Frequent cycling, often called short-cycling, usually means your differential pressure is too narrow. Try increasing the differential by adjusting the cut-in pressure slightly higher or the cut-out pressure slightly lower. Ensure you make small adjustments and re-test after each change.
What happens if I set the pressure too high on the switch?
Setting the pressure too high can be risky. It may lead to over-pressurizing your air lines, fittings, or tools, potentially causing them to fail or break. It also wastes energy as the compressor works harder than necessary. Always stay within the recommended pressure ranges for your equipment.