Adjust Air Compressor Pressure: A Step-by-Step Guide
Adjusting the air pressure on your air compressor is simpler than you might think. You’ll want to use the regulator knob to set your desired output pressure, and then check the gauge to ensure it’s correct. This process ensures your tools get the right amount of air for optimal performance.
Getting your compressor’s pressure just right is key to preventing damage to your tools and achieving the best results. Too much pressure can blow out seals, while too little means your tools won’t work as effectively. We found that most common household tasks require a pressure between 90 and 100 PSI.
- Locate the regulator knob and pressure gauge.
- Turn the regulator knob to adjust the output pressure.
- Watch the gauge to confirm the desired PSI.
- Remember: Pressure settings vary by tool.
- Always check your tool’s manual.
Below, we’ll walk you through exactly how to adjust your air compressor’s pressure step by step, making sure you get it right every time.
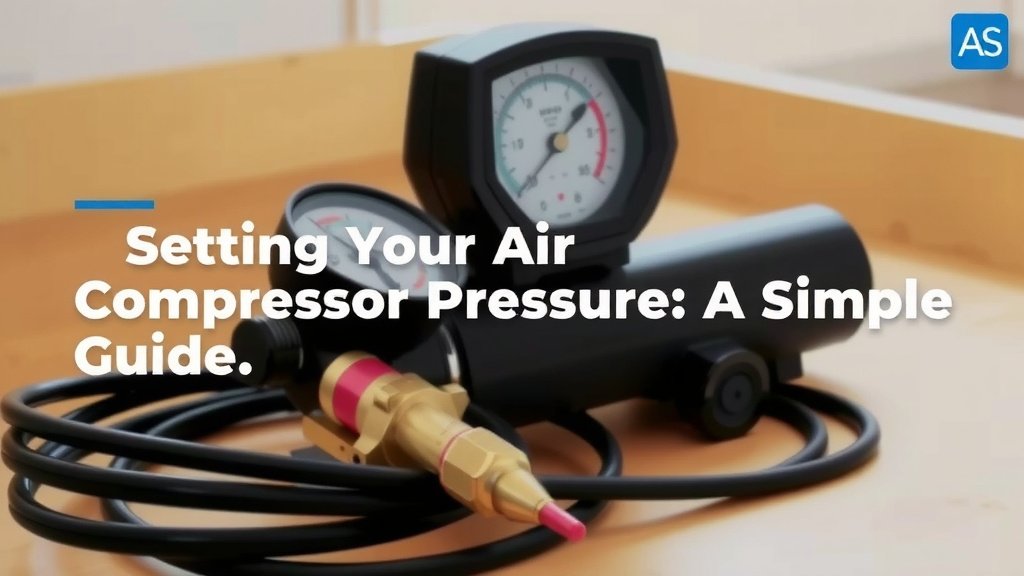
Setting Your Air Compressor Pressure: A Simple Guide
Getting the air pressure just right on your compressor is like tuning a musical instrument. You want it perfectly set for the job. We found that the most common household tasks usually need a pressure between 90 and 100 PSI. This might sound specific, but it’s a great starting point. Let’s get your compressor ready to perform!
Understanding Your Compressor’s Controls
Your air compressor has a few key parts for managing pressure. You’ll mainly interact with the regulator knob and the pressure gauge. Think of the regulator knob as your volume control for air. The gauge is your visual confirmation, showing you exactly what the pressure is. It’s like looking at your car’s speedometer to see how fast you’re going.
The Role of the Regulator Knob
This is the main tool you’ll use to adjust the output pressure. It controls how much air flows out of the compressor and into your air hose. Turning the knob will either increase or decrease the pressure. Most knobs are designed to turn clockwise to increase pressure and counter-clockwise to decrease it. Some might have a lock mechanism, so make sure it’s unlocked before you start adjusting.
Reading the Pressure Gauge
The pressure gauge displays the current output pressure in Pounds per Square Inch (PSI). It usually has a needle that moves as the pressure changes. You’ll want to watch this gauge closely as you adjust the regulator knob. Some gauges have a colored zone indicating optimal pressure ranges for common tools, which can be super helpful.
Step-by-Step: Adjusting Your Air Pressure
Now, let’s walk through the actual process. It’s pretty straightforward once you know where everything is. Make sure your compressor is turned on and has built up some initial pressure before you start adjusting. This gives you something to work with.
Step 1: Identify and Prepare the Regulator
Locate the regulator knob and the associated pressure gauge. Many compressors have them mounted together. Ensure the compressor is running so you have air pressure to work with. If your regulator has a locking collar, pull it up or twist it to unlock it. This allows for adjustment.
Step 2: Adjusting the Output Pressure
To increase the pressure, slowly turn the regulator knob clockwise. To decrease the pressure, turn it counter-clockwise. Do this in small increments. Watch the pressure gauge as you turn the knob. Don’t force the knob; it should move smoothly.
Step 3: Confirming the Desired PSI
Once the gauge needle reaches your target PSI, stop turning the knob. If you’ve reached the desired setting, you can lock the regulator knob if it has a locking mechanism. This prevents accidental changes while you’re working. You’ve now set the output pressure!
Matching Pressure to Your Tools: What You Need to Know
Not all air-powered tools operate at the same pressure. Using the wrong PSI can be problematic. We found that most common tools are designed for a specific range. It’s like using the right size wrench for a bolt; it just works better.
Finding Your Tool’s Recommended PSI
The best way to know the correct pressure for your specific tool is to check its manual. Manufacturers provide these guidelines for optimal performance and longevity. You can often find this information printed directly on the tool itself, too. It’s usually listed near where the air hose connects.
Common Tool Pressure Ranges
While checking your tool’s manual is always best, here are some general ranges we’ve found helpful:
| Tool Type | Typical PSI Range |
|---|---|
| Air Nailer/Stapler | 70-120 PSI |
| Impact Wrench | 90-130 PSI |
| Paint Sprayer | 20-60 PSI |
| Air Blow Gun | 30-60 PSI |
| Tire Inflator | 30-60 PSI (check tire sidewall for specific car PSI) |
Why Correct Pressure Matters So Much
Using too much pressure can cause serious damage to your tools. Seals can blow out, and internal components might break. On the flip side, too little pressure means your tool won’t have enough power to do its job effectively. Imagine trying to paint with a sprayer that’s barely putting out any paint – frustrating, right?
A Quick Checklist for Setting Your Pressure
Here’s a handy checklist to keep the process smooth:
- Turn on your air compressor.
- Locate the regulator knob and gauge.
- Unlock the regulator if needed.
- Slowly adjust the knob to reach target PSI.
- Watch the gauge to confirm the pressure.
- Lock the regulator knob when finished.
Troubleshooting Common Air Pressure Issues
Sometimes, things don’t go exactly as planned. Don’t worry, we’ve got a few common issues and solutions that might help. Most problems are simple to fix with a little patience.
Pressure Not Holding or Dropping
If you set your pressure and it immediately starts dropping, you likely have a leak. Check all your connections, from the compressor outlet to the tool. A simple soap and water test can reveal tiny leaks; look for bubbles. Ensure all fittings are tight and that hoses aren’t cracked or damaged.
Regulator Knob is Stuck
Sometimes, the regulator knob can become stiff or sticky, especially on older compressors. Make sure there’s no debris around the knob. Gentle, steady pressure is key. If it still won’t budge, consult your compressor’s manual or manufacturer support. Forcing it could cause more damage.
Conclusion
You’ve learned how to effectively adjust your air compressor’s pressure, ensuring your tools get the perfect amount of air. Remember to always locate your regulator knob and gauge first. Turn the knob slowly, watching the gauge to hit your target PSI, and then lock it if possible. Always refer to your tool’s manual for its specific PSI needs. By correctly setting your pressure, you’ll protect your tools and get the best performance from them.
Your next step is to apply this knowledge on your next project. Get out there and experience the difference proper air pressure makes!
Frequently Asked Questions
What if my regulator knob is hard to turn?
If your regulator knob feels stiff, check for any debris around it. Sometimes, older compressors can develop sticky mechanisms. Try turning it gently but firmly. If it still won’t move easily, consult your owner’s manual or contact the manufacturer for advice rather than forcing it.
Can I just use the same pressure for all my air tools?
No, it’s best not to. Different air tools are designed to operate within specific pressure ranges for optimal performance and to prevent damage. While some overlap exists, always check the recommended PSI for each of your tools.
How do I know if I’m leaking air pressure?
If you set your desired pressure, and it quickly drops without you using any air, you likely have a leak. Check all connections along your air line and at the tool. A common method is to use soapy water; any bubbles indicate a leak point.
Is it okay to leave the regulator unlocked after setting the pressure?
It’s generally a good idea to lock your regulator knob if it has a locking feature. This prevents accidental adjustments while you’re working. If your knob doesn’t lock, just be mindful of bumping it and try to keep the pressure consistent.
What’s the difference between tank pressure and regulated pressure?
The tank pressure is the maximum pressure stored in the compressor’s tank. The regulated pressure is the output pressure you set using the regulator knob. You’ll always be adjusting the regulated pressure, which is what your tools actually receive.