How to Assemble an Air Compressor Pressure Switch
Assembling an air compressor pressure switch is a manageable DIY task if you follow the right steps. You can successfully install your new switch by first disconnecting power and then carefully noting the wire connections from the old unit. This guide will show you exactly how to get your air compressor back up and running safely.
A properly functioning pressure switch is vital for your air compressor’s efficiency and longevity. It controls when the motor turns on and off based on the air pressure inside your tank. Understanding how to replace it ensures your compressor doesn’t run too long or stop prematurely, saving you headaches and potentially costly repairs down the road. Many homeowners and mechanics find this a straightforward repair.
- Always disconnect power first.
- Carefully label wires before removing the old switch.
- Connect wires to the new switch in the correct order.
- Test the new switch for proper operation.
- Ensure all connections are secure.
Let’s walk through exactly how to assemble your air compressor pressure switch, step by step, to get you back to work in no time.
Putting Your Air Compressor Pressure Switch Back Together
Assembling your air compressor pressure switch might sound a bit technical, but it’s really about connecting a few wires correctly. Think of it like following a recipe for a specific part. We’ll guide you through each step. You’ll be ensuring your compressor cycles on and off just like it should.
Safety First: Power Down Completely
Before you even think about touching a wire, the most important step is to turn off the power. This isn’t just a suggestion; it’s a critical safety measure. You need to disconnect the power source to your air compressor. Find the plug and unplug it from the wall. If your compressor is hardwired, locate the circuit breaker that controls it and flip it to the ‘OFF’ position. Double-check that the compressor is indeed powered down. Sometimes, a little light might stay on, so be sure.
Confirming Power is Off
How can you be absolutely sure the power is off? A simple test is to try turning the compressor on briefly after unplugging or flipping the breaker. If the motor doesn’t engage or any lights don’t illuminate, you’ve successfully cut the power. This step is non-negotiable. Many electrical accidents happen because power wasn’t fully disconnected (Occupational Safety and Health Administration).
Removing the Old Pressure Switch
Once you’re certain the unit is safe to work on, you can start taking off the old switch. You’ll typically find the pressure switch mounted near the air intake or on the side of the compressor tank. It often looks like a small black box with a lever or dial. You’ll see wires coming into it and possibly a tube connecting to the tank.
Documenting Wire Connections
This is where you become an amateur detective. Before you disconnect anything, take clear photos of how the wires are connected to the old switch. Most pressure switches have several terminals where wires attach. You might also want to use masking tape and a pen to label each wire with its terminal designation (e.g., L1, T1, etc.). This will be your roadmap for reassembly. If you’re unsure about the labels, many guides recommend drawing a simple diagram. We found this method helps prevent mix-ups.
Disconnecting the Wires
With your photos or diagram in hand, you can now carefully disconnect the wires from the old switch. Most terminals have screws that hold the wires in place. Use a screwdriver that fits snugly to loosen these screws. Don’t force them. Once the screw is loose enough, gently pull the wire out. If the wire is stiff or corroded, you might need a pair of pliers to help wiggle it free. Be careful not to damage the wire itself.
Detaching the Switch Body
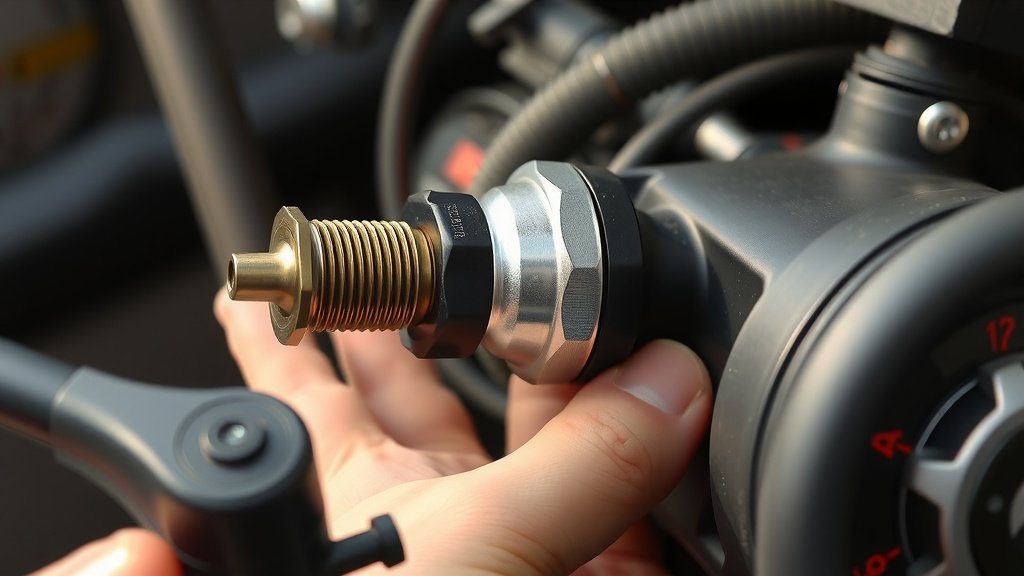
The pressure switch is usually attached to the compressor tank or piping with threaded fittings. You may need a wrench to unscrew it. Sometimes, there’s a small copper tube that needs to be carefully bent or detached. Again, take pictures before you remove it. This helps you remember the orientation and any specific parts that might come loose.
Installing the New Pressure Switch
Now for the exciting part: putting the new switch in! You’ve got your old switch out, and hopefully, a clear record of how everything was connected.
Mounting the New Switch
First, screw the new pressure switch into place. Make sure the threads are clean. If there was any Teflon tape or sealant on the old fitting, apply a fresh layer to the threads of the new switch. This helps create a good seal and prevents air leaks. Tighten it securely with a wrench, but don’t overtighten, as you could damage the tank fitting.
Connecting the Wires to the New Switch
This is where your photos and labels come into play. Refer to your documentation. Connect each wire to its corresponding terminal on the new pressure switch. Slide the bare metal end of the wire under the screw terminal and tighten the screw firmly. Ensure the wire is making good contact with the terminal and that no stray strands are sticking out. A secure connection is vital for proper operation and safety.
It’s important to make sure the wires are attached to the correct terminals. A common setup involves a power-in and power-out configuration. Many experts recommend checking the manual that came with your new pressure switch. It will often have a wiring diagram specific to your model. We found that these diagrams are usually very clear.
Understanding Terminal Designations
Pressure switches often have designations like ‘L’ for Line (power coming in) and ‘T’ for Load or Terminal (power going out to the motor). Some might have additional terminals for specific functions. If your new switch has extra terminals or a different layout, consult its manual. Following the manufacturer’s instructions is key here.
Setting the Pressure Levels (If Applicable)
Many pressure switches have adjustable settings for ‘cut-in’ and ‘cut-out’ pressure. The cut-out pressure is when the switch stops the motor. The cut-in pressure is when it restarts the motor. You’ll usually see adjustment screws or a dial for this. You can often find the original settings marked on the old switch or tank. If not, a common starting point for many home compressors is a cut-out pressure of around 120-150 PSI and a cut-in pressure about 20-30 PSI lower. Research your specific compressor model for recommended settings. Incorrect settings can affect performance or even damage the compressor.
Testing Your Newly Assembled Switch
With everything connected and tightened, it’s time to test your work. This is where you see if your careful assembly paid off.
Initial Power-Up and Observation
Reconnect the power to your air compressor. Listen closely. You should hear the motor start up and begin filling the tank with air. Watch the pressure gauge to see how quickly it climbs. The motor should run until the air pressure reaches the cut-out setting you’ve configured (or the factory default).
Checking for Leaks and Proper Cycling
Once the compressor stops, listen and watch. Does the pressure hold steady on the gauge, or does it slowly drop? If it drops, you may have a slight air leak, possibly from a fitting that wasn’t tightened enough or at the switch itself. After the pressure drops a bit, the switch should kick the motor back on automatically at the cut-in pressure. If it cycles on and off as expected, congratulations!
Here’s a quick checklist to ensure you’ve covered all your bases:
- Power is completely disconnected before starting.
- Old wire connections were clearly documented.
- New switch is securely mounted.
- All wires are connected to the correct terminals.
- Pressure settings (if adjusted) are appropriate.
- No air leaks are detected after initial test.
Conclusion
You’ve successfully navigated the process of assembling your air compressor pressure switch! By prioritizing safety with power disconnection and meticulously documenting your old wiring, you’ve set yourself up for a smooth installation. Remember, secure wire connections and proper mounting are key to ensuring your compressor runs efficiently and safely. If your switch has adjustable settings, fine-tuning them to your compressor’s needs will further optimize performance. Now that your pressure switch is all set, it’s time to get back to your projects. Plug it in, power it up, and listen for that familiar hum of a working compressor. If everything sounds and works right, give yourself a pat on the back for a job well done!
Frequently Asked Questions
What happens if I connect the wires to the wrong terminals?
Connecting wires to the incorrect terminals on your new pressure switch can cause immediate problems. It might prevent the compressor motor from running at all, or it could cause it to run continuously without shutting off. In some cases, incorrect wiring could even damage the new switch or the compressor’s motor.
Can I reuse the old pressure switch if it looks okay?
While an old pressure switch might look fine, its internal components can wear out over time, leading to unreliable performance. If you’re experiencing issues like the compressor not building pressure, short cycling, or not shutting off, it’s usually best to replace the switch with a new one, even if the old one appears undamaged.
How tight should I make the screws on the wire terminals?
You need to tighten the screws firmly enough to ensure a secure electrical connection. However, avoid overtightening, which can strip the screw threads or damage the terminal. A good rule of thumb is to tighten until you feel firm resistance, ensuring the wire is held snugly without bending or deforming the terminal.
My new pressure switch has a different layout than the old one. What should I do?
If your new pressure switch has a different terminal layout, always refer to the wiring diagram provided by the manufacturer. This diagram is specific to your new switch model and will clearly show where each wire should be connected. Comparing this to your photos or diagram of the old switch will guide you correctly.
How do I know if my pressure switch is leaking air?
You can check for air leaks after the compressor has finished its initial run and stopped. Listen for any hissing sounds around the pressure switch fittings or where the switch mounts to the tank. Also, observe the pressure gauge; if the pressure drops significantly over a short period without the compressor running, it indicates a leak, potentially at the switch or its connection.