Build Your Own Air Compressor: A Step-by-Step Guide
Building your own air compressor is definitely possible if you’re looking for a DIY project. You’ll need some specific parts like a motor, a tank, and a pump. It’s a great way to get custom airflow for your workshop without buying a commercial unit. Our guide to a 1-gallon vs 2-gallon air compressor can help you choose.
Many folks find building an air compressor rewarding. It can save you money and gives you a real sense of accomplishment. We found that understanding the basic components is key to success, ensuring you get the right pressure and volume for your needs.
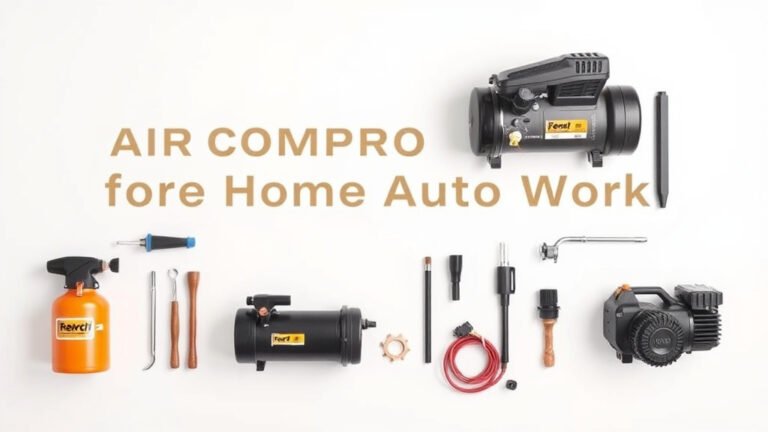
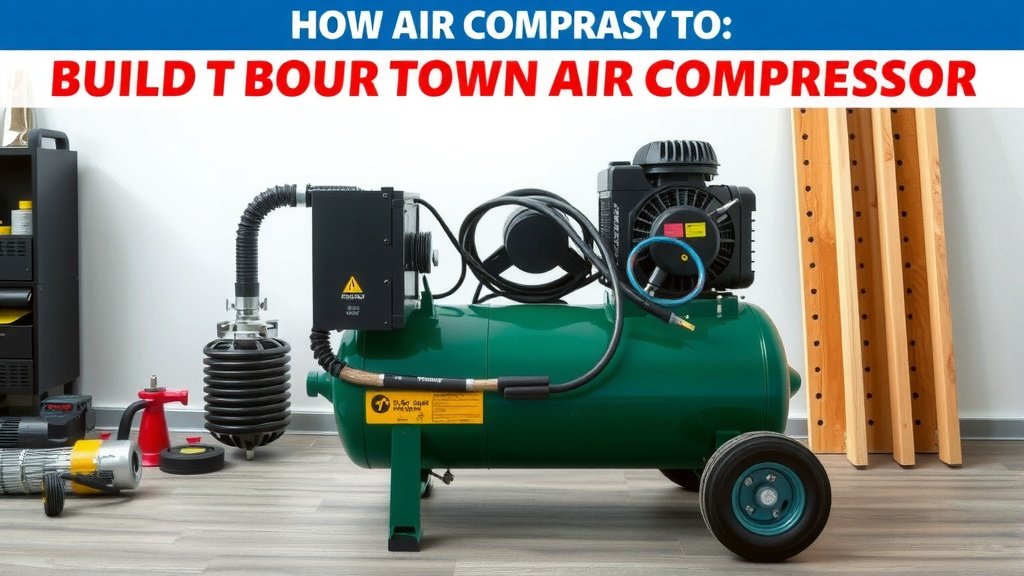
- Gather your parts: motor, tank, pump, valves, and regulator.
- Assemble the main components securely.
- Connect the electrical and air lines carefully.
- Test for leaks and proper function.
Let’s walk through exactly how to put your DIY air compressor together, step by step.
Putting Together Your Own Air Compressor
Building an air compressor from scratch can seem daunting, but it’s totally achievable with the right guidance and parts. You’re essentially creating a system to store compressed air for your tools. It’s a rewarding DIY project that gives you a custom air supply.
Essential Components for Your DIY Compressor
Before you start bolting things together, let’s look at what you’ll absolutely need. Think of these as the building blocks of your compressed air machine.
The Power Source: Your Motor
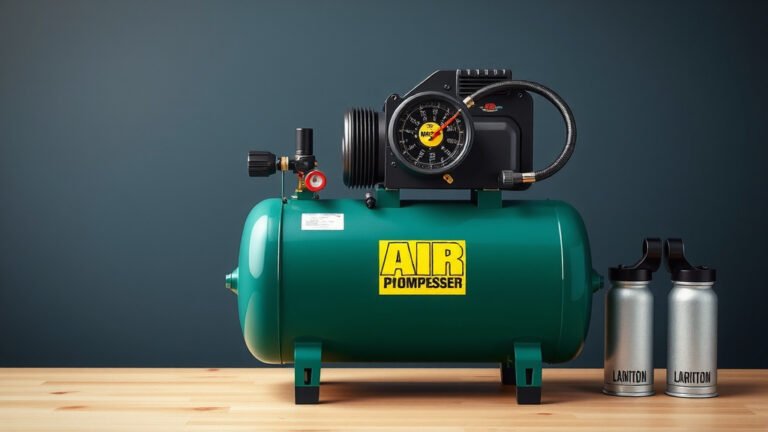
The motor is the heart of your air compressor. It drives the pump to create the airflow. You’ll typically choose between an electric motor or a gasoline engine. For most home workshops, an electric motor is quieter and easier to manage. We found that a 1 to 5 horsepower motor is usually sufficient for most DIY needs. Make sure it’s rated for continuous duty if you plan on long run times. Research suggests matching the motor’s horsepower to the pump’s requirements is key for efficiency (Grainger).
The Air Provider: The Compressor Pump
This is the part that actually squeezes the air. There are a few common types:
- Piston Pumps: These are very common for DIY projects. They work like a car engine, with pistons moving up and down in cylinders. They’re generally affordable and reliable.
- Rotary Screw Compressors: These are more industrial and not typically used in DIY builds due to their size and cost.
When selecting a pump, pay attention to its CFM (Cubic Feet per Minute) rating. This tells you how much air it can deliver. Match this to the CFM requirements of the tools you plan to use. You can find pump and motor combinations pre-assembled, which can simplify your build.
The Storage Unit: The Air Tank
The air tank stores the compressed air. This allows the motor to cycle on and off, rather than running constantly. It also helps to smooth out air delivery. You can often repurpose old propane tanks or buy specialized air receiver tanks. Safety is paramount when choosing a tank. It must be rated for pressure well above your target operating pressure. A general rule is to use a tank rated for at least 1.5 times your maximum PSI (American Society of Mechanical Engineers).
Controlling the Flow: Valves and Regulators
You’ll need several types of valves. A check valve prevents air from flowing back into the pump when it stops. A pressure relief valve is a critical safety feature that releases excess pressure if something goes wrong. An unloader valve on the pump can help reduce the load on the motor during startup. The regulator lets you set the output pressure for your tools. We found that a good quality regulator is essential for precise control (Tool Crib).
Putting It All Together: Assembly Steps
Now comes the fun part – assembling your air compressor! It’s like putting together a challenging puzzle, but with satisfying results.
Mounting the Motor and Pump
You’ll need a sturdy base, often a metal frame or a thick piece of plywood. Mount the motor and pump securely to this base. Ensure they are properly aligned. Misalignment can cause excessive wear and vibration. Many kits come with mounting hardware, which is super helpful. You might need some basic metalworking skills for this step if you’re fabricating your own mount.
Connecting the Drive System
This is how the motor transfers power to the pump. The most common method for DIY builds is a V-belt and pulley system. You’ll need to calculate the correct pulley sizes to achieve the desired pump speed. Too fast, and you risk overheating the pump. Too slow, and you won’t get enough air. Research suggests maintaining the pump manufacturer’s recommended RPM is vital for longevity (Industrial Equipment News).
Attaching the Tank and Plumbing
Connect the pump’s outlet to the air tank using appropriate piping and fittings. Remember to install the check valve and safety relief valve in the correct locations. You’ll also need to add a drain valve at the bottom of the tank to remove moisture. This is often overlooked but is super important for tank health. Proper thread sealant, like Teflon tape or pipe dope, is essential for leak-free connections.
Electrical Connections and Safety Features
If you’re using an electric motor, you’ll need to wire it correctly. This often involves a switch, capacitor, and potentially a circuit breaker. Always follow electrical codes and safety guidelines. If you’re not comfortable with electrical work, it’s best to consult a qualified electrician. Ensure all connections are insulated and protected from damage. Many experts stress that proper grounding is non-negotiable for electrical safety (Occupational Safety and Health Administration).
Installing the Regulator and Air Outlet
Mount your pressure regulator and any quick-connect fittings for your air hose. These are usually placed after the tank and before the tools. This is where you’ll connect your air tools. Ensure these fittings are rated for the pressures your system will produce. A common setup includes a moisture trap or filter here too, to provide clean, dry air to your tools.
Testing Your New Air Compressor
Once everything is connected, it’s time for the moment of truth. Start the motor and let the tank fill. Listen for any unusual noises. Check all fittings for leaks using soapy water – bubbles will appear where air is escaping. Adjust the regulator to your desired pressure. Test the pressure relief valve to ensure it functions correctly. Many DIY builders find this stage nerve-wracking but incredibly satisfying when it all works!
Quick Checklist for Your Build
- Securely mount the motor and pump on a stable base.
- Ensure proper alignment between the motor and pump pulleys.
- Install all safety valves (relief, check, unloader) correctly.
- Use appropriate fittings and thread sealant for all air lines.
- Wire the motor according to safety codes and best practices.
- Test thoroughly for leaks and proper pressure regulation.
Conclusion
You’ve now learned the essential steps to build your very own air compressor. Remember, careful planning and attention to detail are key to a successful and safe build. By selecting the right components like your motor, pump, and tank, and by meticulously assembling them, you’re well on your way to a custom-built air source for your projects. Don’t forget to prioritize safety, especially with electrical connections and pressure systems. Ready to get started? Your next step is to gather your chosen parts and prepare your workspace for this rewarding DIY project.
Frequently Asked Questions
What are the most common mistakes people make when building an air compressor?
A frequent oversight is not properly aligning the motor and pump, leading to excessive wear and vibration. Another common pitfall is neglecting to install a safety relief valve, which is critical for preventing dangerous over-pressurization. Many builders also underestimate the importance of a good quality regulator for consistent air output.
Can I use a used or repurposed air tank for my DIY compressor?
You certainly can, but safety is absolutely paramount. Ensure the tank is rated for the pressure you intend to operate at and inspect it thoroughly for rust, corrosion, or structural damage. Tanks that previously held flammable materials should be avoided entirely. Always err on the side of caution when selecting a pressure vessel.
How do I determine the right motor horsepower for my air compressor build?
You’ll want to match the motor’s horsepower to the requirements of your compressor pump and the air volume (CFM) you need. Research suggests that for most common workshop tasks, a 1 to 5 horsepower electric motor is usually sufficient. If your tools demand a lot of air, you might need a more powerful motor.
Is it difficult to connect the V-belt drive system between the motor and pump?
It requires some precision but is generally manageable for DIYers. You’ll need to ensure the pulleys are correctly sized to achieve the pump’s recommended operating speed. Proper tension on the belt is also important to prevent slippage or undue strain on the bearings. Many kits come with suggested pulley ratios to simplify this process.
How important is it to drain moisture from the air tank regularly?
It’s extremely important for the longevity and safety of your air compressor. Moisture can cause rust and corrosion inside the tank over time, potentially weakening it and leading to leaks or even failure. Draining the tank after each use, or at least regularly, prevents this buildup and ensures cleaner air for your tools.