How to Change Your Air Compressor Nozzle Easily
Changing your air compressor nozzle is a straightforward task that most DIYers can handle with ease. You can easily swap out your air compressor nozzle by first ensuring the compressor is turned off and depressurized, then unscrewing the old nozzle and screwing on the new one. This simple maintenance step can help you achieve better airflow and efficiency for your tools.
Keeping your air compressor in good working order involves more than just refilling the tank. The nozzle, or tip, plays a vital role in directing the compressed air effectively. A damaged or incorrect nozzle can lead to poor performance and even damage to your air tools. Understanding how to change it is a key part of basic compressor upkeep.
- Turn off and depressurize your air compressor.
- Unscrew the old nozzle.
- Screw on the new nozzle tightly.
- Check for leaks before use.
Ready to get your air compressor working its best? Let’s walk through exactly how to change that nozzle step by step.
Swapping Out Your Air Compressor Nozzle
Changing an air compressor nozzle is a quick fix for better tool performance. It’s like changing a showerhead to get a different water spray. You might need to swap it if your current one is clogged, damaged, or just not right for the job. A clean, correctly sized nozzle helps your tools work better and last longer. This guide will show you exactly how to do it yourself.
Why You Might Need a New Air Compressor Nozzle
So, why bother changing your air compressor nozzle? Think of it as giving your tools the right kind of push. A nozzle directs the compressed air. If it’s not working right, your tools might not get enough power, or the air might spray all over the place.
Signs Your Nozzle Needs Replacing
You’ll often notice a few key signs when your nozzle isn’t doing its job. Is your air tool sputtering or not performing as strongly as it used to? That could be a nozzle issue. Reduced airflow is a big clue. Sometimes, you might see uneven spray patterns. This is especially noticeable with spray guns or blow guns.
Another common problem is a clogged nozzle. Dust, paint particles, or debris can build up inside. This blockage restricts airflow. If you’ve tried cleaning it and it’s still not right, replacement is your best bet. Many experts say that simple wear and tear can also affect nozzle performance over time (National Institute for Occupational Safety and Health).
Choosing the Right Replacement Nozzle
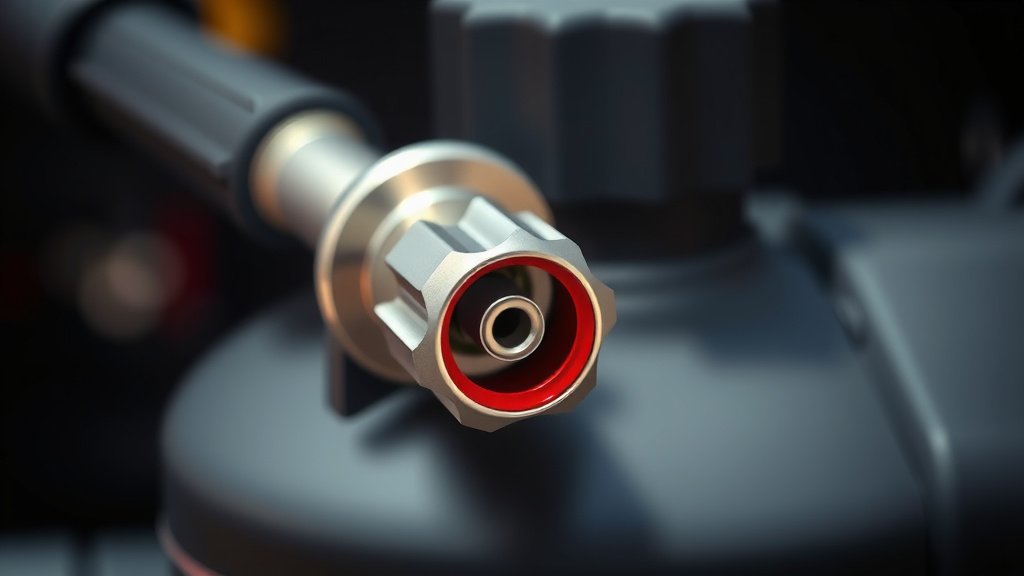
Not all nozzles are created equal. They come in different sizes and thread types. Your air tool or compressor manual is your best friend here. It will tell you the correct thread size, often something like 1/4-inch NPT. This is a standard size for many tools.
Nozzle size also matters for airflow. Smaller nozzles restrict air, which can increase pressure for certain tasks. Larger nozzles allow more air to pass through. This is good for tools that need a lot of air volume. Think about what you’ll be using it for. A nozzle for a tire inflator might be very different from one on a paint sprayer.
| Nozzle Type | Common Uses | Airflow Characteristics |
|---|---|---|
| Blow Gun Nozzle | Cleaning dust and debris | High velocity, focused air stream |
| Tire Inflator Chuck | Inflating tires | Controlled airflow into valves |
| Spray Gun Tip | Painting, coating | Atomized spray pattern, variable flow |
| General Purpose Nozzle | Various tasks, light blowing | Moderate airflow, versatile |
Step-by-Step Guide to Changing Your Nozzle
Alright, let’s get down to business. Changing the nozzle is usually pretty simple. You won’t need a lot of fancy tools. Most of the time, you can do it with just your hands or maybe a pair of pliers.
Safety First: Power Down and Depressurize
This is the most important step. Never try to change a nozzle on a pressurized system. It’s like trying to unscrew a soda bottle cap while it’s still fizzy – not a good idea. First, turn off your air compressor. Find the power switch and flip it. You need to make sure no air is being pumped into the tank.
Next, you need to release any stored air pressure. Many compressors have a safety valve, often called a relief valve. You can usually pull a ring or turn a knob on this valve. You’ll hear the air hissing out. Keep the valve open until all the air is gone. Some people use a blow gun attachment to vent the air quickly. Just make sure no air is coming out before you touch the nozzle.
Removing the Old Nozzle
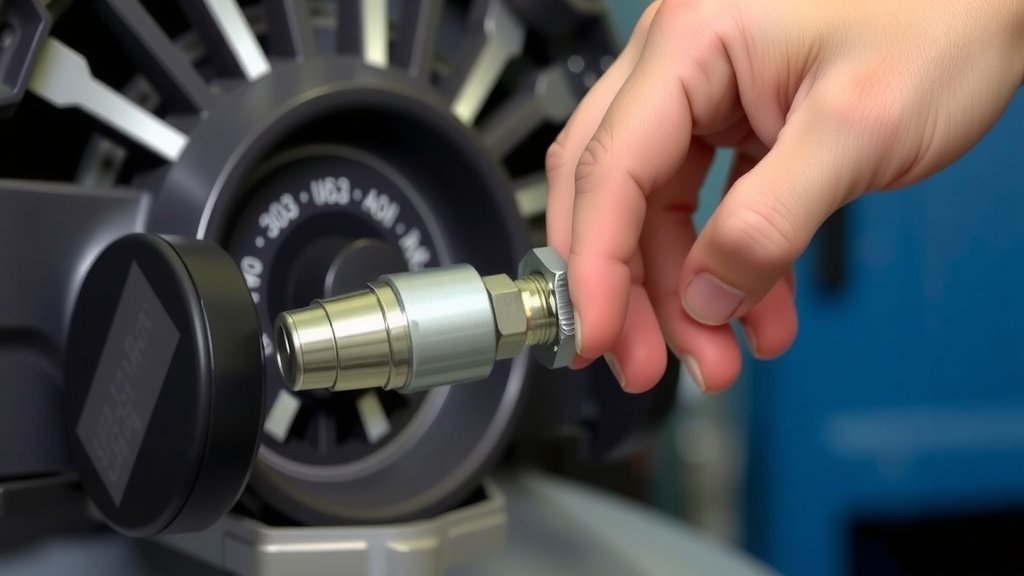
Now for the actual removal. Most nozzles screw directly into the end of your air hose or a fitting on the compressor. If it’s really tight, you might need a wrench or pliers. Be gentle, though. You don’t want to damage the threads on your hose or fitting. Sometimes, a quick spray of penetrating oil can help loosen a stubborn nozzle.
Grip the nozzle firmly. Turn it counter-clockwise. That’s the standard direction for unscrewing things. If it turns easily, great! If it’s stuck, try gripping it a bit tighter or using pliers. Remember, left is loose. If you’re having trouble, make sure the compressor is truly depressurized. You don’t want any air pushing back.
Installing the New Nozzle
Once the old nozzle is off, take a look at the threads. Make sure they are clean. You don’t want any dirt or debris getting in there. Now, grab your new nozzle. It should also have clean threads. Some people like to add a bit of pipe thread tape (also known as Teflon tape) to the threads of the new nozzle. This helps create a better seal and makes it easier to remove later.
Line up the new nozzle with the fitting. Turn it clockwise to screw it in. Start by hand to make sure it’s going on straight. You don’t want to cross-thread it, which can cause damage. Once it’s hand-tight, give it a final snug turn with your wrench or pliers. Again, don’t overtighten it. You just want it secure and sealed.
Testing for Leaks
Before you start your project, it’s smart to check for leaks. Turn your air compressor back on. Let it build up some pressure. Listen closely around the new nozzle. Do you hear any hissing sounds? If you do, there might be a small leak. Often, just giving the nozzle a little extra snugness will fix it.
If the leak persists, you might need to remove the nozzle and reapply the thread tape. Make sure the threads on both the fitting and the nozzle are clean and undamaged. For most jobs, a good seal means no leaks. This ensures all that compressed air goes where you want it to go, and not out into the air.
A Quick Checklist for Your Nozzle Change
Here’s a handy checklist to keep you on track:
- Confirm compressor is off and depressurized.
- Remove old nozzle counter-clockwise.
- Clean fitting threads.
- Apply thread tape to new nozzle (optional but recommended).
- Screw new nozzle on clockwise until snug.
- Check for air leaks after pressurizing.
Conclusion
You’ve now learned how simple it is to change your air compressor nozzle. This quick maintenance task ensures your tools get the airflow they need. By following these steps, you can avoid performance issues and extend the life of your equipment. Remember to always prioritize safety by powering down and depressurizing your compressor before you start. Ready to give your tools a boost? Go ahead and swap out that nozzle for optimal performance on your next project!
Frequently Asked Questions
What’s the most common reason my air compressor nozzle needs changing?
The most common reasons are clogs from debris or physical damage. If you notice a drop in airflow or an uneven spray pattern, your nozzle might be the culprit. Wear and tear over time can also reduce its effectiveness.
Can I use just any nozzle on my air compressor?
No, you need to ensure the new nozzle has the correct thread size and type for your air hose or tool fitting. Check your compressor or tool manual for specifications, often a 1/4-inch NPT thread. Using the wrong size can prevent a good seal.
Do I really need to depressurize the compressor?
Yes, absolutely. Attempting to unscrew a nozzle on a pressurized system is dangerous. It’s like opening a shaken soda bottle – the air can escape suddenly and forcefully. Always bleed off all air pressure first for your safety.
Is it okay to use pliers to remove a stuck nozzle?
You can use pliers, but do so gently to avoid damaging the threads on your hose or fitting. If the nozzle is very stubborn, a small amount of penetrating oil applied carefully might help loosen it. Ensure the system is fully depressurized before using tools.
How tight should I screw in the new nozzle?
You want the new nozzle to be snug and secure, but not overtightened. Start by hand to ensure it’s straight, then give it a final turn with a wrench. Overtightening can damage the threads, while being too loose will cause air leaks.