How to Replace Your Car’s Air Compressor: A Step-by-Step Guide
Changing the air compressor in your car is a manageable DIY task if you’re comfortable with basic car repairs. You can successfully replace your car’s air compressor by following a few key steps. We found that having the right tools and a clear understanding of the process makes it much easier. This guide will help you get your AC blowing cold again.
Your car’s air conditioning system relies on this compressor to circulate refrigerant. A failing compressor means no cold air, which is no fun on a hot day. Many drivers find that addressing this issue themselves can save a considerable amount of money compared to professional repair. We’ve researched common issues and found a straightforward approach.
- Locate the AC compressor and its mounting bolts.
- Disconnect the battery for safety.
- Release the tension on the serpentine belt.
- Carefully detach refrigerant lines and electrical connections.
- Remove the old compressor and install the new one.
Let’s walk through exactly how to change your car’s air compressor step by step. You’ve got this!
Replacing Your Car’s AC Compressor: A Step-by-Step Guide
Ready to tackle that AC compressor replacement yourself? We understand that the thought can be a bit daunting, but with the right approach, you can get your car’s air conditioning blowing cold again. Many drivers find this to be a very rewarding DIY project. It not only saves you money but also gives you a real sense of accomplishment. We’ve broken down the process into manageable steps to guide you through it.
Understanding the AC Compressor’s Role
Before we dive into the “how-to,” let’s quickly chat about what this AC compressor actually does. Think of it as the heart of your car’s AC system. It’s responsible for pumping the refrigerant, which is the stuff that makes your car cold. When this part fails, your AC stops working, leaving you to sweat it out. We found that a noisy or failing compressor is usually the first sign of trouble.
Gathering Your Tools and Parts
Having the right tools on hand is essential for any DIY job. It makes the process smoother and safer. We’ve put together a list of common items you’ll likely need:
- A new AC compressor (make sure it’s the correct one for your car’s make, model, and year).
- A socket set with various sizes.
- Wrenches, including an adjustable wrench.
- A serpentine belt tool or a pry bar.
- Safety glasses and gloves.
- A drain pan for any residual fluids.
- Possibly a vacuum pump and manifold gauge set if you plan to recharge the system yourself (this is often best left to professionals due to environmental regulations).
- A shop rag or towel.
It’s also a good idea to consult your car’s service manual. It often has specific details about your vehicle that can be incredibly helpful. We found that having this manual handy is like having a cheat sheet for your car.
Safety First: Disconnecting the Battery
This is a non-negotiable step. You absolutely must disconnect the negative terminal of your car’s battery before you begin. This prevents any accidental electrical shorts or shocks. You don’t want to be dealing with sparks while working on your AC system! We strongly recommend waiting about 10-15 minutes after disconnecting the battery to allow any residual charge to dissipate.
Locating and Accessing the AC Compressor
Your AC compressor is usually found at the front of the engine. It’s typically driven by the serpentine belt. You might need to remove other engine components, like a splash shield or air intake duct, to get clear access. Take a moment to identify its location and how it’s mounted. Look for the bolts holding it in place and the belt that drives it.
Releasing the Serpentine Belt Tension
This is where the serpentine belt tool or pry bar comes in handy. The serpentine belt wraps around several pulleys, including the one for your AC compressor. You’ll need to relieve the tension on this belt to slide it off the compressor pulley. Most cars have a spring-loaded tensioner pulley. You’ll use your tool to rotate this tensioner, which loosens the belt. Once loose, carefully slide the belt off the AC compressor pulley. Make a mental note (or take a picture!) of the belt’s routing, as you’ll need to put it back on correctly later.
Detaching Refrigerant Lines and Electrical Connections
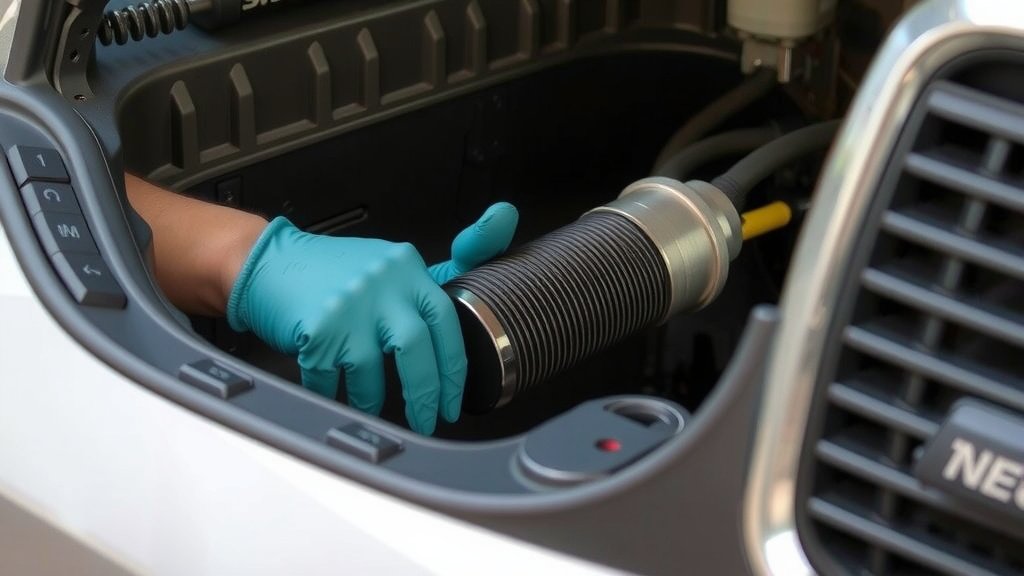
This part requires careful handling. The AC compressor has refrigerant lines attached to it. These lines contain pressurized refrigerant, which is harmful to the environment if released. Many mechanics recommend having a professional recover the refrigerant before you disconnect these lines. If you choose to proceed, use appropriate tools and be prepared for a small amount of residual pressure or fluid. You’ll likely need wrenches to loosen the fittings. Also, locate any electrical connectors going to the compressor clutch and disconnect them. These are usually held in place by a small tab you need to press.
We found that sometimes these fittings can be stubborn. A little penetrating oil might help, but be careful not to get it on the electrical connectors. Always wear your safety glasses during this step.
Removing the Old Compressor
With the belt off and lines disconnected, you’re ready to remove the compressor itself. You’ll see mounting bolts holding the compressor to its bracket. Carefully loosen and remove these bolts. Keep track of these bolts, as they might be specific sizes. Once the bolts are out, the old compressor should be free. Gently maneuver it out of its space. It can be heavier than it looks, so be prepared.
Installing the New AC Compressor
Now it’s time for the new part! Position the new compressor in its mounting bracket. Align the bolt holes and reinsert the mounting bolts. Tighten them securely. Reconnect the refrigerant lines, making sure the fittings are snug. Connect any electrical connectors you unplugged earlier. Remember, clean fittings are important here to prevent leaks.
Putting the Serpentine Belt Back On
Now, wrap the serpentine belt back around the pulleys, making sure it’s seated correctly on all of them. Remember that picture you took? Now’s the time to refer to it! Use your serpentine belt tool or pry bar again to rotate the tensioner pulley. While holding the tensioner, slip the belt onto the AC compressor pulley. Slowly release the tensioner. The belt should now be taut and correctly positioned.
Final Checks and Next Steps
Before you reconnect the battery, double-check everything. Are all bolts tight? Are the refrigerant lines securely connected? Is the belt properly seated on all pulleys? A quick inspection can save you a lot of trouble. Once you’re confident, reconnect the negative battery terminal.
You’ve done the heavy lifting! The next crucial steps involve having the AC system evacuated and recharged by a qualified technician. This is because refrigerant needs to be handled properly to comply with environmental regulations and ensure your system works efficiently. They will also check for leaks. We found that trying to recharge the system without the proper equipment and knowledge can lead to poor performance or even damage to the new compressor.
Your AC Compressor Replacement Checklist
To help you keep track, here’s a quick rundown of the key actions:
- Gather all necessary tools and your new compressor.
- Disconnect the car battery’s negative terminal.
- Locate and gain access to the AC compressor.
- Release tension and remove the serpentine belt.
- Disconnect refrigerant lines and electrical connectors.
- Remove and replace the old compressor with the new one.
- Reinstall the serpentine belt.
- Have the AC system professionally evacuated and recharged.
Conclusion
You’ve successfully navigated the process of changing your car’s AC compressor! Remember, taking your time and following the steps carefully is key. We found that disconnecting the battery and ensuring proper handling of refrigerant lines are critical for safety and environmental protection. While you’ve done the major mechanical work, the final, essential step is professional evacuation and recharging of your AC system. This ensures your system operates efficiently and legally. Congratulations on a job well done!
Frequently Asked Questions
How long does it take to replace an AC compressor?
The time can vary based on your car model and your experience. We’ve found that for many DIYers, it can take anywhere from 2 to 4 hours. This includes gathering tools, removing the old compressor, and installing the new one. Remember to factor in the professional service for recharging afterwards.
Can I just add refrigerant after changing the compressor?
No, you absolutely cannot just add refrigerant. The AC system needs to be evacuated to remove air and moisture before new refrigerant is added. We discovered that this process also checks for leaks, which is vital for system performance and longevity.
What are the signs my AC compressor is failing?
Common signs include a noticeable rattling or grinding noise when the AC is on, or if your AC stops blowing cold air altogether. You might also notice a decrease in cooling performance. We’ve seen that these symptoms often point directly to a compressor issue.
Do I need to replace the AC receiver/drier when changing the compressor?
It’s highly recommended. We found that the receiver/drier can absorb moisture over time. Replacing it when you replace the compressor helps prevent contaminants from entering your new unit and ensures your AC system runs optimally.
Is it safe to disconnect the AC lines myself?
Disconnecting AC lines involves handling refrigerant, which requires caution and proper protective gear. Environmental regulations apply to refrigerant release. Many mechanics advise having a professional recover the refrigerant before you start. We always stress safety first during this step.