Craftsman Air Compressor: How to Safely Drain Water
Draining water from your Craftsman air compressor is a simple process. You need to open the drain valve at the bottom of the tank. This allows built-up moisture to escape, which is essential for maintaining your compressor.
Regularly draining your air compressor tank prevents rust and corrosion. This moisture can cause serious damage over time. Keeping your compressor in good shape ensures it lasts longer and performs better. It’s a key part of preventative maintenance for your tools.
- Open the drain valve.
- Let all water and air out.
- Close the valve when done.
- Do this regularly!
Let’s walk through exactly how to drain your Craftsman air compressor, step by step.
Keeping Your Craftsman Air Compressor Tank Dry
Draining the water from your Craftsman air compressor isn’t just a chore; it’s a vital maintenance step. Think of it like changing the oil in your car. Ignoring this simple task can lead to costly repairs down the road. We’ll guide you through the process so you can keep your compressor running smoothly for years to come.
Why Does Water Build Up In Your Tank?
Air compressors work by compressing air. When air is compressed, it heats up. As the air cools down in the tank, the moisture it holds turns into liquid water. This is a natural part of the process, much like condensation on a cold glass. You’ll find this water collected at the bottom of the air tank.
The Risks of Letting Water Sit
Water in your air compressor tank is the enemy of metal. Over time, it can cause rust and corrosion. This isn’t just an ugly sight; it weakens the tank and can lead to leaks. Rust particles can also get into your tools, causing them to malfunction or wear out faster. Many experts agree that preventing rust is key to tool longevity (Centers for Disease Control and Prevention).
Your Step-by-Step Guide to Draining Your Compressor
Ready to get your hands a little dirty? Don’t worry, it’s a quick and straightforward process. We’ve broken it down into easy-to-follow steps. Make sure you have a bucket or a suitable container ready before you begin.
Step 1: Safety First!
Before you do anything, you need to ensure the compressor is safe to work on. First, unplug the air compressor from the power outlet. This is the most important step. You don’t want the motor to suddenly start while you’re working near the tank. Next, safely release any air pressure still in the tank. You can do this by opening a connected air tool or by using the pressure relief valve, if your model has one.
Step 2: Locate the Drain Valve
The drain valve is usually located at the very bottom of the air tank. It often looks like a small faucet or a knob. Some models might have a small lever you can turn, while others have a wingnut-style valve. Take a look around the base of the tank. It’s typically the lowest point where water would naturally collect.
Common Drain Valve Types
- Ball Valve: These usually have a lever handle. You turn the lever 90 degrees to open it.
- Petcock Valve: Often a wingnut shape. You’ll typically turn this by hand.
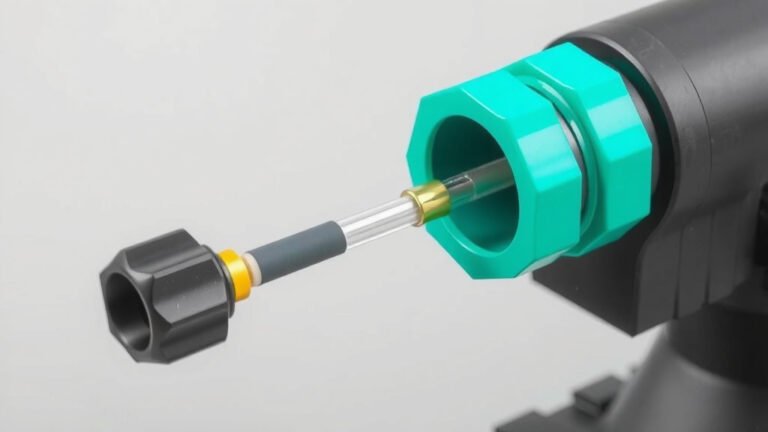
- Petcock with Hose Connection: Some have a threaded nipple to attach a hose for more controlled draining.
Step 3: Position Your Container
Place a bucket or another sturdy container directly underneath the drain valve. You’ll be surprised how much water can come out, so make sure your container is large enough to hold it all. If you’re concerned about a mess, you can lay down some old rags or newspaper too.
Step 4: Open the Valve and Drain
Now for the main event! Slowly open the drain valve. You might hear a hiss as the remaining air escapes. Then, the water will start to flow out into your bucket. Let it drain completely. You want to make sure all the moisture is out. Sometimes, a little bit of sediment might come out with the water, which is normal.
Step 5: Close the Valve and Finish Up
Once the water has completely stopped draining, and only air is coming out, it’s time to close the valve. Turn the valve handle or wingnut to the closed position. Make sure it’s snug, but don’t overtighten it, as you could damage the valve. Wipe up any spilled water around the valve. You’re almost done!
Tips for Optimal Compressor Care
Draining your tank is essential, but a few other habits can help your Craftsman air compressor perform its best. Regular checks can prevent bigger problems.
How Often Should You Drain It?
The frequency depends on how often you use your compressor and the humidity in your area. A good rule of thumb is to drain it after every use, especially if you’ve run it for a significant amount of time. In humid conditions, you might need to drain it even more often. Many manuals recommend checking for water daily and draining as needed (Craftsman Manuals).
What If No Water Comes Out?
If you open the drain valve and no water comes out, it doesn’t necessarily mean there’s no moisture. It could simply mean the air hasn’t cooled enough in the tank to condense. However, if you consistently drain it and find nothing, it’s still a good habit to perform the check. You can also periodically inspect the inside of the tank if possible, though this is often difficult.
Checking the Drain Valve Itself
Occasionally, the drain valve can get clogged with rust or debris. If you’re having trouble draining, or if the valve seems stuck, you might need to carefully clean it. Sometimes, a gentle tap with a wrench can dislodge minor blockages. If it’s severely corroded, you may need to replace the valve. This is a job that might require a trip to the hardware store for a replacement part.
Consider a Drain Hose
Some Craftsman compressors come with a small hose connection on the drain valve. If yours does, consider getting a short piece of flexible tubing. Attaching this hose allows you to direct the draining water into a bucket without getting too close. It also helps prevent splashes and keeps the area cleaner. You can usually find suitable hoses at any hardware or home improvement store.
Your Compressor Maintenance Checklist
Let’s summarize the key actions to keep your compressor in top shape:
- Unplug compressor before draining.
- Release air pressure from the tank.
- Locate the drain valve at the bottom.
- Position a bucket for water collection.
- Open valve and drain all water.
- Close valve tightly when done.
Conclusion
You’ve learned how simple it is to drain water from your Craftsman air compressor. This routine task prevents rust and extends the life of your equipment. By following these steps – unplugging, releasing pressure, locating the valve, draining, and closing – you’re taking good care of your tools. Remember, consistent maintenance means your compressor will be ready when you need it. Make it a habit to check and drain your tank after each use or at least once a week. This small effort protects your investment and ensures reliable performance for all your projects.
Frequently Asked Questions
How often should I drain my Craftsman air compressor?
It’s best to drain your Craftsman air compressor after every use, especially if you’ve run it for an extended period. If you live in a humid area, you may need to drain it more frequently. Many manufacturers recommend checking for water daily and draining as needed.
What happens if I don’t drain the water from my compressor?
If you don’t drain the water, it can lead to rust and corrosion inside the tank. This can weaken the tank over time and potentially cause leaks. Rust particles can also get into your tools, causing them to malfunction or wear out prematurely.
My drain valve is stuck. What can I do?
If your drain valve is stuck, try gently tapping it with a wrench to dislodge any minor debris or rust. If it continues to be difficult to open or close, the valve itself might be corroded and may need to be replaced. You can find replacement valves at most hardware stores.
Can I attach a hose to my Craftsman compressor’s drain valve?
Yes, many Craftsman air compressors have a threaded nipple on the drain valve that allows you to attach a hose. Using a hose can make draining easier and cleaner by directing the water into a bucket, preventing splashes and mess.
What if no water comes out when I open the drain valve?
If no water comes out, it might mean there wasn’t enough moisture buildup to condense in the tank. This can happen in very dry conditions or if you haven’t used the compressor much. It’s still a good practice to open the valve periodically to ensure it doesn’t get clogged with sediment.