Master Air Compressor Painting Techniques
You absolutely can paint with an air compressor, and it’s a fantastic way to get a smooth, professional finish on your projects. The key is using the right type of paint and settings. It might seem intimidating at first, but with a little know-how, you’ll be spraying like a pro in no time. This method can save you time and deliver impressive results.
Painting with an air compressor involves atomizing paint into fine particles. These particles are then propelled by compressed air onto your surface. Many DIYers and professionals alike find it a highly efficient method for furniture, cars, and walls. It’s a technique that can transform your hobby or professional work with a superior coating.
TL;DR:
- Yes, you can paint with an air compressor for a smooth finish.
- Ensure you use the correct paint viscosity and air pressure.
- Proper setup and technique are essential for good results.
- It’s a versatile tool for various projects.
Ready to get started? Let’s walk through exactly how to paint with an air compressor, step by step.
Getting Started with Spray Painting Using an Air Compressor
Painting with an air compressor is a rewarding skill. You can achieve beautiful finishes on many surfaces. Think furniture, cars, even your walls. It uses compressed air to atomize paint. This creates a fine mist that coats your project evenly. This method is often faster than using brushes or rollers.
Essential Equipment You’ll Need
Before you can start spraying, you need the right gear. Having the proper equipment makes the process much smoother. It also ensures a professional-looking result.
The Air Compressor Itself
Your air compressor is the heart of the operation. For painting, you’ll want one with a good air output. Look for a compressor rated in Cubic Feet per Minute (CFM). The higher the CFM, the better it can power your spray gun. Many paint sprayers need at least 5 CFM at 90 PSI. Check your spray gun’s requirements.
Paint Sprayer Options
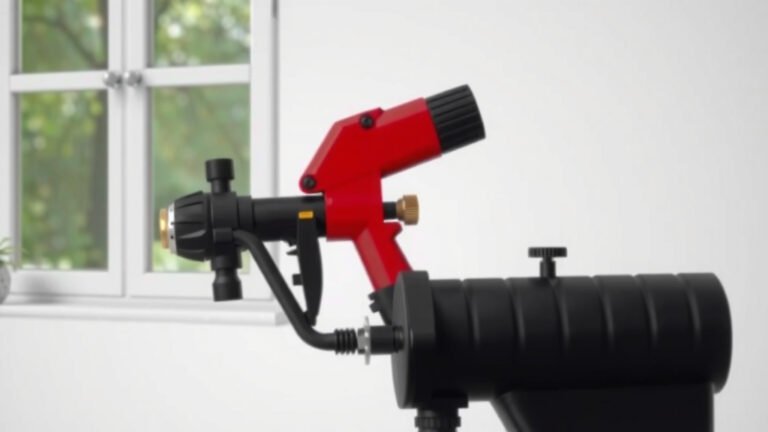
There are several types of paint sprayers that connect to your compressor. HVLP (High Volume, Low Pressure) sprayers are popular for DIYers. They use less air and minimize overspray. Conventional sprayers offer higher speeds. Airless sprayers are different; they don’t use compressed air directly. You’ll need to select a sprayer compatible with your compressor’s output. There are several types of paint sprayers that connect to your compressor, and our guide covers the best options.
Hoses, Regulators, and Filters
You’ll need a suitable air hose to connect your compressor to the sprayer. Make sure it’s rated for the pressure you’ll be using. An air regulator is crucial for controlling the air pressure. It connects between the compressor and the hose. Water and oil filters are also important. They remove contaminants from the air. These contaminants can ruin your paint job.
Paint and Thinner
Not all paints work well in an air compressor setup. You’ll likely need to thin your paint. This ensures it flows correctly through the spray gun. Latex paints often need a specific paint thinner or extender. Oil-based paints use mineral spirits. Always check the paint manufacturer’s recommendations. Using the wrong thinner can damage the paint.
Preparing Your Workspace and Project
A clean, safe space is key to a great paint job. Proper preparation prevents headaches later. It also protects your surroundings from paint splatter.
Setting Up Your Painting Area
Choose a well-ventilated area. Outdoors is often best, weather permitting. If you’re painting indoors, open windows and doors. Use fans to move air out. Cover floors and furniture with drop cloths. Paint can travel farther than you think. Mask off any areas you don’t want to paint. Use painter’s tape for clean lines.
Surface Preparation for Optimal Adhesion
Your project surface needs to be clean and smooth. Wash off dirt, grease, and grime. For most surfaces, a degreaser works well. Sand the surface lightly to create a good base for the paint. This helps the paint adhere properly. Wipe away all sanding dust with a tack cloth or damp rag. Any imperfections will show through the new coat.
Proper Paint Viscosity and Dilution
This step is non-negotiable for spray painting. Your paint needs to be thin enough to pass through the spray gun. Most paints are too thick straight from the can. You can test viscosity using a special viscosity cup. These cups have a small hole at the bottom. You time how long it takes for the paint to drain. If it drains too fast, it’s too thin. If it drains too slow, it’s too thick.
We found that many experts recommend a drain time of about 15-20 seconds for many paints. Always refer to your paint and spray gun manuals. They often provide specific thinning ratios. Adding thinner too quickly can ruin the paint’s integrity.
Mastering the Spraying Technique
Now for the fun part: spraying! Technique makes a big difference. It’s not just about pulling the trigger.
Adjusting Air Pressure and Fan Pattern
Before you spray, set your air pressure. Use your regulator. Start with a lower pressure and gradually increase it. You’re looking for an even spray pattern. Most spray guns have controls for air cap and fluid needle. Adjust the fan pattern to match your project. A wider pattern is good for large areas. A narrower pattern is better for details.
Many guidelines suggest starting with an air pressure around 30-40 PSI for conventional sprayers. For HVLP guns, this might be lower, around 10-20 PSI at the gun. It’s important to test this on scrap material first. You want a nice, even mist, not splatters or heavy drips. Many guidelines suggest starting with an air pressure around 30-40 PSI for conventional sprayers, but our guide explains the right PSI for your air compressor.
The Proper Spraying Motion
Hold the spray gun about 8-12 inches from the surface. Keep your arm moving steadily. Start your spray motion before you pull the trigger. Release the trigger after your motion ends. This avoids paint buildup at the start and end of each pass. Overlap each spray pass by about 50%. This ensures uniform coverage. Move your wrist and arm together for smooth, consistent strokes.
Applying Multiple Thin Coats
Resist the urge to apply one thick coat. Thin coats are always better. They dry faster and are less prone to runs and drips. Allow each coat to dry partially before applying the next. Check the paint manufacturer’s instructions for recoat times. You’ll get a smoother, more durable finish this way.
Cleaning Your Equipment Immediately
This is vital! Dried paint in your spray gun is a nightmare. Clean your spray gun and hoses as soon as you finish spraying. Use the recommended cleaner for your paint type. For water-based paints, use soap and water. For oil-based paints, use mineral spirits or the manufacturer’s solvent. Disassemble the gun according to its manual. Rinse thoroughly until no paint residue remains.
Quick Checklist for Success
- Ensure your compressor’s CFM rating meets your sprayer’s needs.
- Properly thin your paint for the correct viscosity.
- Set your air pressure and fan pattern correctly using a regulator.
- Maintain a consistent distance and speed while spraying.
- Apply multiple thin coats rather than one thick one.
- Clean all equipment thoroughly right after use.
Conclusion
You’ve learned that painting with an air compressor is totally achievable and can yield fantastic results. Remember, success hinges on preparing your equipment and your space. Getting the paint viscosity just right and mastering your spraying motion are key. Don’t forget that consistent thin coats and immediate cleanup are your best friends for a professional finish. You’re now equipped with the knowledge to tackle your next painting project with confidence. So, grab your gear, take a deep breath, and get ready to spray!
Frequently Asked Questions
How do I know if my air compressor has enough power for my spray gun?
Check the CFM rating on your air compressor. Compare this to the CFM requirement listed for your specific spray gun model. Your compressor’s CFM should meet or slightly exceed the spray gun’s needs to ensure consistent performance.
What kind of paint is best for air compressor spray painting?
Most paints can work, but they usually need to be thinned. Paints specifically designed for spraying are ideal. Always consult your paint’s technical data sheet for recommended thinners and dilution ratios. Using the wrong thinner can ruin your paint.
How thick should the paint be before spraying?
Paint viscosity is critical. We found that a common guideline is a 15-20 second drain time using a viscosity cup. Your spray gun manual or paint manufacturer will often provide specific recommendations for thinning. Too thick and it won’t spray; too thin and it will run.
What’s the best way to avoid drips and runs when airbrush painting?
Apply multiple thin coats instead of one heavy one. Ensure your paint is properly thinned and your air pressure is set correctly. Maintain a consistent distance and speed while spraying, and overlap each pass by about 50%.
Why is cleaning the spray gun immediately so important?
Dried paint can clog the small passages and nozzle of your spray gun, making it unusable. Thorough cleaning right after use prevents permanent blockages and ensures your equipment is ready for your next project. It saves you from buying replacement parts or a new gun.