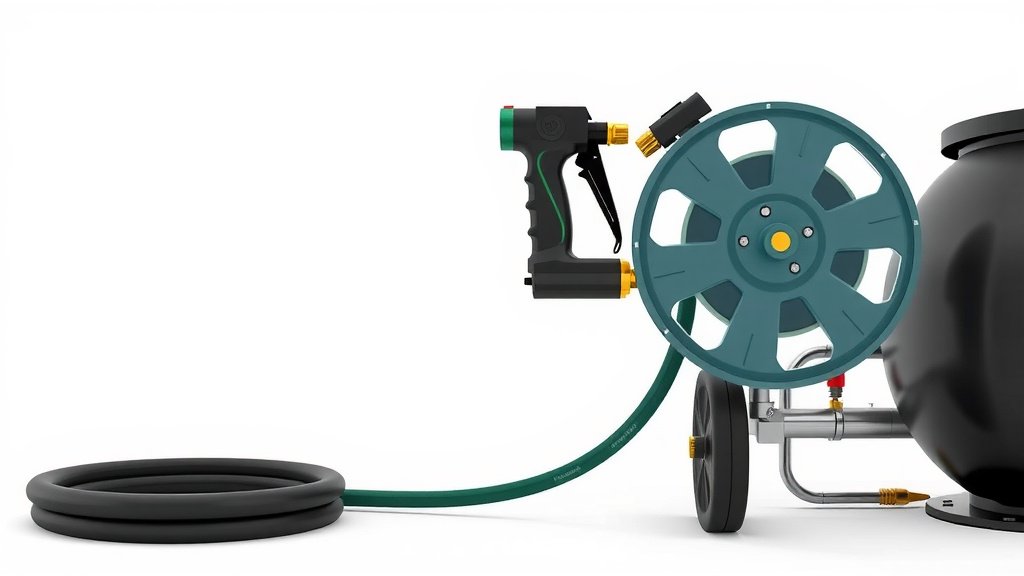
Mount Your Hose Reel to Your Air Compressor: A Guide
Attaching a hose reel to your air compressor is a straightforward process. You’ll typically need a few basic tools and the correct mounting hardware. This setup helps keep your workspace tidy and your air hose protected.
Many DIYers and professionals find that a mounted hose reel makes air tool use much more convenient. It prevents kinks and tangles, extending the life of your hose. Proper installation ensures the reel is secure and functional.
- Mount your hose reel securely to a stable surface.
- Use the right hardware for your compressor and reel type.
- Ensure the hose connects smoothly to the compressor outlet.
- Test the reel for free movement and proper retraction.
Let’s walk through the steps to get your air compressor hose reel attached and ready for action.
Mounting Your Hose Reel to an Air Compressor
Attaching a hose reel to your air compressor is a smart move for any workshop. It keeps your air hose neat and prevents damage. Let’s get this done so you can get back to your projects!
Choosing the Right Spot and Hardware
The first step is finding the perfect location for your new hose reel. You want a spot that’s convenient for using your air tools but also safe and secure. Think about where you usually set up your compressor and where you’ll be working the most.
Assessing Your Workspace and Compressor
Take a look around your workspace. Is there a sturdy wall nearby? Maybe a workbench that can handle a bit of extra weight? Some people even find a way to mount it directly onto the compressor itself, though this isn’t always the best option for balance. You’ll need a surface that won’t shake or wobble when the compressor is running or the reel is in use.
Consider the hose length too. Will the reel be close enough to reach all your work areas without stretching the hose too taut? A common mistake is mounting it too far away, leading to frustration later on. Measure twice, mount once!
Selecting the Proper Mounting Hardware
Now, let’s talk about the nuts and bolts – literally. The type of hardware you need depends heavily on what you’re mounting the reel to. For most solid walls, heavy-duty lag screws are a great choice. They bite deep into wood studs or concrete anchors for a secure hold.
If you’re mounting to metal, you might need machine screws and possibly nuts and washers to go with them. Always check the weight capacity of your chosen hardware. You don’t want your reel coming down mid-job.
Pro Tip: Most hose reels come with some mounting hardware, but it’s often basic. We recommend checking the manufacturer’s instructions and possibly upgrading to something more robust. It’s better to be safe than sorry when it comes to securing heavy equipment.
Step-by-Step Installation Guide
Let’s break down the actual mounting process. It’s usually pretty straightforward, but taking it one step at a time ensures you don’t miss anything. You’ll want to have your tools ready before you start.
Gathering Your Tools and Supplies
Before you even pick up a drill, make sure you have everything you need. This typically includes:
- Your chosen hose reel
- The appropriate mounting hardware (lag screws, bolts, anchors)
- A drill with the correct size drill bits
- A level to ensure it’s straight
- A stud finder if mounting to a wall
- A tape measure
- A wrench or socket set
- A pencil for marking
Having a helper can also be a huge advantage, especially when holding the reel in place for marking or drilling. They can steady the reel while you mark, or help lift it into position.
Marking and Drilling Pilot Holes
This is where precision counts. Hold the hose reel up to your chosen mounting surface. Use your level to make sure it’s perfectly straight. Once you’re happy with the position, use your pencil to mark where the mounting holes will go.
It’s a good idea to mark slightly larger than your hardware. Then, remove the reel. If you’re using lag screws into wood, drill pilot holes. These holes should be slightly smaller than the screw diameter. This makes driving the screws much easier and prevents the wood from splitting.
If you’re drilling into concrete or brick, you’ll need a masonry bit and anchors. The anchor size will dictate the drill bit size. Always check the anchor manufacturer’s recommendations.
Securing the Hose Reel
Now for the main event! Align the reel’s mounting holes with your pilot holes. Start by hand-screwing in one of the mounting screws. Get it snug but not fully tightened. This allows you to wiggle the reel slightly to align the other holes.
Once all screws are started, use your drill or wrench to tighten them. Work in a diagonal pattern, like tightening lug nuts on a car wheel. This ensures even pressure. Don’t overtighten, as you could strip the threads or damage the mounting surface. You want it rock-solid. Give it a good tug to confirm it’s secure.
Connecting the Air Hose
With the reel firmly mounted, it’s time to connect your air hose. This part is usually very quick and easy. The goal is a leak-free connection.
Attaching the Hose to the Reel’s Swivel
Most hose reels have a swivel fitting on the inside where the air comes in. You’ll need to connect your air hose to this fitting. Ensure the hose end is clean and free of debris. Screw the hose onto the swivel fitting. Many air hoses use standard threaded fittings, often NPT (National Pipe Thread). Hand-tighten it first, then use a wrench for a final quarter-turn to snug it up. Be careful not to overtighten, as this can damage the threads or the fitting. Many air hoses use standard fittings, so check if you need a 1/4 inch air hose or a different size.
Some setups might require a specific adapter. Always check the reel and hose specifications. A good seal here is key to preventing air leaks, which can waste energy and reduce compressor efficiency.
Connecting the Reel to the Air Compressor
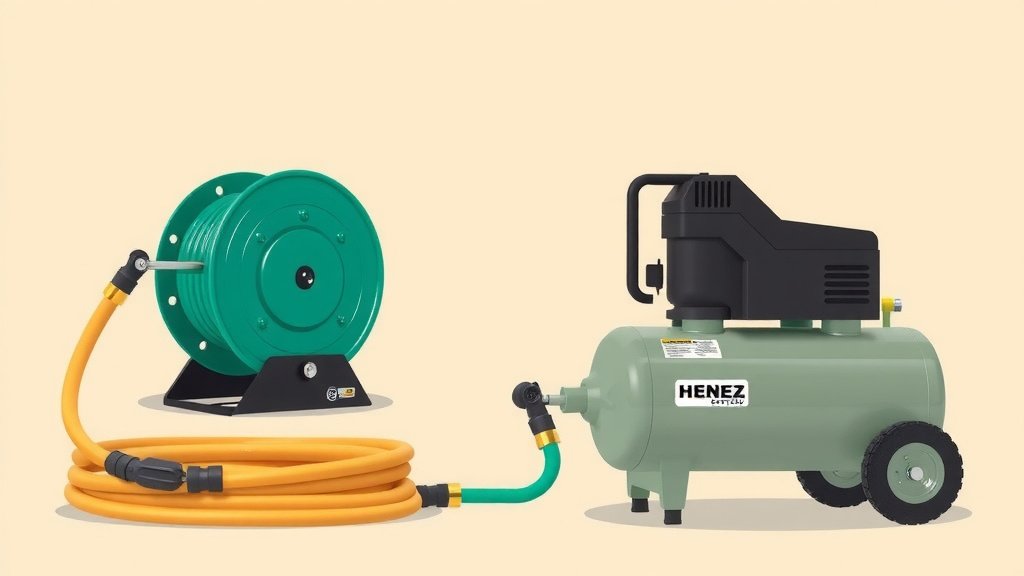
The other end of the hose reel connects to your air compressor’s outlet. This usually involves another threaded fitting. Clean the compressor’s air outlet port. Attach the reel’s inlet fitting to the compressor. Again, hand-tighten first, then use a wrench to secure it. A little bit of pipe thread tape on the threads can help ensure a tight seal and prevent leaks. Many guidelines suggest using thread sealant for air lines (CDC).
Make sure the hose has enough slack to reach the compressor without being pulled too tight when fully extended. You don’t want to strain the connection. Double-check that all connections are secure before turning on the compressor.
Testing Your New Hose Reel Setup
You’re almost there! A quick test run will confirm everything is working as it should. This is the moment of truth.
Checking for Air Leaks
Turn on your air compressor and let it build pressure. Listen carefully for any hissing sounds. Hissing usually means there’s an air leak somewhere. If you detect a leak, turn off the compressor and re-check your connections. Tighten them slightly, or apply more thread tape if needed. A soapy water spray can help pinpoint small leaks; bubbles will form where air is escaping.
Testing Hose Extension and Retraction
Once you’re confident there are no leaks, pull out the air hose to its full length. Does it extend smoothly? Now, let it retract. Does it wind up neatly onto the reel? Some reels have a locking mechanism to hold the hose at a desired length. Test this feature to ensure it works correctly.
A properly functioning reel should retract smoothly without binding or twisting. If it’s difficult to retract, check for kinks in the hose or obstructions on the reel itself. Sometimes, a bit of lubrication on the reel’s mechanism can help. Ensure the reel spins freely and the hose winds evenly.
Quick Checklist for a Successful Mount
Here’s a handy list to make sure you’ve covered all your bases:
- Picked a sturdy, accessible mounting location?
- Selected appropriate, heavy-duty mounting hardware?
- Marked holes accurately and used a level?
- Drilled correct pilot holes or prepared for anchors?
- Secured the reel firmly without overtightening?
- Ensured all hose and compressor connections are tight and leak-free?
Conclusion
You’ve successfully mounted your new hose reel and connected it to your air compressor. This setup means less clutter and easier access to your air tools. Remember to always check your connections for leaks and test the retraction. Your workspace is now more organized and efficient, letting you focus on getting your projects done without wrestling with tangled hoses. Keep these steps in mind for future maintenance and enjoy the convenience!
Frequently Asked Questions
Can I mount a hose reel directly onto my air compressor?
Mounting directly onto the compressor is sometimes possible but often not ideal. It can affect the compressor’s balance, especially larger units. It’s usually better to mount the reel to a sturdy wall or workbench for stability and easier access.
What’s the best way to ensure a leak-free connection to the compressor?
Using thread sealant tape (PTFE tape) on the threads of your connection is essential. Ensure the compressor outlet and the reel’s inlet fitting are clean before connecting. A slight tightening with a wrench after hand-tightening usually provides a secure, leak-free seal.
My hose reel retracts slowly. What could be the problem?
A slow retraction can be due to a kinked hose, an obstruction on the reel itself, or a need for lubrication. Gently pull the hose out to its full length to check for kinks. Ensure the hose winds evenly. You might need to apply a bit of lubricant to the reel’s mechanism.
How do I know if I’m using the correct mounting hardware?
The correct hardware depends on your mounting surface. For wood studs or joists, lag screws are common. For concrete or brick, you’ll need masonry anchors and bolts. Always check the weight rating of your hardware to ensure it can support the reel and a full hose.
Is it okay if the hose is slightly stretched when fully extended from the reel?
It’s best to avoid a stretched hose. The hose should have enough slack to reach all your intended work areas without being pulled taut. Continuous strain on the hose and connections can lead to premature wear and potential leaks.