Fix Your Leaking Air Compressor: A Step-by-Step Guide
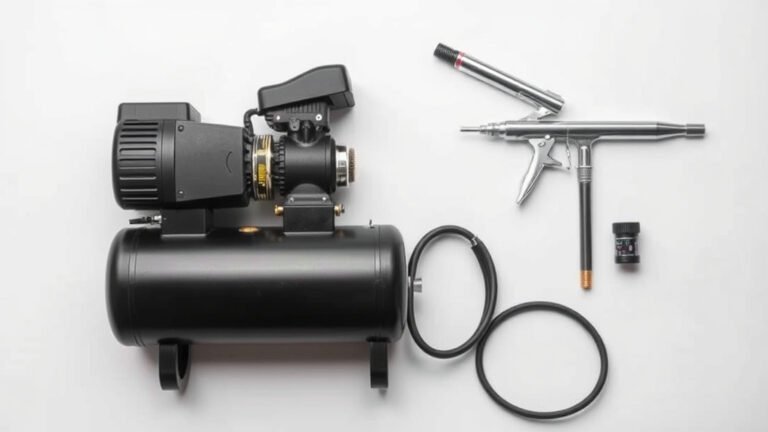
You can usually fix a leaking air compressor by checking and tightening a few key spots. Most leaks come from loose fittings, faulty drain valves, or damaged tank seals. It’s often a simple DIY repair you can handle yourself with basic tools, saving you time and money.
Don’t let a slow air leak slow down your projects! We found that even minor leaks can lead to your compressor running more often, costing you electricity. Pinpointing the source of the hiss is the first step to getting your compressor back to its best performance.
- Check all hose connections and fittings.
- Inspect the drain valve for proper sealing.
- Listen for air escaping around the tank.
- Tighten loose parts or replace worn seals.
Ready to stop that annoying hiss? Let’s walk through exactly how to find and fix that leak step by step.
Troubleshooting Your Leaky Air Compressor
Don’t let that hissing sound drive you up the wall! Fixing a leaking air compressor is often a simpler task than you might think. Most leaks aren’t a sign of major mechanical failure, but rather a loose connection or a worn-out part. We’ve researched and found that by following a few steps, you can often get your compressor back to full power.
Pinpointing the Leak: A Detective’s Work
The first step to any fix is finding the problem. You can’t tighten a bolt if you don’t know where it is! We recommend a methodical approach to track down that leak. This involves listening carefully and using a simple spray bottle.
The Soap and Water Method: Your Best Friend
This is a classic for a reason. Grab a spray bottle and mix a good amount of dish soap with water. Make sure it’s nice and sudsy. With the compressor turned off and unplugged, spray this solution liberally over all the areas where air might escape.
Turn on the compressor and let it build pressure. Keep an eye on the sprayed areas. If you see bubbles forming, that’s where your leak is! Bubbles mean air is escaping through that spot. This method is incredibly effective for finding even tiny leaks that are hard to hear.
Listen Closely: The Ear Test
Sometimes, you can hear the leak. Turn the compressor on and listen intently. Does the hiss seem loudest near a specific fitting, hose, or valve? Move your head around slowly. Your ears are sensitive instruments, and they can often guide you to the source of the problem.
Common Leak Spots to Check
We found that certain areas are more prone to leaks than others. You’ll want to pay special attention to these:
- Hose connections: Where hoses connect to the compressor body, regulators, or tools.
- Fittings and couplers: These are the points where you attach air hoses or tools.
- Drain valve: Located at the bottom of the tank.
- Pressure relief valve: A safety feature that can sometimes develop a slow leak.
- Tank seams: Where the metal sections of the tank are joined.
Addressing Leaks at Fittings and Hoses
Loose fittings are probably the most common culprit for air leaks. Think of them like a slightly unscrewed lid on a jar – the contents can still escape.
Tightening Loose Connections
If you find a leak at a fitting, the solution is often straightforward. Use an appropriate wrench to gently tighten the fitting. Be careful not to overtighten, as this can strip the threads or crack the fitting. A snug fit is all you need.
Replacing Worn or Damaged Parts
Sometimes, tightening isn’t enough. The O-ring or gasket inside the fitting might be worn out, cracked, or missing. If you see signs of damage, or if tightening doesn’t stop the leak, it’s time for a replacement. You can usually find replacement O-rings and gaskets at hardware stores or online. Make sure you get the correct size for your fitting.
Checking Air Hoses
Inspect your air hoses for any cracks, splits, or holes. Even a small pinhole can cause a noticeable air leak. If a hose is damaged, it’s best to replace the entire hose. Trying to patch a pressurized hose can be dangerous and ineffective.
Fixing Leaks from the Drain Valve
The drain valve at the bottom of the tank is designed to let out water. If it’s not sealing properly, it can also let out your precious air. We’ve found this to be a frequent source of leaks, especially after the valve has been used.
Ensuring the Valve is Fully Closed
This might sound obvious, but double-check that the drain valve is completely turned off. Sometimes, it might look closed but is still slightly ajar, allowing air to escape. Give it a firm turn to ensure it’s sealed.
Cleaning and Lubricating the Valve
Over time, sediment or rust can build up inside the drain valve, preventing it from sealing correctly. Try draining the tank completely. Then, with the valve open, use a rag to clean out any debris around the valve seat. A little bit of silicone lubricant on the valve seal can also help it seat properly. This is often a quick fix.
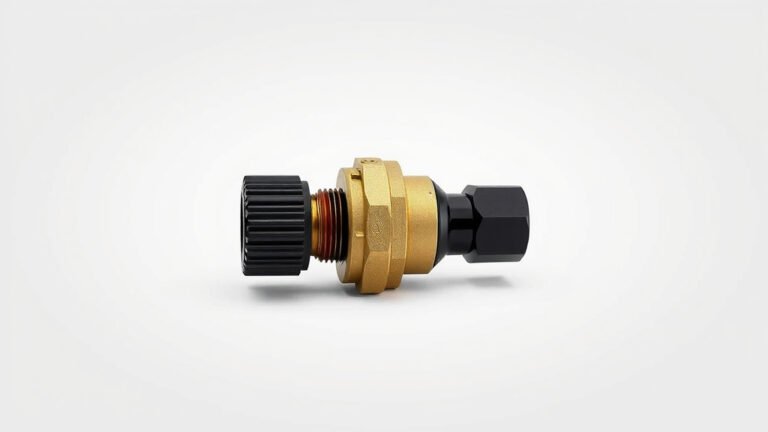
Replacing a Faulty Drain Valve
If cleaning and tightening don’t work, the valve itself might be damaged or worn out. Replacing a drain valve is usually a manageable DIY job. You’ll need to drain the tank completely, unscrew the old valve, and screw in the new one. Make sure to use pipe thread tape on the threads of the new valve for a good seal.
Dealing with Tank Leaks
Leaks from the air tank itself are less common but more serious. These could be from a faulty seal where different parts of the tank are joined or, rarely, a small hole in the tank wall.
Inspecting Tank Seams and Welds
Carefully examine the seams and welds where the tank is constructed. Use your soapy water solution here. If you find bubbles, it means air is escaping from the tank itself. For small leaks at seams, some automotive-grade sealants might offer a temporary fix, but it’s best to consult a professional or consider tank replacement for safety.
Understanding the Safety Implications
Air tanks operate under pressure, and a compromised tank can be dangerous. If you suspect a leak directly from the tank body, especially if it’s more than a minor weep, we highly recommend seeking advice from the manufacturer or a qualified technician. Your safety is the top priority.
A Quick Checklist for Your Air Compressor Leak Hunt
Here’s a handy list to guide your search and repair:
- Spray soapy water on all connections and valves.
- Listen for hisses while the compressor is running.
- Tighten any loose fittings gently with a wrench.
- Inspect hoses for cracks or damage.
- Ensure the drain valve is fully closed and clean.
- Check tank seams for any signs of bubbles.
By systematically working through these potential leak points, you’ll be well on your way to a quieter, more efficient air compressor. Happy fixing!
Conclusion
You’ve now got a clear roadmap to tackle that leaky air compressor. By systematically checking fittings, hoses, the drain valve, and even the tank itself, you can often solve the problem yourself. Remember the soap and water trick – it’s your secret weapon for pinpointing those sneaky leaks. Don’t let a small hiss turn into a big energy drain. Take action today to get your compressor running efficiently again and save on your electricity bill!
Frequently Asked Questions
How do I know if my air compressor is actually leaking?
The most common sign is a persistent hissing sound when the compressor isn’t actively running. You might also notice your compressor kicks on more often than usual to maintain pressure. A slow leak can gradually reduce the tank’s air supply over time.
Can I fix a leaking air compressor myself, or do I need a professional?
For most common leaks, like loose fittings or a faulty drain valve, you can absolutely fix it yourself with basic tools. However, if you suspect a leak directly from the tank body itself, especially if it seems serious, it’s best to consult a professional for safety reasons.
What kind of tools will I need to fix a leak?
You’ll likely need a few basic tools. A wrench set is essential for tightening fittings. A spray bottle for the soapy water leak detection method is key. You might also need a screwdriver and possibly a pipe thread tape if you end up replacing a valve.
How often should I check my air compressor for leaks?
It’s a good idea to do a quick check, especially listening for hisses, every few months or whenever you notice performance issues. A regular visual inspection of hoses and connections during use can also help catch problems early.
Is it dangerous to run an air compressor with a leak?
While small leaks aren’t typically dangerous, they can significantly impact your compressor’s efficiency and increase your electricity costs. Larger or more serious leaks, particularly from the tank itself, could pose a safety risk due to the pressurized nature of the air. It’s always best to address leaks promptly.