Replace Your Air Compressor Pressure Switch: A Step-by-Step Guide
Replacing your air compressor’s pressure switch is a **manageable DIY task** you can do yourself. This switch controls when your compressor turns on and off. A faulty switch can cause **overheating or inconsistent pressure**. You can fix it by following a few safety steps and some basic instructions.
This component is vital for your compressor’s operation. It ensures your tank maintains the right air pressure for your tools. Learning how to replace it can save you **money on service calls**. Many owners find this repair is simpler than they expect with the right guidance.
- The pressure switch tells your compressor when to start and stop.
- A broken switch can lead to the compressor running too much or not at all.
- Safety first: always disconnect power before starting.
- You’ll likely need a few basic tools like screwdrivers and wrenches.
- Replacement involves disconnecting wires and unthreading the old switch.
Below, we’ll walk you through the process of replacing your air compressor pressure switch step by step.
Getting Your Air Compressor’s Pressure Switch Replaced
So, your air compressor’s pressure switch is acting up? Don’t sweat it! Replacing this component is **absolutely doable** for most homeowners. This little gadget is the brain telling your compressor when to power on and when to take a break. If it’s not working right, you might find your compressor running non-stop, or worse, not starting at all. We’ll get you through this step-by-step.
Why Your Pressure Switch Needs Replacing
This switch is the **unsung hero** of your air compressor. It monitors the air pressure inside your tank. When the pressure drops below a set point, it tells the motor to kick in. When the pressure reaches its upper limit, it signals the motor to shut off. This cycle is vital for maintaining consistent pressure for your air tools. A failing switch can lead to several problems. If you’re having issues, our guide on adjusting your air compressor’s shut-off switch can help.
Common Signs of a Bad Pressure Switch
- Compressor Runs Continuously: If your compressor never seems to shut off, the switch might not be telling it to stop. This can lead to overheating and damage.
- Compressor Won’t Turn On: Conversely, if the switch isn’t signaling the compressor to start, you won’t have any air pressure.
- Pressure Fluctuations: You might notice the air pressure dipping or spiking erratically. This inconsistency can affect the performance of your air tools.
- Leaking Air: Sometimes, a faulty switch can also be associated with air leaks around its housing.
When to Consider a Replacement
If you’re experiencing any of these symptoms, it’s a good time to investigate your pressure switch. Many users find that a **simple replacement** resolves these issues quickly. Before you start, always consult your air compressor’s manual for model-specific instructions.
Safety First: Preparing for the Replacement
Working with electrical equipment requires a healthy dose of caution. Safety should always be your top priority. We’ve found that taking a few preventative steps can prevent potential accidents and ensure a smooth repair process. Remember, you’re dealing with electricity and pressurized air!
Disconnecting Power and Releasing Pressure
This is the **most critical step**. You absolutely must disconnect the power to the compressor before doing anything else. Unplug the unit from the wall outlet or turn off the circuit breaker that powers it. Next, you need to release all the compressed air from the tank. Open a valve or attach an air hose to a tool and let the air out until the tank is completely empty. This prevents any sudden release of air when you’re working on the switch.
Gathering Your Tools and Parts
Having everything ready before you start makes the job much easier. You won’t have to stop halfway through to search for a missing wrench. Most air compressor pressure switches are pretty standard. You’ll likely need a few common tools:
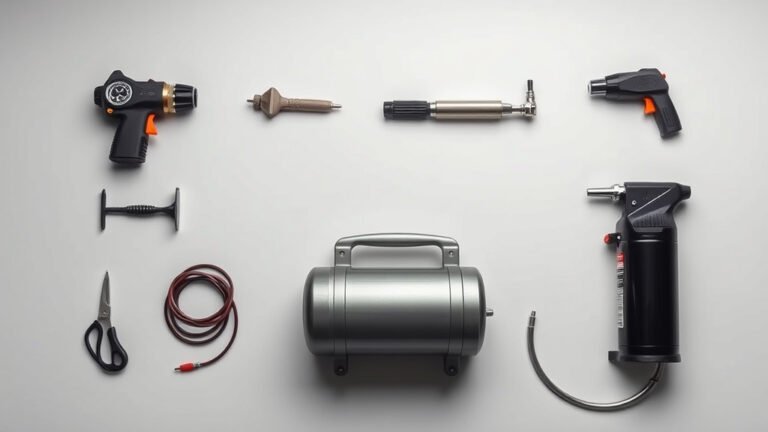
- Screwdrivers (Phillips and flathead)
- Adjustable wrenches or a socket set
- Wire strippers/cutters (if wires need trimming)
- A new pressure switch (make sure it matches your old one’s specifications)
- Possibly some pipe thread sealant or Teflon tape
Getting the correct replacement switch is essential. We found that bringing your old switch to the hardware store or having its model number handy helps ensure you get the right fit. Check the pressure settings (cut-in and cut-out pressures) and the electrical ratings to match your old one.
Step-by-Step: Replacing the Pressure Switch
Now that you’re prepared and safe, let’s get down to business. This is where you’ll see the old switch come off and the new one go on. We’ll guide you through each part of the process.
Locating and Accessing the Switch
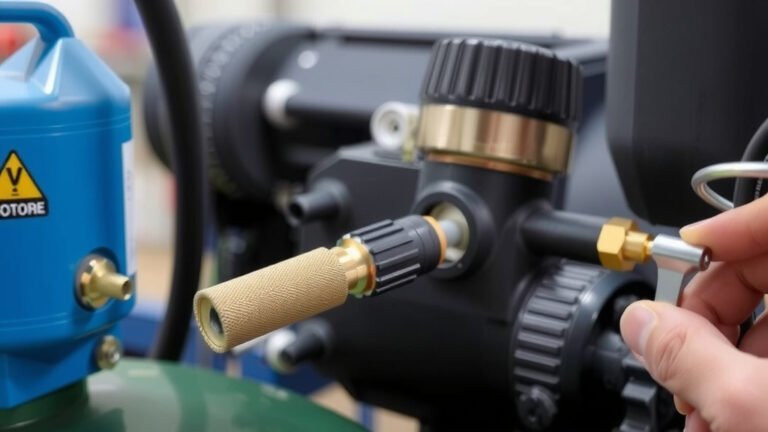
The pressure switch is typically mounted near the air intake of the compressor, often on top of the motor or on the side of the tank. It’s usually a small, box-like component with several wires connected to it. You might need to remove a cover or housing to get a clear view and access to the switch and its connections. Sometimes, this cover is held on by a couple of screws.
Documenting Wiring Connections
Before you disconnect anything, take a moment to document how the wires are connected. Many people find it helpful to take a picture with their phone. You can also sketch a quick diagram. Each terminal on the switch is usually labeled (like L for Line, M for Motor, P for Pump, etc.). Properly reconnecting these wires is crucial for the compressor to function correctly. We’ve heard from many users who wished they’d taken a photo!
Disconnecting Wires and Removing the Old Switch
Once you have your wiring documented, you can begin disconnecting the wires. They often attach to screw terminals. Use your screwdriver to loosen the screws and carefully remove each wire. Some switches might have spade connectors that simply pull off. After the wires are disconnected, you’ll need to unthread the old switch from the air line. It’s usually screwed into a fitting on the tank or manifold. Use your wrench to loosen and remove it. Be prepared for a small amount of residual air or oil to escape, even after draining.
Installing the New Pressure Switch
Before screwing in the new switch, apply a little pipe thread sealant or Teflon tape to the threads. This helps ensure a good seal and prevents air leaks. Gently thread the new switch into the fitting. Tighten it with your wrench, but be careful not to overtighten, which could damage the threads or the switch. Once it’s snug, reconnect the wires according to your diagram or photo. Make sure each wire goes to its correct terminal. Double-check your work here.
Testing the New Switch
With the new switch installed and wired, you’re almost done. Reattach any covers you removed. Now, you can carefully reconnect the power. Plug the compressor back in or turn the breaker back on. Listen as the compressor starts up. It should run until it reaches the cut-out pressure and then shut off automatically. Let it sit for a while and then check to see if it kicks back on when the pressure drops. If it cycles normally, you’ve successfully replaced your pressure switch! If it doesn’t work as expected, re-check your wiring connections and the switch’s specifications.
Quick Checklist for Your Replacement:
- 1. Turn off power and drain tank completely.
- 2. Gather all necessary tools and the correct new switch.
- 3. Take a picture or draw a diagram of the wiring.
- 4. Disconnect wires and remove the old switch.
- 5. Install the new switch with thread sealant.
- 6. Reconnect wires exactly as before.
Conclusion
You’ve successfully navigated the process of replacing your air compressor’s pressure switch! By following these steps, you’ve taken control of your compressor’s performance and saved yourself potential repair costs. Remember, **safety is always the number one priority**, so always disconnect power before starting any work. A properly functioning pressure switch ensures your tools get the air they need when they need it, and you’ve learned how to keep it that way. Now, you can confidently get back to your projects, knowing your compressor is working efficiently.
Frequently Asked Questions
What if my new pressure switch has different pressure settings than my old one?
It’s important that your new switch’s cut-in and cut-out pressures match your old one or the specifications recommended by your compressor’s manufacturer. If they are significantly different, your compressor might not operate correctly or efficiently. Double-check that you purchased the correct replacement model for your specific air compressor.
Can I use a universal pressure switch for my air compressor?
While universal switches exist, it’s always best to find one that matches your compressor’s original specifications. Using a switch with incorrect pressure ratings or electrical load capacity could lead to poor performance or damage to your compressor’s motor. Always verify the compatibility before purchasing.
My new switch is installed, but the compressor still won’t turn on. What should I do?
First, double-check that the power supply is on and that the circuit breaker hasn’t tripped. Next, carefully re-verify your wiring connections against the diagram you made. Ensure each wire is securely fastened to its correct terminal on the new switch. If everything appears correct, the issue might lie elsewhere, possibly with the motor or power cord.
How tight should I make the new pressure switch when installing it?
You want to tighten the switch enough to create a good seal and prevent air leaks, but not so much that you damage the threads or the switch itself. Snug is the key word here. Using pipe thread sealant or Teflon tape will help achieve a reliable seal. If it feels excessively difficult to turn, stop and check for cross-threading.
Is it normal for a small amount of air or oil to come out when removing the old switch?
Yes, it is quite normal. Even after draining the tank, there can be a small residual amount of air pressure or a bit of oil from the compressor’s operation trapped in the line. Be prepared for this minor release and have a rag handy to wipe up any drips. This is why ensuring the tank is fully drained first is so important.