How to Set Up Your Air Compressor: A Simple Guide
Setting up your air compressor involves a few key steps to ensure safe and efficient operation. You’ll need to connect the air tank, attach the regulator and filter, and then hook up your air hose. Getting these connections right the first time saves you from potential headaches later on. Proper setup is vital for getting the most out of your tool and keeping it in good shape. It’s not as tough as it might seem, and we’re here to guide you through it.
Understanding how your air compressor works is part of the process. Many people wonder about the best place to position their compressor for optimal airflow. We found that a well-ventilated area is a top priority. Also, consider the type of air compressor you have; whether it’s a portable pancake model or a larger stationary unit, the basic setup principles remain similar. Making sure you have the right accessories is also part of getting started on the right foot. Safety first is always the golden rule.
- Connect air tank securely.
- Install regulator and filter.
- Attach air hose correctly.
- Choose a well-ventilated spot.
- Always prioritize safety checks.
Ready to get your air compressor up and running? Let’s walk through each step so you can start powering your projects with confidence.
Getting Your Air Compressor Connected and Ready
So, you’ve got your air compressor, and you’re ready to put it to work. That’s fantastic! The setup process might seem a little daunting at first. But don’t worry, we’re here to break it down into simple, manageable steps. A correctly set-up compressor is a happy compressor. It means fewer leaks, better performance, and a safer working environment for you. Let’s get this thing hooked up!
Choosing the Right Spot for Your Compressor
Before you connect anything, think about where your compressor will live. This is more important than you might guess. You want a place that allows for good airflow. Why? Because compressors generate heat when they run. If it can’t get enough fresh air, it can overheat. Many experts suggest keeping it away from direct sunlight, too. This helps keep its internal temperatures down.
Consider the floor surface as well. A level, firm surface is ideal. This prevents the compressor from vibrating excessively, which can cause premature wear. It also helps keep it stable and safe. Think of it like setting up a wobbly table; nobody likes that!
Assembling the Basic Components
Most air compressors come with a few key parts you’ll need to attach. Your compressor likely has an air tank. This is where the compressed air is stored. It might be attached, or you might need to connect it. Always ensure any bolts or fittings are tightened securely. A loose tank is a major safety hazard.
Connecting the Regulator and Filter
Next up is the regulator and filter assembly. This is a critical piece for controlling your air pressure. The regulator lets you dial in the exact PSI (pounds per square inch) needed for your tools. Too much pressure can damage your tools or even cause a dangerous blowout. Too little pressure means your tools won’t perform properly.
The filter part of this unit cleans the air. It removes moisture and particles before they enter your tools. This protects them from damage and ensures they work smoothly. You’ll usually find threaded connections for these parts. Make sure to wrap the threads with plumber’s tape (also called Teflon tape) before screwing them together. This creates a tight seal and prevents leaks. Many setup guides recommend this for all threaded air connections.
Attaching the Air Hose
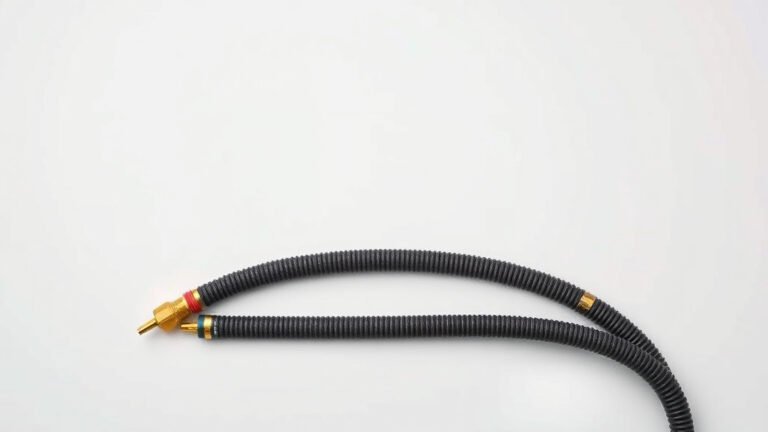
Now it’s time to connect your air hose. Most hoses have a quick-connect fitting on one end. This end attaches to the regulator/filter assembly. Simply push the fitting in; you should hear a click as it locks into place. To disconnect, you’ll typically pull back on a collar on the fitting. Now it’s time to connect your air hose; our guide details how to do this safely.
The other end of the hose is what connects to your air tool. Make sure this connection is also secure. Some tools have a quick-connect fitting, while others might require a hose clamp. Always check your tool’s manual for the specific connection type. A loose hose connection is a common source of air loss. It’s like trying to drink through a leaky straw!
Putting Your Compressor Through its Paces: The First Run
Once everything is connected, it’s time for the moment of truth. You’ll want to do a quick safety check before powering it on. Ensure all connections are snug. Double-check that no tools are attached to the hose yet. You don’t want to accidentally blast paint around your garage on the first go.
Pre-Operation Safety Checklist
Before you flip the switch, let’s run through a quick checklist. This ensures you’re good to go and have minimized any potential risks. Safety is always the top priority when working with pressurized equipment.
- Is the compressor on a level surface?
- Are all threaded connections tight and taped?
- Is the air hose securely attached to the regulator?
- Is the air regulator set to a low pressure (or off)?
- Are there any visible leaks (hissing sounds)?
Initial Power-Up and Pressure Check
Turn on your air compressor. You should hear it start to build pressure. Many compressors have a gauge that shows the tank pressure. Let it run until it reaches its maximum pressure. At this point, the motor should automatically shut off. If it keeps running, you might have a problem. Many compressor manuals suggest shutting it off immediately if this happens.
Now, let’s test the regulator. Slowly turn the knob on your regulator to set the desired PSI. You can use a separate tire pressure gauge or a gauge on your air tool to confirm the output. Research the recommended pressure for the specific tool you plan to use. For example, a framing nailer will need a different pressure than an airbrush. Many sources, like tool manufacturer guides, provide these specifics. Research the recommended pressure for the specific tool you plan to use; our guide explains how much PSI an air compressor should have.
Testing for Leaks
Listen closely for any hissing sounds. Leaks are a common issue and can waste air and energy. You can also use a soapy water solution. Spray it on all the connections, including the tank fittings, regulator, hose connections, and any valves. If you see small bubbles forming, that’s where your leak is. You’ll need to tighten that connection or re-apply plumber’s tape. Addressing leaks early is key to efficient compressor use.
Understanding Air Compressor Oils and Maintenance
Some air compressors require oil to function properly. These are often called “oil-lubricated” compressors. Others are “oil-free.” If yours needs oil, check your owner’s manual for the specific type and amount. Adding the wrong oil can damage the compressor. Many manufacturers recommend a specific type of synthetic compressor oil. It’s like giving your car the right kind of motor oil.
Regular maintenance is also important. This includes draining the tank regularly. Water can accumulate inside the tank. This can lead to rust and corrosion over time. Most compressors have a drain valve at the bottom. Open it periodically to let out any collected moisture. We found that draining the tank after each use is a good practice for many users.
Essential Accessories for Your Air Compressor
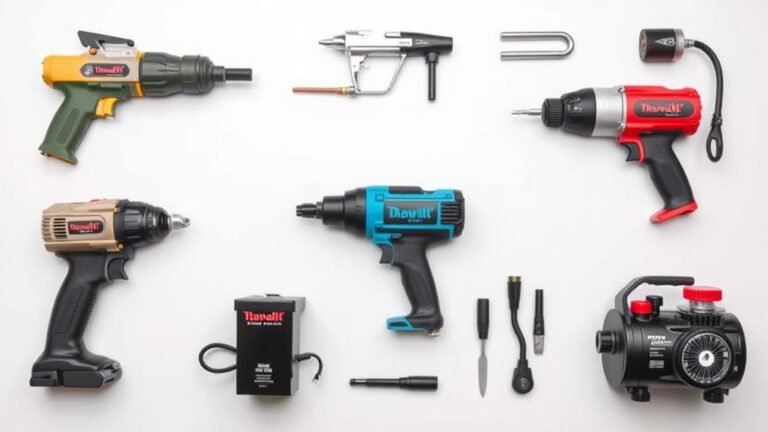
Beyond the basic setup, a few accessories can make your air compressor experience much better. These aren’t always included with the compressor itself. But they are definitely worth considering for your toolkit.
Common Air Compressor Accessories
Think about the types of tools you’ll be using. This will help determine which accessories you need most. Here are a few that many people find incredibly useful:
- Air Hose Variety: You might need different lengths or types of air hoses depending on your workspace.
- Air Tool Lubricator: For pneumatic tools that require oil, a lubricator ensures they get the right amount.
- Inline Filter/Water Separator: If your compressor doesn’t have a good one built-in, an inline version can provide cleaner, drier air.
- Tire Inflator with Gauge: Essential for checking and adjusting tire pressure on vehicles or equipment.
- Blow Gun Nozzle: Great for clearing dust and debris from surfaces or tools.
Having the right accessories means your compressor can handle a wider range of tasks. It helps protect your tools and ensures you get the best results from your projects.
Conclusion
You’ve successfully navigated the setup of your air compressor! Remember, a well-chosen spot and secure connections are your foundation for efficient operation. Always prioritize safety checks before powering up, and don’t forget to drain your tank regularly. Understanding your regulator and its settings will protect your tools and ensure they perform their best. Now you’re ready to tackle your projects with confidence, knowing your compressor is set up correctly. Keep these steps in mind for consistent performance and a longer lifespan for your equipment!
Frequently Asked Questions
How often should I drain the air compressor tank?
We found that draining the tank after each use is a good practice for most users. This prevents moisture buildup, which can cause rust and damage over time. Simply open the drain valve at the bottom of the tank until all moisture is expelled.
What is plumber’s tape, and why do I need it?
Plumber’s tape, also known as Teflon tape, is a thin film used to seal threaded connections. You’ll wrap it around the threads before connecting components like the regulator or hose fittings. It helps create a tight seal and prevents air leaks.
Can I use my air compressor indoors?
It’s best to use your air compressor in a well-ventilated area. Compressors generate heat and can also release fumes. Ensure there’s good airflow around the unit to prevent overheating and to maintain air quality.
My air tools aren’t working well, what could be wrong?
If your air tools are underperforming, the issue might be low pressure or air leaks. Double-check your regulator setting and ensure all connections are secure. Listening for hissing sounds or using soapy water can help you find and fix any leaks.
Do all air compressors need oil?
No, not all air compressors require oil. Some are designed as “oil-free” units. If your compressor is “oil-lubricated,” always check your owner’s manual for the specific type and amount of oil recommended by the manufacturer.