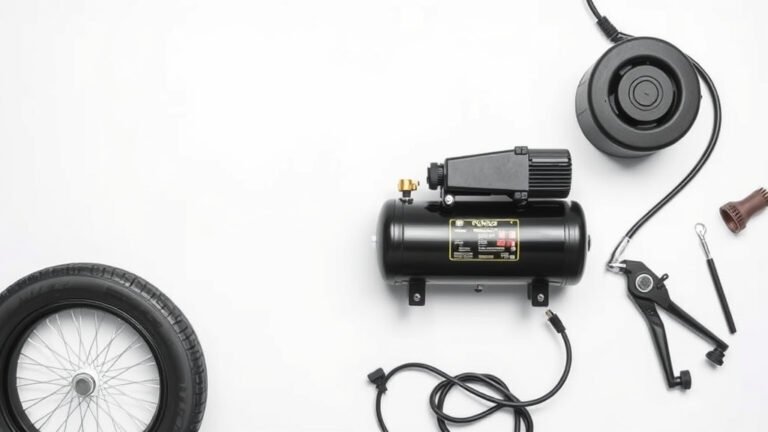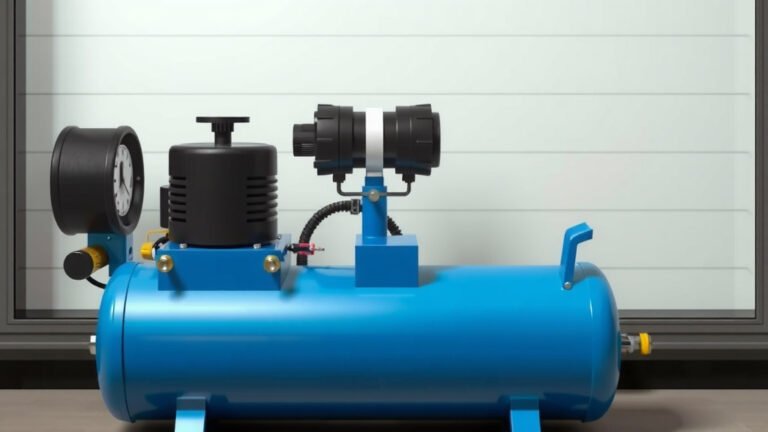
Adjust Your Air Compressor Pressure Regulator Correctly
Adjusting your air compressor pressure regulator is straightforward. You typically turn the knob clockwise to increase pressure and counter-clockwise to decrease it. Always make adjustments with the compressor running and your tool attached to ensure accurate readings. We found that knowing the right pressure for your tools is key to preventing damage and getting the best results.
Getting the pressure just right makes a big difference. Too little pressure and your tools might not perform well. Too much, and you risk damaging them or even causing a safety hazard. Many experts recommend setting your regulator based on your tool’s specifications. We found that a little care here goes a long way toward ensuring tool longevity and reliable performance.
- Always adjust pressure while the compressor is running.
- Turn the knob clockwise to increase pressure.
- Turn the knob counter-clockwise to decrease pressure.
- Check your tool’s manual for recommended PSI.
- A properly set regulator protects your tools.
Ready to dial in that perfect pressure? Let’s walk through the simple steps to adjust your air compressor regulator like a pro.
Setting Your Air Compressor Pressure Like a Pro
Adjusting your air compressor’s pressure regulator is simpler than you might think. It’s all about finding that sweet spot for your specific task. Getting it right means your tools work their best and last longer. We’ve found that most common tools need somewhere between 70 and 100 PSI, but it truly depends on the job.
Why Getting the Pressure Right Matters
Protecting Your Tools from Damage
Think of your air tools like delicate instruments. Too much pressure, and you can overwhelm their internal parts. This might lead to leaks, broken seals, or even a complete breakdown. Many manufacturers recommend specific PSI ranges for their tools. Ignoring these can void your warranty faster than you can say “pop!” We found that a quick check of your tool’s manual can save you a lot of grief and money down the road.
Ensuring Optimal Tool Performance
On the flip side, too little pressure means your tools won’t have the power they need. Your impact wrench might struggle to loosen stubborn bolts. Your nail gun might not drive fasteners all the way in. This leads to frustration and unfinished work. We found that ensuring you have adequate pressure is key to achieving cleaner, more efficient results, whether you’re painting, sanding, or building.
The Anatomy of Your Pressure Regulator
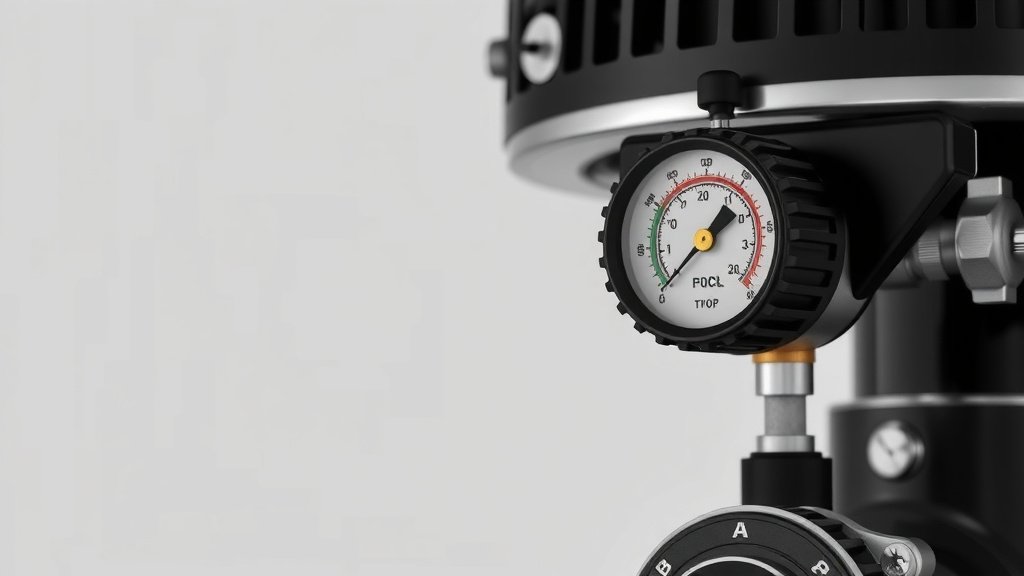
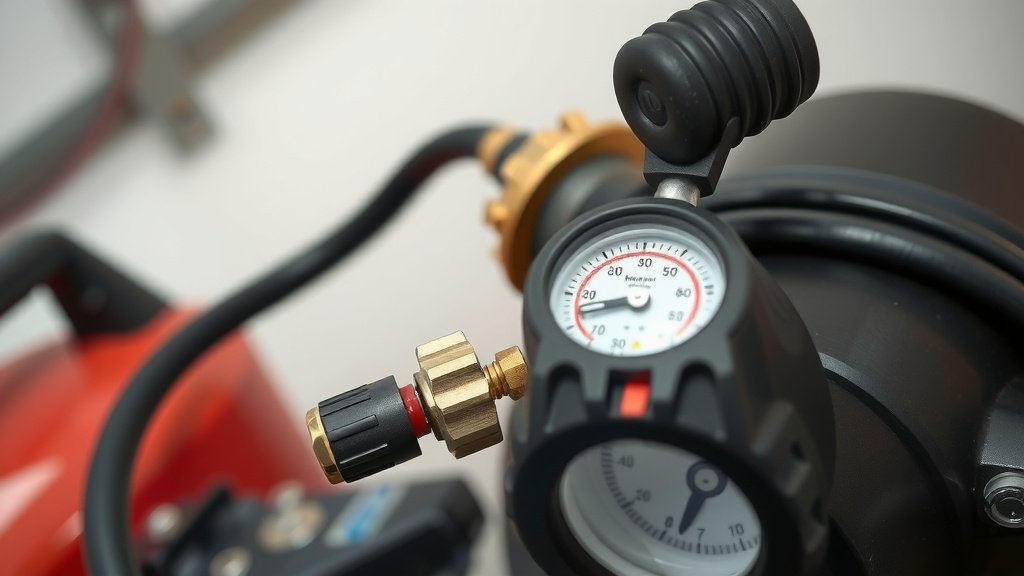
Most air compressor regulators look pretty similar. You’ll typically see a knob or a dial, often with a spring-loaded mechanism. Sometimes there’s a small gauge right on the regulator itself. This gauge shows you the output pressure. It’s your best friend when you’re fine-tuning the air flow. We found that understanding these basic parts makes the adjustment process much clearer.
Understanding the Regulator Knob and Gauge
The knob is your main control. Turning it clockwise usually increases the pressure. Turning it counter-clockwise typically decreases it. It’s a pretty intuitive system. The gauge is your visual cue. It tells you exactly what pressure your tool is receiving. Always keep an eye on this gauge during adjustment. We found that a clear, easy-to-read gauge is a huge help.
Step-by-Step Guide to Adjusting Pressure
Preparation is Key: What You’ll Need
Before you touch that knob, gather a few things. You’ll need your air compressor, the tool you plan to use, and an air hose to connect them. It’s also wise to have your tool’s manual handy. This will tell you the recommended operating pressure. We found that having everything ready prevents interruptions and ensures accuracy.
Step 1: Power Up and Connect
Turn on your air compressor. Let it build up some pressure. Once it’s ready, attach your air hose to the compressor’s outlet. Then, connect the other end of the hose to your air tool. Make sure all connections are secure. We found that a loose connection can lead to pressure leaks and inaccurate readings.
Step 2: Running the Compressor and Tool
This is a critical step: adjust the regulator while the compressor is running and the tool is engaged. Why? Because pressure readings can fluctuate when a tool isn’t drawing air. Engaging the tool simulates real-world usage. This gives you the most accurate pressure setting. We found that many people make the mistake of adjusting while the tool is idle, leading to incorrect pressure when they actually start working.
Adjusting for Higher Pressure
If your gauge shows too little pressure, you’ll want to increase it. Gently turn the regulator knob clockwise. Make small adjustments. Watch the pressure gauge closely. Stop when you reach the desired PSI. We found that incremental adjustments are always better than big, sudden turns.
Adjusting for Lower Pressure
Conversely, if the pressure is too high, you need to lower it. Turn the regulator knob counter-clockwise. Again, do this slowly. Monitor the gauge. Back off the pressure until you hit your target. We found that going too low is usually less problematic than going too high, but aim for the sweet spot.
Step 3: Testing and Fine-Tuning
Once you think you have the right pressure, test your tool. Cycle the trigger briefly. Does it feel right? Is it performing as expected? If not, repeat the adjustment process. Small tweaks can make a big difference. We found that a few minutes of fine-tuning can dramatically improve your experience.
Common PSI Ranges for Popular Tools
While it’s always best to check your tool’s manual, here are some general guidelines. These are typical ranges, but exceptions exist. Many experts suggest starting at the lower end of a tool’s range and increasing if needed. We found this table to be a helpful quick reference:
| Air Tool Type | Typical PSI Range | Notes |
|---|---|---|
| Impact Wrenches | 90-100 PSI | Requires consistent high pressure. |
| Nail Guns (Framing) | 70-120 PSI | Varies by nail size and depth. |
| Orbital Sanders | 90-100 PSI | For smooth finishes. |
| Paint Sprayers (HVLP) | 30-50 PSI (at the gun) | Lower pressure is key for atomization. |
| Air Brushes | 15-30 PSI | Requires very fine control. |
Don’t Forget the Air Brush!
Airbrushing is a delicate art. It requires precise pressure control. Too much air, and your paint will spray wildly. Too little, and you won’t get a proper mist. We found that many airbrush artists invest in regulators with highly accurate gauges. They often use lower PSI settings, typically between 15 and 30 PSI. This allows for finer control and detailed work.
Quick Checklist for Regulator Adjustment
Here’s a quick rundown to help you remember the key steps:
- Confirm Tool’s PSI Needs: Always check your tool’s manual.
- Compressor Running: Never adjust with the compressor off.
- Tool Attached & Engaged: Adjust while the tool is actively used.
- Small Adjustments: Turn the knob slowly for precision.
- Monitor the Gauge: Keep your eyes on the pressure reading.
- Test Your Work: Briefly operate the tool to ensure it’s right.
Conclusion
You’ve learned that adjusting your air compressor’s pressure regulator is a simple yet vital skill. Setting the right PSI protects your tools from damage and ensures they perform at their best. Remember, always adjust while the compressor is running and your tool is engaged, making small turns clockwise to increase or counter-clockwise to decrease pressure. Keep an eye on your gauge and consult your tool’s manual for specific recommendations. Now, go ahead and dial in that perfect pressure for your next project!
Frequently Asked Questions
What happens if I set the pressure too high?
Setting your air compressor regulator too high can quickly damage your tools. It might cause seals to blow out, internal components to break, or even lead to a dangerous situation. We found that over-pressurizing is one of the most common ways air tools are ruined.
What if I accidentally set the pressure too low?
If you set the pressure too low, your tool simply won’t have enough power to work effectively. For example, a nail gun might not drive nails flush, or an impact wrench might struggle with stubborn bolts. This usually results in frustration and less-than-ideal work.
Can I adjust the regulator with the compressor turned off?
No, you really shouldn’t adjust the regulator with the compressor off. The pressure reading on the gauge won’t be accurate because it’s not under load. You need the tool to be running and drawing air to get a true reading of the output pressure.
Do all air compressor regulators work the same way?
Most air compressor regulators follow the same basic principle: turning a knob clockwise increases pressure and counter-clockwise decreases it. While designs can vary slightly, the core function of controlling output PSI is consistent across most models we’ve reviewed.
How often should I check my air compressor’s pressure settings?
It’s a good practice to check your pressure settings each time you switch to a different tool or start a new type of project. Since different tools have different PSI requirements, a quick adjustment ensures optimal performance and prevents potential damage with every use.