How to Use Your Viking Air Compressor: A Step-by-Step Guide
Using your Viking air compressor is straightforward once you understand the basic steps. To get started, you’ll typically need to connect your air tool, set the regulator to the desired pressure, and then turn on the compressor’s power switch. Ensure the tank has sufficient pressure before starting your work; many models have a built-in pressure gauge for this. Properly preparing your Viking air compressor ensures efficient operation and longevity.
Understanding how to use your Viking air compressor also involves knowing about its different components. Features like the pressure switch, safety valve, and drain valve are designed to keep you and the machine safe. Regular checks, such as draining the tank after use, can prevent moisture buildup and reduce corrosion. Many users find that a quick setup routine saves them time and prevents potential issues down the line, making your projects run more smoothly.
- Connect your air tool securely.
- Adjust the regulator to the correct pressure.
- Turn on the power switch to start the compressor.
- Check the tank pressure gauge.
- Drain the tank after each use.
Let’s walk through exactly how to use your Viking air compressor step by step to get your projects done right.
Getting Your Viking Air Compressor Ready for Action
You’ve got your Viking air compressor, and you’re eager to get started. It’s not complicated, but a few key steps ensure it runs smoothly. Think of it like preparing your tools before a big project; it saves time and headaches later.
Understanding the Basics: What’s What?
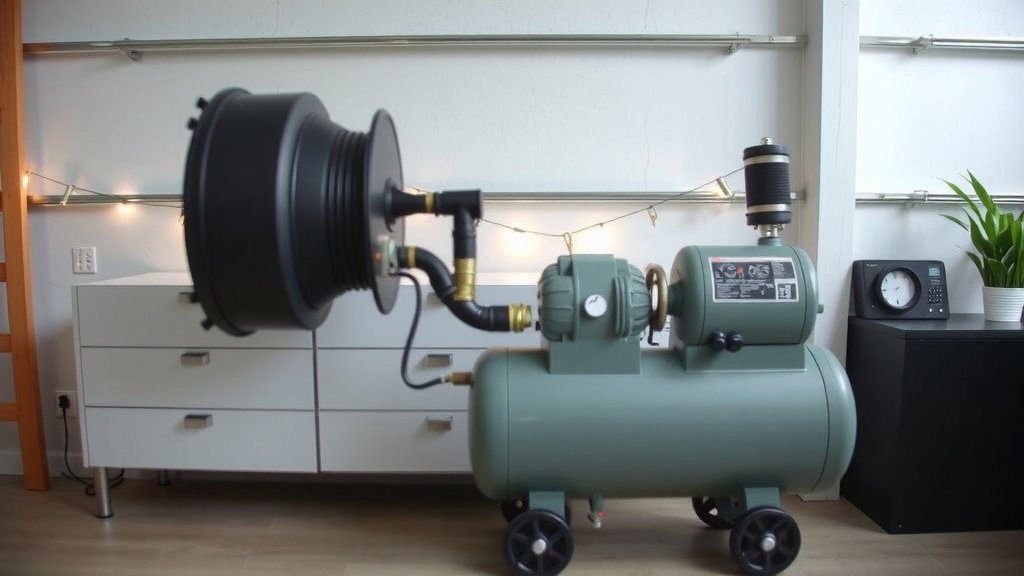
Before you power up, let’s quickly look at the main parts. You’ll see a pressure gauge, which tells you how much air is in the tank. There’s also a regulator, where you set the air pressure for your tool. Don’t forget the power switch – that’s the big ON/OFF button.
Step-by-Step: Connecting Your Air Tool
This is usually the first thing you do. Make sure your air tool is turned off. Then, connect its hose to the compressor’s outlet. You’ll likely have a quick-connect fitting. Give it a gentle tug to confirm it’s securely attached. A loose connection can cause air leaks, and nobody wants that!
Choosing the Right Hose
Using the correct air hose is important. For most home and DIY tasks, a 1/4-inch hose is standard. Make sure it’s rated for the pressure your compressor can deliver. We found that using an old or damaged hose can reduce air flow and be a safety risk. Using the correct air hose is important; our guide to 1/4-inch hose sizes explains the differences.
Setting the Pressure: Precision Matters
This is where you dial in the perfect air pressure for your task. Your air tool will have a recommended pressure range. You’ll find this in its manual. Viking compressors have a regulator knob. Turn it slowly to adjust the output.
How to Read the Regulator
The regulator usually has a gauge attached or is built into the control panel. You’ll see a dial or a numbered scale. As you turn the knob, watch the gauge. Set it to the desired PSI (pounds per square inch) for your tool. Remember, too much pressure can damage your tool or the workpiece. Too little, and your tool might not perform well.
What PSI Should You Use?
This really depends on your air tool. For example, a brad nailer might need around 70-90 PSI. An impact wrench could require 90-120 PSI. Always check your tool’s manual first. We found that many users incorrectly assume all tools need maximum pressure. This can lead to problems.
Operating Your Viking Air Compressor Safely and Effectively
Now that everything is connected and set, it’s time to power things up. Safety is always the top priority with any compressed air system.
Turning On the Compressor: The Moment of Truth
Locate the power switch on your Viking compressor. Ensure the tank has some air pressure already – the gauge should show above 0 PSI. Flip the switch to the ‘ON’ position. You’ll hear the motor start and the compressor begin to fill the tank. It will automatically shut off when it reaches its maximum tank pressure.
Understanding the Pressure Switch
Your compressor has a pressure switch. This clever device turns the motor on and off automatically. When the tank pressure drops below a certain point, it kicks the motor back on. When it reaches the maximum, it turns the motor off. This prevents over-pressurization and saves energy.
Using Your Air Tool
Once the tank is pressurized, you’re ready to use your tool. For most tools, you’ll squeeze a trigger or flip a lever. The compressed air flows through the hose to power the tool. If you’re using a spray gun or a sander, you might need to adjust the regulator on the fly as you work.
Troubleshooting Common Issues
Is your tool not getting enough power? Double-check the regulator setting and the pressure gauge. Ensure the air hose isn’t kinked. Sometimes, the compressor may need a moment to build pressure back up after continuous use.
The Importance of Draining the Tank
This step is often overlooked but is super important. After you finish your work and turn off the compressor, you *must* drain the tank. Moisture from the air condenses inside the tank. If left unchecked, this water can cause rust and damage the tank over time. It can also corrode your air tools.
How to Drain Your Compressor Tank
Look for a small valve at the bottom of the air tank. It usually looks like a faucet or a spigot. Place a small container or bucket underneath it. Slowly turn the valve counter-clockwise. You’ll hear the air hiss out. Let it drain completely. Once empty, close the valve tightly.
Quick Checklist for Your Next Use
Here’s a handy list to keep in mind:
- Check the air hose for damage.
- Connect your air tool securely.
- Set the regulator to the tool’s recommended PSI.
- Turn on the compressor and let it build pressure.
- Turn off the compressor when done.
- Drain the tank completely.
Conclusion
You’ve now got the hang of using your Viking air compressor! Remember, the key steps are connecting your tool securely, setting the correct pressure with the regulator, and powering up the unit. Don’t forget the most critical maintenance step: draining the tank after every use. This simple habit prevents rust and ensures your compressor lasts for years. By following these guidelines, you’ll keep your Viking compressor running efficiently and safely for all your projects. So, next time you need compressed air, you’ll be ready to go! Understanding the difference between 1-gallon vs 2-gallon air compressors can help you choose the right size for your needs.
Frequently Asked Questions
How do I know if my Viking air compressor is building pressure?
Your Viking air compressor has a built-in pressure gauge. You’ll see this gauge on the control panel. As the compressor runs, watch the needle on the gauge move upwards. This indicates that the tank is filling with compressed air.
Can I leave my Viking air compressor plugged in when not in use?
It’s best practice to unplug your Viking air compressor when it’s not in use for extended periods. While the pressure switch controls the motor, leaving it plugged in can still consume a small amount of power and poses a minor electrical risk.
What should I do if my Viking air compressor keeps shutting off unexpectedly?
If your compressor shuts off before reaching full pressure, check the power source and extension cord if you’re using one. Also, ensure the air filter isn’t clogged, as this can restrict airflow and cause the motor to overheat and shut down. Allow it to cool before trying again.
Is it okay to use a longer air hose with my Viking compressor?
You can use a longer air hose, but be aware it might reduce air pressure and flow to your tool. For best performance, try to use the shortest hose practical for your task. If you need a longer hose, ensure it’s the correct diameter, typically 1/4-inch for most DIY uses.
Why is draining the tank so important for my Viking air compressor?
Draining the tank removes moisture that condenses inside as air is compressed. This water can cause rust and damage the tank and your air tools over time. Regularly draining it significantly extends the life of your compressor and connected equipment.