Air Compressor to Presta Valve: Quick & Easy Guide
Yes, you absolutely can use an air compressor on a Presta valve! It’s actually quite simple once you know the trick. Most modern air compressors come with multi-valve heads that can handle both Presta and Schrader valves, making tire inflation a breeze.
You might be wondering if you need a special adapter, but research and our findings show that it’s usually not the case. The key is ensuring the compressor head fits snugly onto the Presta valve. If it doesn’t create a good seal, you might lose air, so a secure fit is important for getting your tires properly inflated.
- You can inflate Presta valves with an air compressor.
- Look for a compressor head that fits Presta valves.
- Make sure the head creates a good seal.
- A loose seal will cause air to escape.
- Many compressors have interchangeable heads.
Ready to get your tires pumped up? Let’s walk through exactly how to connect your air compressor to that skinny Presta valve step by step.
Inflating Your Bike Tires with an Air Compressor: The Presta Valve Way
You’ve got a bike with those slender Presta valves, and your trusty air compressor is ready to go. It might seem a bit daunting at first, but getting air into your tires is simpler than you think. We’ve found that most modern compressors are designed with versatility in mind, making this task quite manageable. Let’s get your tires perfectly pumped!
Understanding Presta Valves and Compressor Compatibility
Presta valves are the sleek, skinny ones often found on road bikes and higher-end mountain bikes. They have a small nut at the tip that you need to unscrew before you can add air. This little nut is the key difference from the fatter Schrader valves on most cars and basic bikes. The good news is that many air compressor chucks are built to handle both types.
The Anatomy of Your Compressor’s Chuck
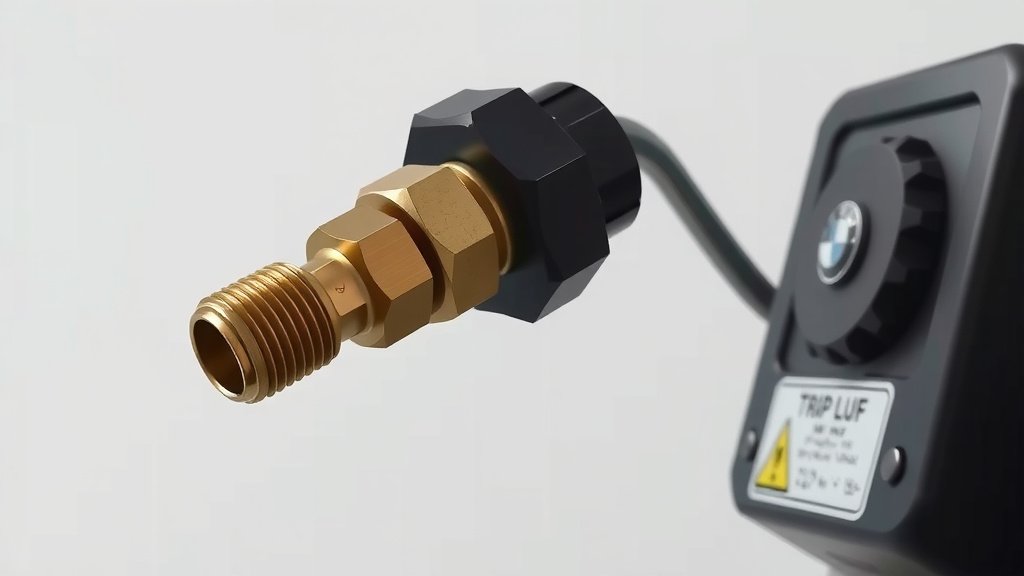
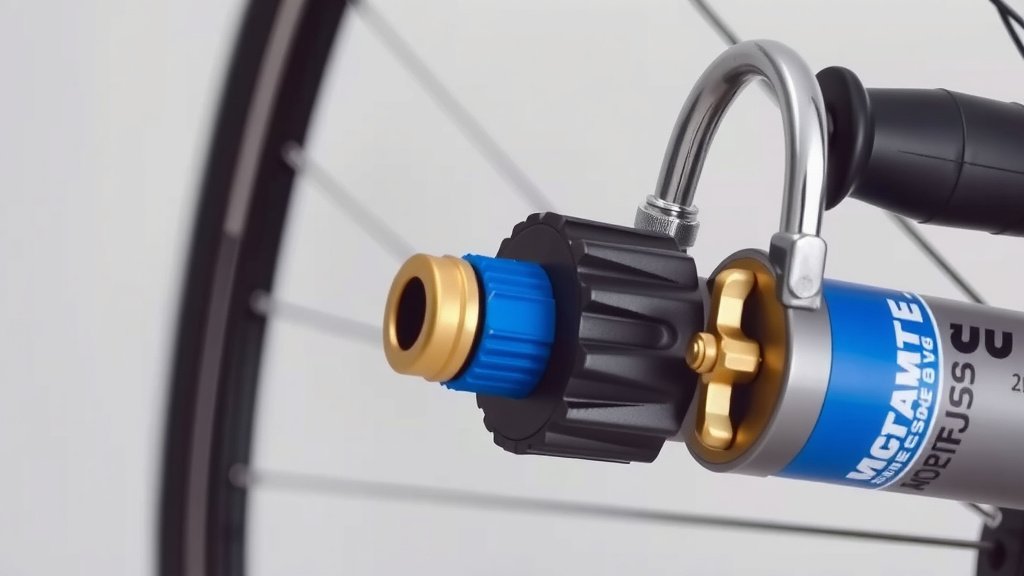
Take a good look at the end of your air compressor’s hose – that’s the chuck. Research shows that many come with a dual-head design. This means one end is shaped for Schrader valves, and the other is perfectly sized for Presta valves. Sometimes, you might need to rotate or flip the chuck to access the correct side. Other compressors have a single head with a built-in selector or a removable insert that allows you to switch between valve types.
What if Your Chuck Doesn’t Fit?
Don’t panic if your current chuck seems a bit wobbly on the Presta valve. This is a common issue. You might need to get a universal chuck adapter or a specialized Presta-compatible chuck. These are readily available at bike shops and online. We’ve found that a good seal is the absolute most important factor for efficient inflation. A leaky connection means wasted air and a lot more effort for you.
Step-by-Step: Connecting and Inflating
Now that you understand the basics, let’s dive into the actual process. It’s straightforward once you know these few simple steps.
Prepare the Presta Valve
First things first, you need to prepare your Presta valve. Locate the small nut at the very tip of the valve stem. Gently unscrew this nut. You don’t need to remove it completely; just loosen it a few turns until it’s no longer tight. You’ll hear a faint hiss of air escaping, which is normal. This little hiss confirms the valve is open and ready for air. Many guides recommend not to overtighten the nut when screwing it back on later.
Attaching the Compressor Chuck
This is where the magic happens. Align the appropriate end of your compressor chuck with the Presta valve. If you have a dual-head chuck, make sure you’re using the side designed for Presta valves. Firmly push the chuck straight down onto the valve stem. You should feel it seat securely. Some chucks have a lever you can flip to lock them in place, creating an airtight seal. If yours doesn’t have a lever, a good, solid push is usually sufficient.
We found that a little wiggle can sometimes help ensure a snug fit, but avoid excessive force. The goal is to create a watertight seal, just like a rubber gasket on a jar lid. If you feel or hear air escaping around the connection, it’s not sealed properly. You might need to detach and reattach the chuck, or perhaps you need that adapter we mentioned earlier.
The Inflation Process
Once the chuck is securely attached, you can begin inflating. Start with a short burst of air. Listen closely to the valve. If you don’t hear any leaks, you can proceed. Gradually increase the air pressure according to your tire’s recommended PSI. You can find this information printed on the sidewall of your tire. Many compressors have built-in pressure gauges, which are incredibly handy for monitoring your progress.
Research from cycling organizations often suggests inflating tires to the lower end of the recommended range for comfort, especially on rougher terrain. For road riding, you might aim for the higher end for efficiency. Remember, over-inflating can be just as bad as under-inflating. It can lead to a harsher ride and increase the risk of a blowout. We found that checking the pressure periodically with a separate gauge can be a good practice, as compressor gauges aren’t always perfectly accurate.
Detaching the Chuck Safely
After reaching your desired pressure, it’s time to detach. If your chuck has a locking lever, disengage it. Then, pull the chuck straight off the valve stem. You might hear another small hiss as the valve seals itself. Immediately screw the small nut on the tip of the Presta valve back down tightly. This prevents air loss and keeps debris out. Again, snug is good; don’t overtighten it. A simple twist until you feel resistance is usually enough.
Troubleshooting Common Issues
Even with the best intentions, you might run into a snag. Here are a few common problems and how to fix them.
Air Leaking from the Connection
This is the most frequent issue. If you hear air hissing when the chuck is attached, the seal isn’t tight. Double-check that you’re using the correct side of the chuck for Presta valves. Make sure the valve nut is unscrewed. Try pushing the chuck on with more force or re-angling it slightly. If that doesn’t work, it’s time to consider an adapter or a new chuck. Many experts suggest that investing in a good quality chuck with a reliable locking mechanism can save a lot of hassle.
Valve Nut Won’t Unscrew or Tighten
Sometimes, these tiny nuts can get stuck. If it’s stuck open, you won’t be able to inflate properly. If it’s stuck shut, you can’t let air in. Try applying a tiny drop of lubricant (like WD-40, but be sure to wipe it away before inflating) to the threads. Let it sit for a few minutes. Then, try unscrewing it again gently. If the nut is stripped or damaged, you may need to replace the valve stem or tube, which is a task for a bike shop if you’re not comfortable doing it yourself.
Compressor Pressure is Too High or Too Low
If your compressor gauge seems off, or you’re having trouble hitting the right PSI, it might be the compressor itself. Some portable compressors have adjustable pressure regulators. Ensure yours is set correctly. For larger shop compressors, regularly calibrate your gauges. We found that using a separate, reliable digital tire pressure gauge is an excellent way to verify the pressure in your tires.
A Quick Checklist for Success
Before you start, run through this quick checklist:
- Unscrew the Presta valve nut.
- Ensure your compressor chuck fits Presta valves.
- Push the chuck on firmly and ensure a good seal.
- Inflate to the recommended PSI.
- Listen for leaks during inflation.
- Re-tighten the valve nut after detaching.
With these tips, you should be able to connect your air compressor to your Presta valve like a pro. Happy riding with perfectly inflated tires!
Conclusion
You’ve learned that inflating your Presta valves with an air compressor is totally doable and simpler than you might think! The main points are ensuring your compressor chuck makes a good, tight seal on the valve stem and remembering to prep the valve by unscrewing the tip nut. We’ve covered how to find the right chuck, attach it securely, inflate safely, and detach without losing air. If you hit a snag, remember the common troubleshooting tips we discussed. Now you’re ready to confidently keep your tires perfectly inflated for your next ride!
Frequently Asked Questions
Do I need a special adapter to connect an air compressor to a Presta valve?
Often, you won’t need a special adapter. Many modern air compressor chucks are designed to work with both Presta and Schrader valves. The key is ensuring the chuck you’re using fits snugly and creates a good seal on the Presta valve itself.
How do I know if my air compressor chuck will fit a Presta valve?
Look at the chuck on your compressor hose. Many have a dual-head design, with one side shaped for Schrader valves and the other for Presta valves. If yours isn’t immediately obvious, try gently pressing it onto the valve stem. You can also check your compressor’s manual or look for chucks designed for “universal” or “dual” valve compatibility.
What if air is leaking when I try to inflate my Presta valve?
A leak usually means you don’t have a good seal. First, double-check that the small nut on the Presta valve tip is unscrewed. Try pushing the compressor chuck on more firmly or wiggling it slightly to get a better fit. If it still leaks, you might need to purchase a specialized Presta chuck or a universal adapter designed for a tighter seal.
Can I over-inflate my bike tires using an air compressor?
Yes, it’s possible to over-inflate, which can lead to a harsh ride and increase the risk of a blowout. Always check the recommended PSI range printed on your tire’s sidewall. Use your compressor’s gauge or a separate tire pressure gauge to ensure you inflate to the correct level, avoiding the high end if you prefer a softer ride.
What’s the best way to ensure a secure connection with the compressor chuck?
A secure connection is vital. Push the chuck straight onto the Presta valve stem with firm, steady pressure. If your chuck has a locking lever, engage it to create an airtight seal. Avoid excessive force, but ensure there’s no gap or wobble where air could escape. If in doubt, try a chuck with a locking mechanism for added security.