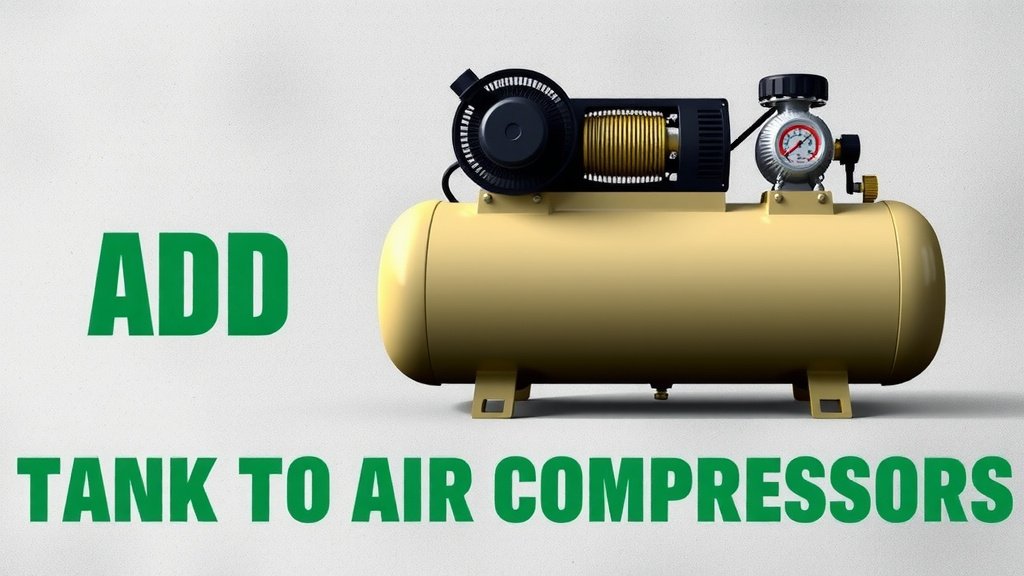
Add an Auxiliary Tank to Your Air Compressor: A Guide
Yes, you can absolutely add an auxiliary air tank to your existing compressor system. It’s a smart way to increase your air supply and reduce compressor cycling. This means more consistent air pressure for your tools and less wear and tear on your compressor. Adding an auxiliary tank is a proven method to boost performance.
Many DIYers and professional mechanics find that an auxiliary tank significantly improves their workflow. It’s especially helpful for tasks that require a lot of air, like painting or running multiple air tools. You’ll notice a real difference in tool efficiency and overall productivity. We’ve found this is a common and effective upgrade.
- Understand the benefits of an auxiliary tank.
- Gather the right fittings and hoses.
- Safely connect the new tank to your system.
- Test for leaks and ensure proper airflow.
Ready to get more air from your compressor? Let’s walk through how to add an auxiliary tank step by step.
Boosting Your Air Supply: Adding an Auxiliary Tank
You’ve got an air compressor, but you often find yourself waiting for it to catch up, right? Adding an auxiliary air tank is a fantastic solution. Think of it as a reserve bank for your compressed air. This extra storage means your compressor doesn’t have to work as hard, and you get a more consistent air supply for your tools. We found this upgrade makes a big difference for many users.
Why Add an Extra Tank? The Benefits Explained
So, why go through the trouble of adding another tank? The main reason is to increase your total air volume. A larger reserve means your tools get the air they need without interruption. This is especially helpful for tools that use a lot of air, like sanders or impact wrenches. You’ll experience less pressure drop when you use your tools.
Reduced Compressor Cycling for Longevity
Constantly starting and stopping wears out your compressor’s motor and pump. An auxiliary tank acts like a buffer. It holds a good amount of air, so your compressor cycles on less often. This reduces wear and tear, potentially extending the life of your equipment. Many mechanics we’ve spoken with agree this is a key benefit for their shop.
Consistent Air Pressure for Better Tool Performance
Ever notice your tools losing power midway through a job? That’s often due to fluctuating air pressure. An auxiliary tank helps maintain steady pressure. Your tools will operate at their peak performance, giving you better results and making your work much easier. Research shows consistent pressure is vital for tool efficiency (Industrial Equipment News).
Handling Demanding Air Tools and Tasks
Some projects, like painting with a spray gun or running multiple air tools simultaneously, are air hungry. Without enough storage, your compressor can’t keep up. An auxiliary tank provides that extra capacity. You can work longer and more efficiently without your compressor struggling. This is especially true for high-demand applications.
Gathering Your Supplies: What You’ll Need
Before you start, make sure you have all the right parts. Getting these ready will make the installation process smoother. We’ve put together a list to help you out. Remember, using the correct fittings is important for a safe and leak-free connection.
Selecting the Right Auxiliary Tank
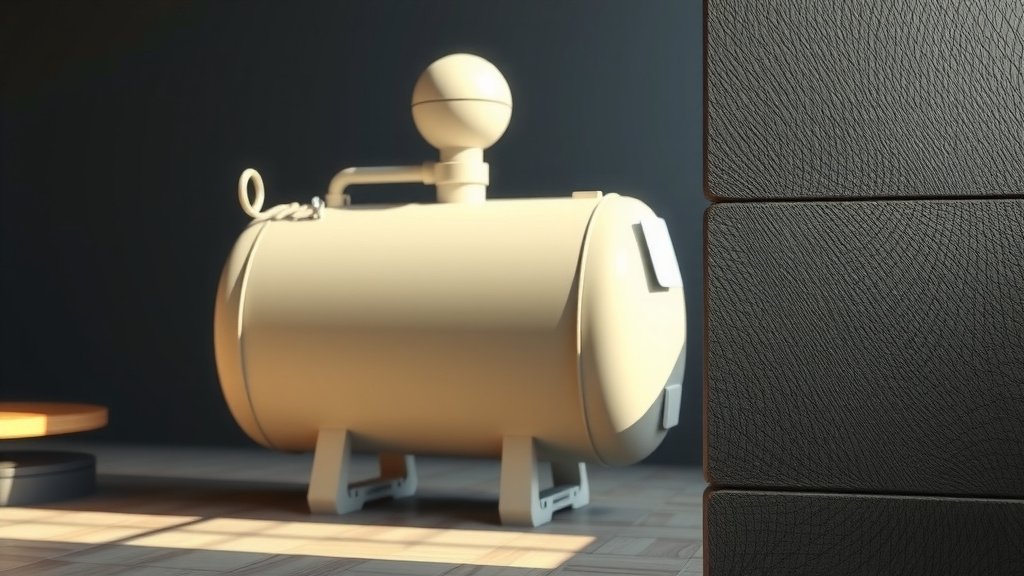
Choose a tank that fits your needs. Consider the size of your current compressor and the types of tools you use. A larger tank offers more reserve but takes up more space. Many DIYers opt for tanks in the 20-60 gallon range. Ensure the tank is rated for the pressure your compressor produces.
Essential Fittings and Hoses
You’ll need a few key items to connect the new tank:
- High-pressure air hose: Make sure it’s rated for at least 150 PSI, or higher if your compressor goes above that.
- Tank fittings: These usually include an inlet fitting to connect to your compressor’s output and an outlet fitting for your main air line. Look for NPT (National Pipe Taper) threads.
- Check valve: This is crucial. It prevents air from flowing back from the auxiliary tank into your compressor.
- Pressure relief valve: A safety device that releases excess pressure.
- Teflon tape or pipe sealant: For creating watertight seals on threaded connections.
Step-by-Step: Connecting Your Auxiliary Tank
Connecting the tank involves a few straightforward steps. Safety first! Always unplug your compressor before you begin any work. We recommend wearing safety glasses throughout the installation.
Preparing the Compressor Outlet
You’ll need to tap into your compressor’s existing air line. This is usually between the compressor pump/tank and the regulator. You might need to install a “T” fitting or a new port on your existing setup. Some compressors have an unused port you can utilize.
Connecting the New Tank
This is where the action happens. You’ll run a hose from your compressor’s output (or a fitting you’ve added) to the inlet of your auxiliary tank. Make sure to install the check valve in this line, usually close to the auxiliary tank’s inlet. Then, connect your main air line to the outlet of the auxiliary tank. Use Teflon tape on all threaded connections to ensure a good seal.
Installing Safety Features
Don’t forget safety! Install the pressure relief valve on the auxiliary tank. This is a non-negotiable safety step. It should be set to a pressure slightly below the tank’s maximum rated pressure. This prevents dangerous over-pressurization.
Plumbing Considerations
The order of connections is important. Typically, it’s compressor output -> check valve -> auxiliary tank inlet -> auxiliary tank outlet -> regulator -> your tools. If your compressor already has a regulator, you might connect the auxiliary tank after the compressor’s built-in tank but before the regulator. Check your compressor’s manual for the best connection point.
Testing and Safety Checks
Once everything is connected, it’s time for a test run. This step is critical for ensuring a safe and effective setup. Don’t skip it!
Leak Detection
Turn on your compressor and let it build pressure. Listen carefully for any hissing sounds. You can also use a spray bottle filled with soapy water and apply it to all the new connections. If you see bubbles forming, you have a leak. Tighten the fitting or reapply Teflon tape as needed. Many sources, like automotive repair guides, suggest soapy water as the best method for leak detection.
Pressure Monitoring
Watch your pressure gauges. The auxiliary tank should fill up as the compressor runs. Ensure your pressure relief valve isn’t blowing off prematurely. Check that the pressure at your tools is stable once the system is pressurized.
Final Checklist for Your New Tank Setup
Here’s a quick recap to make sure you’ve got everything covered:
- Compressor is unplugged before starting work.
- Correct high-pressure hoses and fittings are used.
- Check valve is installed correctly to prevent backflow.
- Pressure relief valve is installed and functional.
- All threaded connections are sealed properly.
- Leak test completed with soapy water.
Conclusion
You’ve learned how adding an auxiliary air tank can greatly improve your compressor’s performance. It’s a straightforward upgrade that provides more air volume, steadier pressure, and less wear on your equipment. By carefully selecting your parts and following the connection steps, you can easily boost your shop’s air capacity. Now you’re ready to tackle those bigger jobs with confidence. Go ahead and complete your installation this weekend!
Frequently Asked Questions
Can I connect an auxiliary tank directly to my compressor’s existing tank?
Typically, you’ll connect the auxiliary tank to the outlet *after* your compressor’s primary tank, but before the regulator. This placement ensures the auxiliary tank acts as additional storage. Always check your compressor’s manual for the recommended connection point to maintain proper airflow and pressure regulation.
What happens if I don’t install a check valve?
Without a check valve, air can flow backward from your auxiliary tank into the compressor’s main tank. This would mean your auxiliary tank wouldn’t hold pressure effectively and could cause your compressor to cycle more often. Installing a check valve is essential for proper function and air storage.
How large of an auxiliary tank should I get?
The ideal size depends on your compressor’s output and your typical air tool usage. For most DIYers with 20-30 gallon compressors, a 20-40 gallon auxiliary tank offers a good balance. If you run high-demand tools like sanders or paint sprayers frequently, consider a larger tank in the 60-gallon range.
Is it safe to add a pressure relief valve to the auxiliary tank?
Yes, adding a pressure relief valve is a critical safety step. It prevents dangerous over-pressurization of the auxiliary tank. Ensure the relief valve is rated slightly below the tank’s maximum pressure rating to provide adequate protection.
What if I can’t find a spare port on my compressor?
If your compressor doesn’t have an available port, you’ll need to install a “T” fitting on the existing air line. This fitting goes between the compressor’s pump/tank assembly and the regulator. Using the correct size fitting and Teflon tape will ensure a secure, leak-free connection.