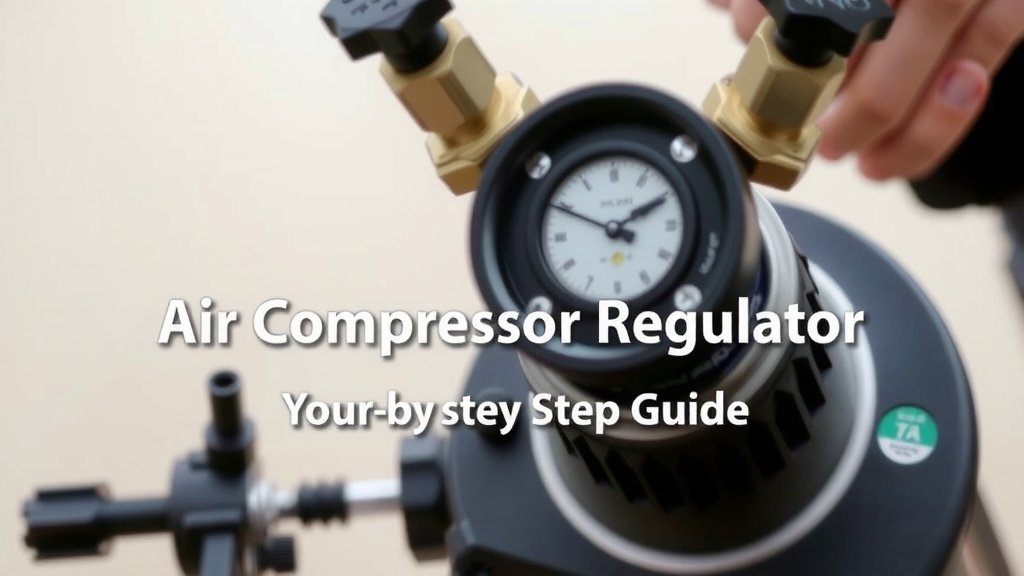
Adjust Air Compressor Regulator: Step-by-Step Guide
Adjusting your air compressor regulator is a straightforward process. You can **easily set the desired pressure** by turning the adjustment knob, usually found on top of the regulator. Turning it clockwise increases pressure, while counter-clockwise decreases it. Always check your tool’s manual for the recommended operating pressure.
Getting the air pressure just right is essential for both safety and performance. Too much pressure can damage your tools or cause safety hazards. Too little pressure means your tools won’t work effectively. We found that many DIYers overlook this simple adjustment, leading to frustration and potential equipment damage. Proper regulation ensures your air compressor is working efficiently and safely.
- Adjust the knob clockwise to increase pressure.
- Turn counter-clockwise to decrease pressure.
- Consult your tool’s manual for correct settings.
- Don’t exceed the maximum pressure rating.
- A properly set regulator protects your tools.
Ready to dial in the perfect air pressure for your project? Let’s walk through exactly how to adjust your air compressor regulator step by step.
Setting Your Air Compressor Regulator Pressure
Getting your air compressor regulator set to the right pressure is easier than you might think. You’ll want to get this dialed in before you hook up any air tools. It ensures your tools perform as they should and prevents damage. We found that many DIYers rush this step, leading to issues down the line. Let’s break down how to do it correctly.
Understanding Your Regulator
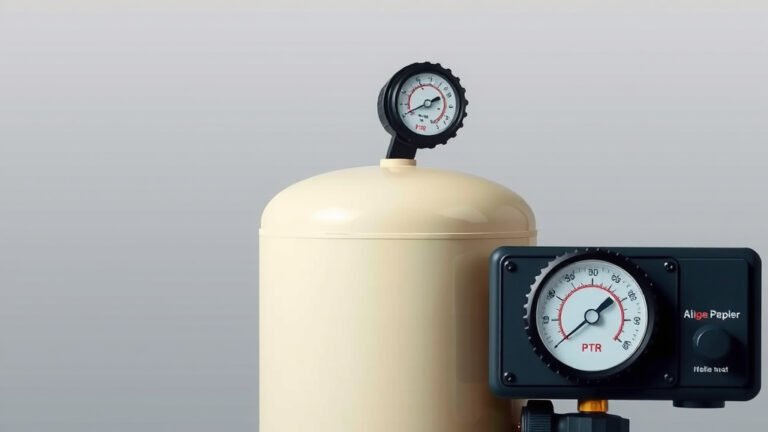
Your air compressor regulator is like the volume knob for your air supply. It controls the amount of air pressure that goes out to your tools. Most regulators have a simple design. You’ll typically find a knob, a gauge, and an outlet for the air hose. The gauge shows you the current pressure. The knob is what you’ll use to make adjustments.
The Main Components
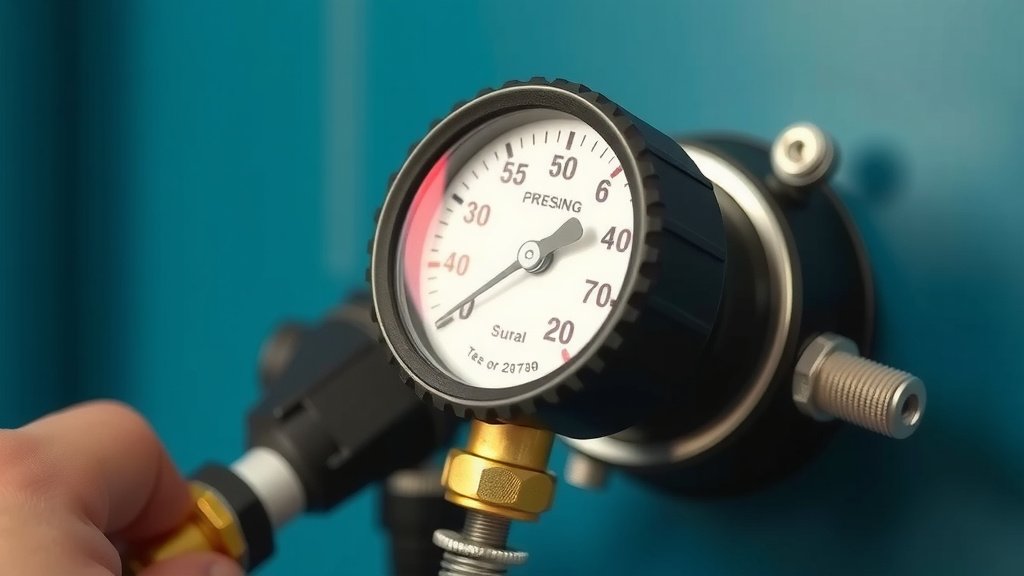
Take a look at your regulator. You’ll usually see a pressure gauge with numbers. This tells you how much air pressure is available. Then there’s the adjustment knob, often on top. This is your primary control. Finally, there’s the fitting where you’ll connect your air hose. It’s a pretty straightforward setup.
Preparing for Adjustment
Before you twist any knobs, a little preparation goes a long way. First, make sure your air compressor has built up some pressure. You don’t want to adjust it when there’s no air in the tank. Also, have your air tool handy. Knowing what pressure your tool needs is key. We always recommend checking the tool’s manual first.
What Pressure Does Your Tool Need?
This is perhaps the most critical piece of information. Different air tools require different operating pressures. A nail gun might need a lower pressure, while an impact wrench might need more. Many tool manufacturers specify the ideal PSI (pounds per square inch) range. You can usually find this information on the tool itself or in its instruction manual. For example, a common framing nailer might operate best between 70-100 PSI (Home Depot).
Consulting Your Tool’s Manual
Don’t guess the pressure your tool needs! It’s a recipe for frustration. Your tool’s manual is your best friend here. It will clearly state the recommended operating pressure. If you can’t find the manual, a quick online search with your tool’s model number will often yield results. We’ve found that referencing the manual ensures you’re within the safe and effective range for that specific tool.
The Adjustment Process Step-by-Step
Now for the actual adjustment. It’s a simple turn-and-check process. Remember, consistency is key for good results. We find that taking your time here prevents errors.
Step 1: Connect Your Air Hose
First, securely connect your air hose to the regulator’s outlet fitting. Ensure the connection is snug. A loose connection can lead to air leaks, giving you inaccurate pressure readings. You don’t want air escaping before it even gets to your tool!
Step 2: Set the Initial Pressure (Low to High)
It’s generally best practice to start with a lower pressure and increase it. If your regulator has a spring-loaded knob, you might need to pull it out slightly before turning. Turn the adjustment knob clockwise. This will gradually increase the pressure. Watch the gauge closely. Stop when you reach the lower end of your tool’s recommended PSI range. Many experts suggest starting low to avoid overwhelming your tool.
Step 3: Test the Pressure and Tool
Now, try operating your air tool briefly. See how it performs. Does it have enough power? Is it running smoothly? If it feels weak or sluggish, it likely needs more pressure. If the tool seems to be working well but you need a bit more power, you can increase the pressure slightly more.
Step 4: Fine-Tuning the Adjustment
If your tool still isn’t performing optimally, you can make further adjustments. Continue turning the knob clockwise in small increments. After each small adjustment, test the tool again. We found that making tiny turns and testing often leads to the perfect setting. Remember not to exceed the maximum pressure listed in your tool’s manual. Over-pressurizing can damage the tool and create a safety hazard.
Step 5: Locking the Regulator (If Applicable)
Some regulators have a locking mechanism. This prevents the knob from accidentally moving. If yours has one, now is the time to engage it. This ensures your pressure setting stays put while you work. Check if your regulator has a ring or a lock nut you can tighten.
Common Regulator Issues and How to Solve Them
Even with the best intentions, sometimes things don’t go perfectly. Here are a few common hiccups and how to get past them.
Gauge Not Moving
If your pressure gauge isn’t moving, even after turning the knob, check a couple of things. First, ensure your compressor tank has air pressure. If the tank is empty, there’s nothing for the regulator to control. Second, check that your air hose is securely connected at both ends. A leak could prevent pressure from building up.
Pressure Drops Suddenly
A sudden drop in pressure can be unnerving. Often, this indicates a significant air leak somewhere in your system. It could be at the regulator connection, the hose fittings, or even within the tool itself. Listen for hissing sounds. You can also use soapy water on connections; bubbles will indicate a leak.
Inconsistent Pressure Output
If the pressure gauge seems to fluctuate wildly, the regulator diaphragm might be worn out or damaged. This is more common on older units. In such cases, replacing the regulator is usually the best solution. We found that a worn-out regulator is often more trouble than it’s worth.
Safety First: What to Watch Out For
Safety is always your top priority when working with compressed air. High pressure can be dangerous if not handled correctly. Always wear safety glasses when adjusting or using compressed air equipment.
Never Exceed Maximum Pressure Ratings
This cannot be stressed enough. Every tool and hose has a maximum pressure rating. Exceeding this rating can cause catastrophic failure. This means parts could explode, causing serious injury. Always stay within the manufacturer’s specified limits. Many safety guidelines highlight this as a primary concern (OSHA).
Listen for Leaks
A hissing sound is your cue that something is wrong. Air leaks don’t just waste energy; they can be a sign of a failing component. Address leaks promptly. They can escalate into bigger problems if ignored.
Here’s a quick checklist to ensure you’re on the right track:
- Ensure your compressor tank has adequate pressure.
- Confirm your air tool’s required PSI range.
- Connect the air hose securely.
- Adjust the regulator knob slowly and test the tool.
- Never exceed the maximum pressure rating.
- Listen for any air leaks.
Conclusion
You’ve learned how essential it is to properly adjust your air compressor regulator for optimal tool performance and safety. Remember, it’s a simple process of connecting your hose, setting the initial pressure low, and gradually increasing it while testing your tool. Always refer to your tool’s manual for the correct PSI range and never exceed the maximum pressure rating. By following these steps, you’ll protect your equipment and ensure your projects run smoothly. Now, go ahead and dial in that perfect pressure for your next job!
Frequently Asked Questions
Can I leave the air compressor regulator set to a high pressure all the time?
No, it’s best to adjust your regulator for each tool you use. Leaving it set too high can be dangerous and potentially damage tools not rated for that pressure. Always set it to the specific PSI required by the air tool you’re operating.
What happens if I over-pressurize my air tool?
Over-pressurizing can cause serious damage to your air tool, leading to malfunctions or even component failure. It also creates a significant safety hazard, as parts could break or burst under excessive pressure. Always stay within the recommended PSI range.
My regulator gauge is stuck at zero. What should I do?
If your gauge isn’t moving, first check that your compressor tank has air. If the tank is empty, there’s no pressure to regulate. Also, ensure your air hose is securely connected at both ends, as a leak can prevent pressure from building up at the regulator.
How do I know if my regulator needs replacing?
If you experience inconsistent pressure output, where the gauge fluctuates wildly, or if the regulator struggles to maintain a set pressure, it might be time for a replacement. Older regulators with worn diaphragms often exhibit these issues.
Is there a universal PSI setting for most air tools?
No, there isn’t a universal setting. Different air tools have different operating pressure requirements. For instance, a small air brush might need only 20-30 PSI, while a heavy-duty impact wrench could require 90-120 PSI. Always check your tool’s manual for the correct PSI.