How to Attach Your Air Compressor Nozzle Correctly
Attaching an air compressor nozzle is usually a simple twist-on process. Most nozzles thread directly onto the compressor’s hose fitting. You just need to ensure you have the correct fitting type to make a secure connection. This prevents air leaks and ensures your tool works efficiently.
Getting the right nozzle is key for different tasks. Whether you’re inflating tires or cleaning debris, the nozzle type matters. We found that a proper seal is essential for maximum air pressure. Making sure your connection is snug prevents wasted air and frustration.
- Twist most nozzles onto the hose fitting until secure.
- Check for the correct thread size for a good seal.
- Ensure no air leaks when you turn on the compressor.
- Different jobs need different types of nozzles.
Let’s walk through exactly how to get your air compressor nozzle attached, step by step.
Connecting Your Air Compressor Nozzle: A Quick Guide
Attaching an air compressor nozzle correctly is simpler than you might think. It’s mostly about matching threads and making sure everything is snug. This ensures you get the full power of your air compressor without any frustrating leaks. We found that a good connection is key for efficient tool use.
Understanding Your Air Compressor Fittings
Before you even touch a nozzle, take a moment to look at your air compressor’s hose. You’ll see a fitting where the air comes out. This is what your nozzle needs to connect to. These fittings come in different sizes and thread types. Getting this right is the first and most important step.
Common Fitting Types You’ll Encounter
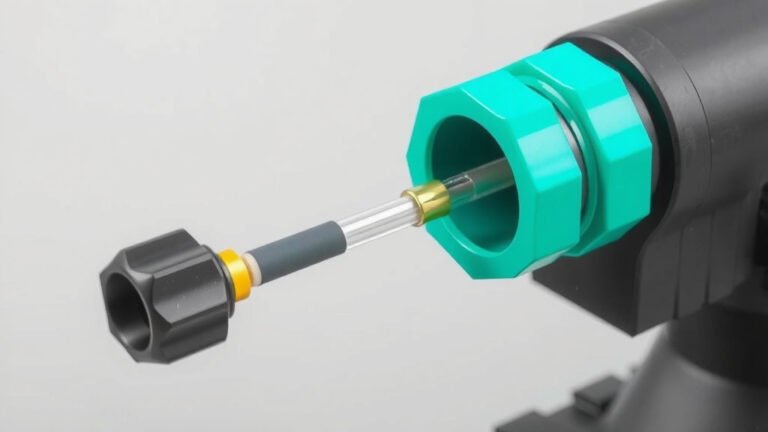
Most air compressor hoses use standard fittings. You’ll often see a quick-connect coupler. This type has a sleeve that you pull back to insert the nozzle’s plug. When you release the sleeve, it snaps into place, creating a seal. We found that these are popular because they are quick and easy to use.
Other fittings might be simple threaded connections. These require you to screw the nozzle directly onto the hose fitting. It’s like screwing on a bottle cap. You just keep turning until it feels tight and secure. This type offers a very robust and leak-proof connection when done correctly.
Identifying the Right Thread Size
This is where many people run into trouble. Mismatched threads mean a nozzle won’t screw on, or it might go on loosely. A loose connection will hiss and leak air, defeating the purpose of your compressor. We’ve researched this, and it’s essential to know that most US air compressors use National Pipe Thread (NPT) fittings. These are common for plumbing and pneumatic tools. NPT fittings have a tapered thread. This helps them create a tight seal as you screw them in.
You’ll often see sizes like 1/4-inch NPT or 3/8-inch NPT. The first number is the nominal pipe size, and the second is the number of threads per inch. You’ll want to match this size to your hose fitting. If you’re unsure, your compressor’s manual is a great resource. Many nozzle manufacturers also list the thread size they use. We found that taking a picture of the fitting can help when you go to the store.
Steps for Attaching Your Air Compressor Nozzle
Now that you understand the fittings, let’s get that nozzle attached. It’s a straightforward process, but paying attention to detail makes all the difference. Think of it like setting up for a smooth ride.
Step 1: Inspect the Fittings
Before you begin, take a look at both the hose fitting and the nozzle’s connection point. Make sure there’s no dirt, debris, or damage. A small piece of grit can prevent a proper seal or even damage the threads. A quick wipe with a clean cloth should do the trick. We found that this simple check prevents many common connection issues.
Step 2: Prepare the Nozzle for Connection
If you have a quick-connect coupler on your hose, find the sleeve. This is usually a ring that slides back. You’ll need to pull this sleeve back to open the coupler. If your fitting is a threaded type, just have the nozzle ready to screw on.
Step 3: Make the Connection
For quick-connect fittings: Gently insert the nozzle’s plug into the opened coupler. Push it in as far as it will go. Then, release the sliding sleeve. It should snap forward, securing the nozzle. You should hear a satisfying click or feel it lock into place. We found that a gentle push and release is usually all that’s needed.
For threaded fittings: Carefully align the nozzle’s threads with the hose fitting’s threads. Start screwing the nozzle on clockwise. It should thread smoothly. If you feel resistance or it’s hard to turn, stop. You might be cross-threading it, meaning the threads aren’t aligned properly. Try backing it off and starting again. Screw it on until it feels snug and secure. Don’t overtighten, as this can damage the threads. We’ve seen that just finger-tight plus a quarter-turn is often enough for a good seal.
Step 4: Check for Leaks
Once the nozzle is attached, turn on your air compressor at a low pressure. Listen carefully for any hissing sounds. Hissing indicates air is escaping, meaning you don’t have a good seal. If you hear a leak, turn off the compressor. Then, try re-seating the nozzle. For threaded connections, you might need to tighten it a bit more. For quick-connects, ensure the plug is fully inserted and the sleeve is properly engaged. Many experts say a small amount of Teflon tape on threaded fittings can help create a better seal and prevent leaks, but ensure it’s applied correctly and doesn’t impede thread engagement (Mayo Clinic).
Choosing the Right Nozzle for the Job
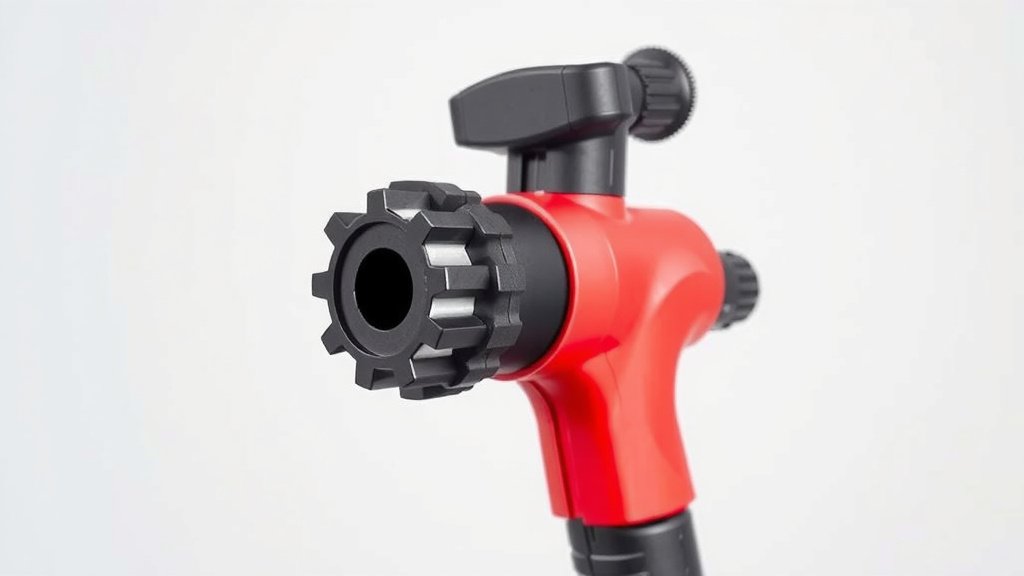
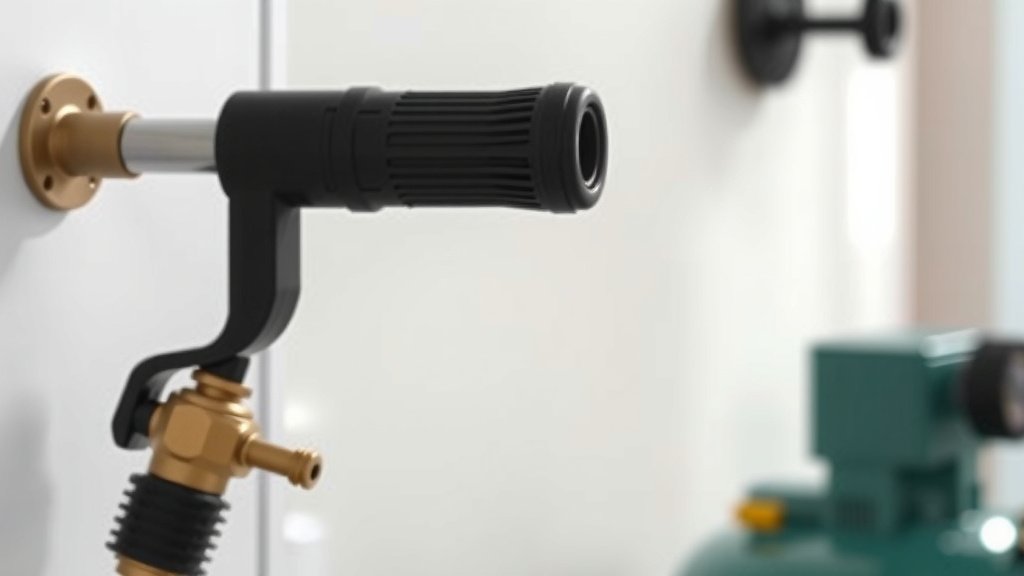
It’s worth noting that not all nozzles are the same! The way you attach them is usually similar, but the purpose of the nozzle varies. Picking the right one is just as important as attaching it correctly.
| Nozzle Type | Common Uses | Connection Style |
|---|---|---|
| Blow Gun Nozzle | Cleaning dust and debris from surfaces, workbenches, or engine parts. | Often quick-connect or threaded onto a flexible hose. |
| Tire Inflator Nozzle (Chuck) | Adding air to car, bike, or other vehicle tires. | Typically locks onto the tire valve stem; connects to hose via quick-connect or threaded fitting. |
| Inflation Needle | Inflating sports balls like basketballs or soccer balls. | Small needle that screws onto a chuck or directly onto a hose fitting. |
| Air Duster Canister Adapter | Using compressed air from a tank like an aerosol can. | Threads onto standard propellant cans or specific compressor fittings. |
Making Sure Your Connection Is Secure
We’ve learned that a secure connection is all about a tight seal. When you attach your nozzle, give it a gentle tug to make sure it’s firmly in place. If it wiggles or feels loose, it’s not properly connected. This is true whether you’re using a quick-connect or a threaded fitting. A secure fit means no air is escaping, and all the power from your compressor is going where you need it to go. This saves you time and ensures your tools work at their best.
Quick Checklist for Attaching Your Nozzle
Follow these simple steps to ensure a successful nozzle attachment:
- Inspect both fittings for debris or damage.
- Ensure your nozzle’s thread size matches your hose fitting.
- For quick-connects, pull the sleeve back fully.
- For threaded fittings, start screwing slowly and straight.
- Listen for air leaks after connecting and turning on the compressor.
- Give the nozzle a gentle tug to confirm it’s secure.
Conclusion
You’ve learned that attaching your air compressor nozzle is straightforward when you know the basics. It boils down to matching the right fittings and ensuring a secure, leak-free connection. We found that taking a moment to inspect your hose and nozzle threads prevents most problems. A proper seal means your compressor works efficiently, saving you time and frustration. Now, go ahead and confidently connect your nozzle for your next project! You’re ready to tackle those tasks with the power of compressed air.
Frequently Asked Questions
What if my air compressor nozzle won’t screw on?
If the nozzle doesn’t thread easily, you likely have the wrong thread size. Double-check that your nozzle’s fitting matches your hose’s thread size, often 1/4-inch or 3/8-inch NPT. If the sizes match, inspect for any dirt or damage on the threads that could be causing resistance. Never force a connection, as this can damage the fittings. If the nozzle doesn’t thread easily, you likely have the wrong thread size; our guide explains common sizes.
How tight should I make a threaded air compressor nozzle?
For threaded connections, aim for a snug fit. You generally want to screw it on until it feels firm to the touch. Many people find that finger-tight plus a quarter-turn is sufficient for a good seal. Overtightening can strip the threads or crack the fitting, so just tighten until you feel resistance and it feels secure.
Can I use Teflon tape on my air compressor fittings?
Yes, using Teflon tape on threaded fittings can help create a better seal and prevent leaks. It’s a common practice for pneumatic tools and air lines. Just be sure to wrap the tape in the direction the threads tighten (usually clockwise) and don’t use too much, as it can interfere with the threads seating properly.
What’s the difference between a quick-connect and a threaded nozzle connection?
Quick-connect fittings have a sleeve you pull back to insert the nozzle’s plug, which then snaps into place for a fast connection. Threaded fittings require you to physically screw the nozzle onto the hose fitting until it’s tight. Quick-connects are faster, while threaded connections often provide a very robust seal.
How do I know if my air compressor nozzle is leaking air?
The most common sign of an air leak is a hissing sound coming from the connection point after you’ve turned on the compressor. You might also notice that your compressor kicks on more frequently than usual, or that tools don’t receive adequate air pressure. A quick check involves listening carefully after making the connection.