How to Use Your Anvil Air Compressor Safely and Effectively
Using your Anvil air compressor is simpler than you might think! The basic steps involve connecting your air hose, setting the desired pressure, and turning on the compressor. You’ll want to ensure the Our guide to 1-gallon vs 2-gallon air compressors can help you choose the right size for your needs.tank is properly drained and the oil level is correct before starting for optimal performance and longevity of your tool. Properly understanding these initial steps will help you get the most out of your Anvil air compressor right away.
Many people wonder about the specific setup for different tasks. Whether you’re inflating tires, powering nail guns, or cleaning with compressed air, knowing how to adjust the regulator is key. We found that setting the right PSI (pounds per square inch) prevents damage to tools and ensures they work efficiently. It’s all about matching the compressor’s output to your project’s needs.
- Connect your air hose securely.
- Set the correct pressure with the regulator.
- Turn the compressor on and monitor the tank pressure.
- Know how to safely turn off the unit.
- Always perform basic maintenance like draining the tank.
Let’s walk through exactly how to get your Anvil air compressor ready for action, step by step.
You’ve got your Anvil air compressor, and you’re ready to tackle some projects. That’s fantastic! But before you dive in, let’s make sure you know the ropes. Getting familiar with your compressor’s setup and operation will save you time and prevent potential headaches. Think of it like learning to drive a car; you wouldn’t just hop in and hit the gas without understanding the basics, right?
Getting Your Anvil Air Compressor Ready for Action
Operating your Anvil air compressor safely and effectively involves a few key steps. We found that focusing on pre-operation checks and understanding the control panel makes a huge difference. It ensures your compressor runs smoothly and reliably for years to come.
Pre-Operation Checks: The Foundation of Success
Before you even think about plugging it in, a few quick checks will set you up for success. These aren’t complicated, but they are really important for the longevity of your compressor and the safety of your work environment.
Checking the Oil Level
Many Anvil air compressors require oil to keep the internal parts lubricated. Low oil levels can cause serious damage. You’ll typically find a sight glass or a dipstick. Make sure the oil is between the ‘min’ and ‘max’ lines. If it’s low, add the type of oil recommended in your Anvil manual. We found that keeping the oil topped up is one of the easiest ways to prevent internal wear and tear.
Inspecting the Air Filter
Your compressor breathes air, just like you do! The air filter keeps dust and debris out. A clogged filter makes your compressor work harder and can reduce its efficiency. Give it a quick look. If it looks dirty, it’s time to clean or replace it. A clean filter means better air intake and less strain on the motor.
Draining the Tank: A Crucial Step
This one is vital and often overlooked. Air compressors condense moisture from the air. This water can cause rust and damage the tank over time. Always drain the tank completely before each use, or at least at the end of the day. You’ll find a drain valve at the bottom of the tank. Open it slowly, and let all the air and moisture escape. You might hear a hiss – that’s normal!
Understanding Your Compressor’s Controls
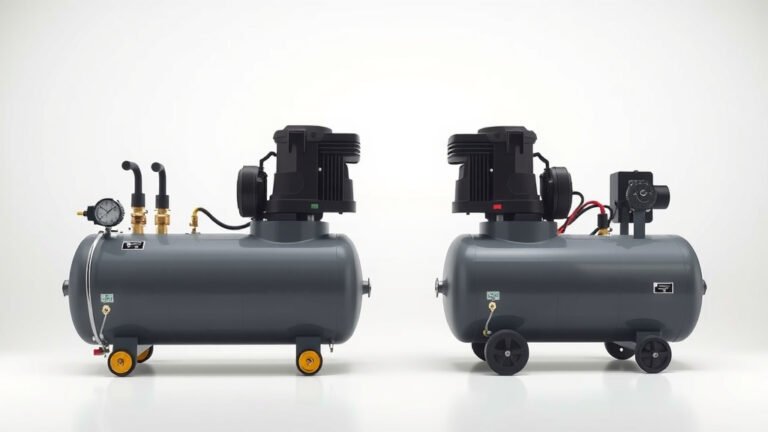
Anvil compressors have a control panel that looks a bit like a dashboard. Familiarizing yourself with these parts is key to operating your unit correctly. Most models share common features, making it easy to get the hang of it.
Pressure Gauge(s)
You’ll usually see at least one pressure gauge. This shows you the current pressure inside the tank. Some models might have a second gauge that shows the regulated output pressure. Knowing these readings helps you manage your air supply effectively for different tasks.
Pressure Regulator
This is where you set the air pressure that goes to your tool. It’s super important for getting the job done right. You turn a knob to adjust it. Turn it clockwise to increase the pressure and counter-clockwise to decrease it. We found that setting this accurately prevents tool damage and ensures optimal performance.
Air Outlet(s)
This is where you’ll connect your air hose. Make sure the connection is secure. Some compressors have multiple outlets, which can be handy if you need to power more than one tool (though usually only one at a time). Always check your manual to see if your model supports multiple simultaneous tool usage.
On/Off Switch
Simple enough, right? This switch powers your compressor. Some might be a simple toggle, while others are more robust buttons. Always ensure it’s in the ‘off’ position before plugging in or unplugging the unit.
How to Actually Use Your Anvil Air Compressor
Now that you’ve done your checks and understand the controls, let’s get this thing running! It’s a straightforward process, and you’ll be using compressed air in no time.
Connecting Your Air Hose and Tools
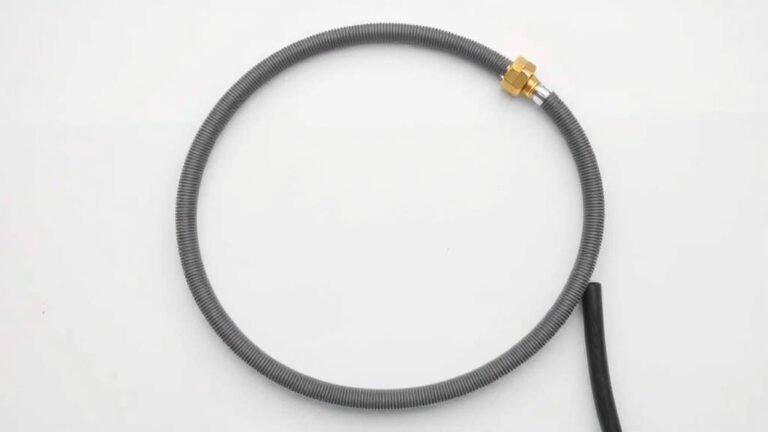
First, make sure your compressor is turned off and unplugged. Attach your air hose to the compressor’s outlet fitting. Use a good quality hose and ensure the **coupler is secure**. Then, connect your air tool to the other end of the hose. A quick “tug test” on both connections will give you peace of mind.
Setting the Right Pressure (PSI)
This is where the regulator comes in. Your air tool will have a recommended operating pressure, often listed in PSI (pounds per square inch). You can find this in your tool’s manual or sometimes printed directly on the tool itself. For example, if your nail gun needs 90 PSI, you’ll adjust the regulator accordingly. Slowly turn the regulator knob until the output pressure gauge reads your desired PSI. Remember, using too much pressure can damage your tool and your workpiece!
Starting and Monitoring the Compressor
Once everything is connected and the regulator is set, plug in your compressor and turn it on. The motor will start, and the compressor will begin filling the tank with air. You’ll hear it working. The tank pressure gauge will climb. Most Anvil compressors will automatically shut off once they reach a preset maximum tank pressure. The regulator should maintain the lower, set pressure for your tool. Keep an eye on the gauges and listen for any unusual noises. If anything seems off, turn it off immediately.
Using Compressed Air Safely
As you use your tools, the tank pressure will drop. Once it falls below a certain level, the compressor will automatically turn back on to repressurize the tank. This is normal operation. Always be aware of your surroundings. Never point an air tool at yourself or anyone else. Compressed air can cause serious injury. We found that following tool-specific guidelines is just as important as understanding your compressor.
Turning Off Your Compressor
When you’re finished with your project, turn the compressor’s main switch to the ‘off’ position. Unplug the unit. After it has cooled down a bit, remember to drain the tank again. This final drain is crucial for preventing rust and keeping your compressor in top shape for its next use. It’s a small step that makes a big difference.
Quick Checklist Before You Go:
- Check and fill the oil if needed.
- Inspect and clean the air filter.
- Always drain the tank before use.
- Connect your hose and tool securely.
- Set the regulator to the correct PSI.
- Turn on and monitor the compressor.
Conclusion
You’re now equipped to use your Anvil air compressor with confidence! We’ve walked through the essential pre-operation checks, like ensuring your oil is topped up and your tank is drained, and how to understand your compressor’s controls. Remember, proper setup and pressure adjustment are key to getting the best performance from your tools and keeping your compressor in great shape. Don’t forget that final drain after each use. Your next step is to grab your favorite air tool, connect it up, and get that project finished!
Frequently Asked Questions
How often should I drain the air compressor tank?
You should drain your Anvil air compressor tank before each use or at the very least, at the end of each workday. This is vital to remove moisture that can cause rust and damage the tank over time. It’s a simple step that greatly extends your compressor’s life.
What happens if I don’t check the oil level?
Running your Anvil air compressor with low oil can lead to serious internal damage. Lubrication is essential for moving parts to prevent excessive wear and overheating. Always check the oil level using the sight glass or dipstick before operation.
Can I use any air hose with my Anvil compressor?
It’s best to use an air hose rated for the maximum pressure your Anvil compressor can produce. Using an under-rated hose can be a safety hazard. Ensure the fittings on the hose also match the compressor’s outlet for a secure, leak-free connection.
My compressor’s motor won’t turn off. What should I do?
If your compressor’s motor doesn’t automatically shut off when the tank reaches its maximum pressure, there might be an issue with the pressure switch. Turn off the unit immediately and unplug it. Consult your Anvil manual or contact customer support for troubleshooting.
Is it okay to use a higher PSI than my tool recommends?
No, never use a higher PSI than your air tool recommends. Over-pressurizing can quickly damage the tool, causing it to malfunction or break. Always set your regulator to the PSI specified in your tool’s manual for optimal and safe operation.