Install Your Air Compressor System: A Step-by-Step Guide
Piping an air compressor system properly ensures you have reliable air for your tools and projects. This involves selecting the right pipe material, planning your layout carefully, and connecting everything securely. Getting it right means avoiding leaks and maintaining consistent air pressure.
When you set up your air lines, think about the future too. You might need to add more tools later on. Choosing durable materials and designing a system that’s easy to expand is smart. We found that many DIYers overlook the importance of proper fittings, which can lead to leaks.
- Choose the right pipe material for your needs.
- Plan your air line layout for efficiency and future expansion.
- Use appropriate fittings and sealing methods to prevent leaks.
- Consider proper filtration and moisture removal for better air quality.
- Always follow safety guidelines during installation.
Let’s walk through exactly how to pipe your air compressor system, step by step.
Setting Up Your Air Compressor Piping System
Properly piping your air compressor is key to getting reliable air where you need it. This guide will help you set up an efficient and leak-free system for your tools. We’ll cover everything from choosing the right materials to the final connections. Getting this right saves you headaches and ensures your tools perform at their best.
Choosing the Right Pipe Material for Your Air Lines
The material you choose for your air lines makes a big difference. It impacts durability, cost, and ease of installation. Let’s look at the most common options you’ll find.
Aluminum Piping
Aluminum piping is a popular choice for good reason. It’s lightweight and easy to work with. This makes installation much simpler, especially in tight spaces. It also resists corrosion, which is a plus for air systems. We found that many professional shops prefer aluminum for its balance of performance and ease of use.
Copper Piping
Copper is a classic material, known for its durability and resistance to corrosion. It’s a reliable option that can last for a very long time. However, copper can be more expensive than other materials. It also requires more skill to cut, bend, and connect properly. Soldering copper pipes needs practice and the right tools.
PEX Tubing
PEX (cross-linked polyethylene) tubing is a newer option gaining traction. It’s flexible and easier to install than rigid metal pipes. You can bend PEX around corners, reducing the need for fittings. It’s also more affordable than copper. For DIYers, PEX often means a quicker and simpler setup. We found that PEX is especially good for longer runs or when you need to navigate obstacles.
Black Iron Pipe
Black iron pipe is a traditional choice, particularly for larger industrial setups. It’s known for being incredibly strong and durable. However, it’s also heavy and can be prone to rust if not properly sealed. Installation can be more labor-intensive, requiring pipe wrenches and threading. For most home workshops, black iron might be overkill.
Planning Your Air Line Layout for Efficiency
A well-planned layout is essential for consistent air pressure and easy expansion. Think about where your compressor will be and where you’ll use your tools most often.
The Main Distribution Line
Your main line should run from the compressor and distribute air to different areas of your shop. Many experts recommend running this line overhead. This helps keep moisture and oil from collecting in the line. It allows them to drain back towards the compressor or into a collection point. A loop design is often best. This ensures air can reach tools from multiple directions.
Branch Lines to Workstations
Branch lines connect your main distribution line to individual workstations or tool drops. Keep these lines as short and direct as possible. Longer lines can lead to pressure drops. Consider where you’ll need air the most. Plan for quick-disconnect fittings at each point of use. This makes it easy to connect and disconnect your air tools.
Considering Future Expansion
It’s wise to plan for the future. You might want to add more tools or expand your workspace later. When planning your layout, leave some extra capacity. If you’re using a loop system, make sure it’s easy to add new drops. Using modular piping systems can also help with future additions. We found that anticipating future needs saves a lot of rework.
Connecting Your Air Lines with the Right Fittings and Sealants
The connections are where most air leaks happen. Using the correct fittings and sealants is non-negotiable for a leak-free system.
Types of Fittings
Fittings are the connectors that join your pipes and allow for changes in direction or size. Common types include:
- Couplings: Join two pieces of pipe together.
- Elbows: Change the direction of the pipe run (90-degree or 45-degree).
- Tees: Create a branch line off the main line.
- Adapters: Connect pipes of different sizes or thread types.
Always use fittings designed for compressed air systems. Make sure the thread type matches your chosen piping material (e.g., NPT for most US systems). We found that using mismatched fittings is a common mistake.
Sealing Your Connections
Once you have the right fittings, you need to seal them to prevent leaks. The two most common methods are PTFE tape (Teflon tape) and pipe dope.
- PTFE Tape: Wrap the male threads several times, in the direction of the threads. It creates a tight seal when the fitting is tightened.
- Pipe Dope: This is a paste applied to the male threads. It fills any small gaps and hardens to create a seal.
Many professionals recommend using both PTFE tape and a bit of pipe dope for critical connections. This offers a double layer of protection. Remember to always tighten fittings securely, but avoid over-tightening, which can damage the threads.
Incorporating Air Filtration and Moisture Removal
Clean, dry air is vital for the longevity of your tools and the quality of your work. Your compressor will naturally produce moisture and can pick up oil and contaminants.
The Importance of Dry Air
Moisture in your air lines can cause rust inside your pipes and damage sensitive air tools. Many tool manufacturers specify that air should be dry. For example, the U.S. Department of the Army’s technical manual on compressed air systems notes the importance of moisture removal (Department of the Army, TM 5-692).
Installing Air Filters and Dryers
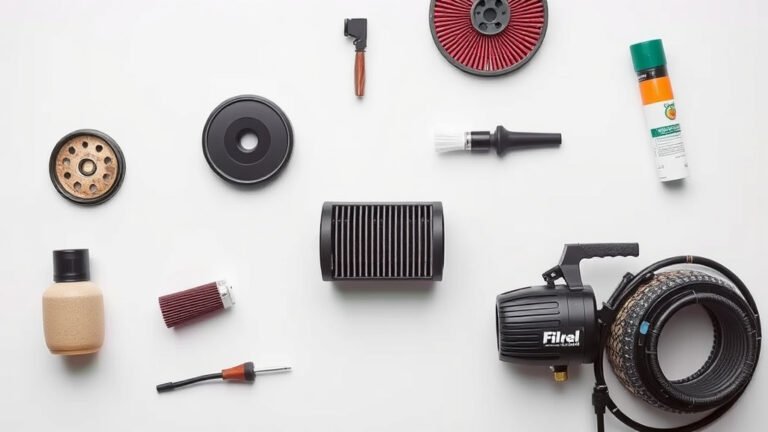
You can install filters and dryers at a few key points. A good spot is right after the compressor to remove bulk moisture and oil. You can also place them at the end of your distribution line, near your tools. Various types of filters are available, from simple particulate filters to desiccant dryers that remove almost all moisture.
Safety First: Important Installation Practices
Working with compressed air systems involves pressure, so safety is paramount. Always follow recommended guidelines.
Pressure Ratings and Blow-off Valves
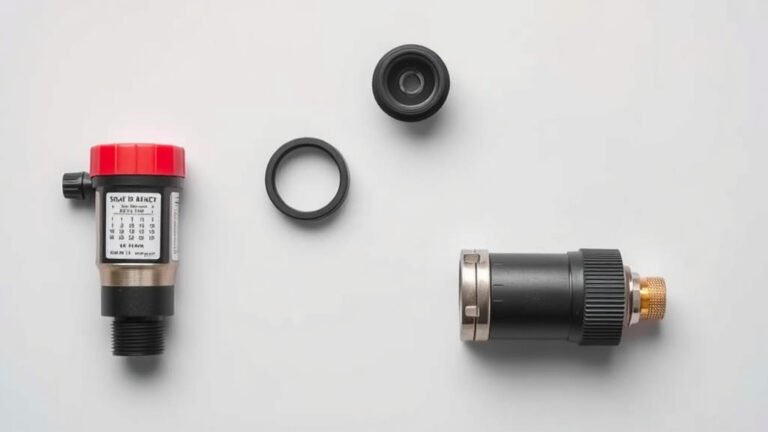
Ensure all components, including pipes, fittings, and regulators, are rated for the maximum pressure your compressor can produce. Install safety relief valves on your system. These devices will automatically vent excess pressure if something goes wrong. Many safety standards require this (OSHA). They act as a critical safeguard. For fine-tuning your system’s operation, learning how to adjust the pressure switch is a valuable skill.
Secure Mounting and Support
Support your piping system properly. Use hangers or clamps to secure the lines to walls or ceilings. This prevents sagging and reduces stress on the connections. Loose pipes can vibrate and eventually lead to leaks or even failure.
Leak Testing Your System
After installation, it’s crucial to test for leaks. Pressurize your system and use a spray bottle filled with soapy water. Spray all connections, fittings, and potential weak points. If you see bubbles forming, you have a leak. Mark the spot and tighten or reseal as needed. You might need to repeat this process a few times.
Checklist for a Successful Installation:
- Use the correct pipe material.
- Plan your layout logically.
- Select compatible fittings.
- Apply thread sealant properly.
- Test for all air leaks.
- Support pipes securely.
Conclusion
You’ve now got a solid plan for piping your air compressor system. Remember, choosing the right pipe material, planning your layout for efficiency, and sealing connections properly are key. Don’t forget about air quality with filters and dryers. Following safety guidelines ensures your system is reliable and safe for years to come. Your next step? Gather your materials and start installing, or plan out the specific layout for your workshop’s unique needs.
Frequently Asked Questions
What is the best pipe material for a home workshop air compressor system?
For most home workshops, aluminum piping or PEX tubing are excellent choices. Aluminum is lightweight and easy to work with, while PEX is flexible and very DIY-friendly. Black iron is strong but often too heavy and difficult for home use, and copper can be costly and requires more skill.
Should I run my main air line overhead or along the floor?
Running your main distribution line overhead is generally recommended. This position helps gravity work in your favor, allowing moisture and oil to drain back towards the compressor or into a collection point, rather than pooling in your lines and tools. This keeps your air cleaner and drier.
How many air filters do I really need in my system?
You should at least consider a filter right after your compressor to catch initial moisture and oil. Placing additional filters or dryers at the end of your main line, or near critical workstations, is also highly beneficial. This ensures the air reaching your tools is as clean and dry as possible.
Is it okay to use different types of fittings on my air lines?
No, it’s best to stick to one type of fitting system, like NPT (National Pipe Taper), and ensure they are compatible with your chosen pipe material. Mixing fittings can lead to leaks and connections that don’t seal properly. Always use fittings designed for compressed air.
How often should I check for air leaks in my new system?
You should perform an initial leak test immediately after installation using soapy water. After that, it’s good practice to re-check for leaks periodically, perhaps every few months, or whenever you notice a drop in pressure. Small leaks can grow over time and waste a lot of air and energy.