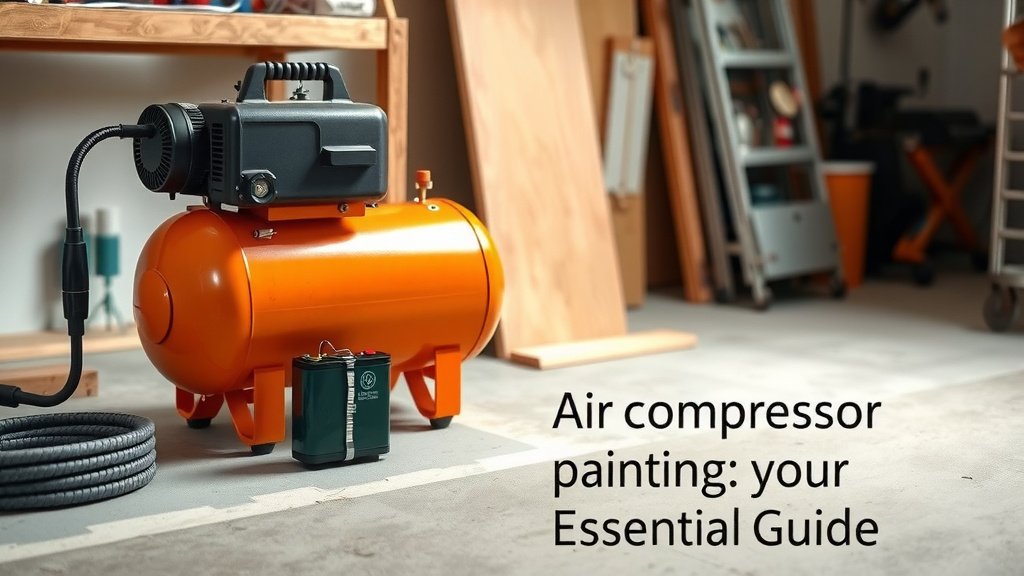
Air Compressor Painting: Your Essential Guide
Yes, you can absolutely use an air compressor for painting, and it’s a fantastic way to achieve a **professional finish**. When paired with the right spray gun, an air compressor delivers a **consistent spray pattern** that paints and finishes can’t match. This method is ideal for everything from furniture to vehicles.
Using an air compressor for painting involves understanding a few key components. You’ll need to set the correct **air pressure** and know how to **adjust your spray gun**. This setup allows for much finer control than traditional methods. Many DIYers and pros alike swear by this technique for its **speed and quality**.
- Set the right air pressure for your paint.
- Choose the correct spray gun tip size.
- Maintain consistent movement for an even coat.
- Clean your equipment thoroughly after use.
Ready to get started with your painting project? Let’s walk through exactly how to use your air compressor to get that smooth, beautiful finish you’re looking for.
Getting Started with Air Compressor Painting
Using an air compressor for painting is a **game-changer** for achieving smooth, professional results. It allows you to apply paint evenly and quickly. This guide will walk you through the essential steps. We’ll cover everything from setup to technique so you can tackle your painting projects with confidence.
Choosing the Right Air Compressor for Painting
Not all air compressors are created equal when it comes to painting. You need a compressor that can deliver consistent air pressure and volume. This is often measured in Cubic Feet per Minute (CFM) and Pounds per Square Inch (PSI).
Understanding CFM and PSI
CFM tells you how much air the compressor can deliver. A higher CFM is generally better for painting. It ensures your spray gun receives enough air to atomize the paint properly. PSI refers to the pressure. You’ll adjust this to match your specific paint and spray gun.
Compressor Size Matters
For most DIY painting tasks, a compressor with at least 5 CFM at 90 PSI is recommended. Larger projects, like painting a car or a whole house, might require a higher CFM. Always check the requirements of your spray gun. The spray gun manufacturer will specify the necessary CFM and PSI. It’s better to have a compressor that’s slightly too big than one that’s too small. An undersized compressor will struggle to keep up, leading to inconsistent spray patterns and a frustrating experience. To understand compressor capabilities, learn about the difference between a 1-gallon vs 2-gallon air compressor.
Essential Spray Gun and Accessory Selection
Your spray gun and accessories are just as important as the compressor itself. They work together to create that beautiful finish you’re aiming for. Think of it like a conductor leading an orchestra – the compressor provides the power, but the spray gun performs the music.
Types of Spray Guns
There are a few main types of spray guns you might encounter:
- Gravity Feed Spray Guns: These are very popular. They have a cup on top that feeds paint down to the nozzle by gravity. They are efficient and use less paint.
- Siphon Feed Spray Guns: The paint cup is below the gun. The compressor creates a vacuum that siphons paint up into the gun. They can handle thicker materials but might use more air.
- Pressure Feed Spray Guns: These use pressure from both the compressor and a separate pressure pot to push paint through the gun. They are great for large jobs and consistent delivery.
For general DIY use, a gravity feed HVLP (High Volume Low Pressure) spray gun is often the best choice. They offer excellent control and transfer efficiency, meaning more paint lands on your surface and less is wasted in the air. This is important for both cost savings and reducing overspray.
Nozzle Size and Paint Viscosity
The nozzle or tip size of your spray gun is critical. It needs to match the viscosity of your paint. Thicker paints require larger tips. Thinner paints can use smaller tips. Many paint manufacturers provide recommendations for tip size. You can also find charts online that suggest tip sizes based on paint type and viscosity.
Paint viscosity is how thick or thin your paint is. You’ll often need to thin your paint to the correct consistency for spraying. A viscosity cup is a handy tool for measuring this. You simply fill the cup with paint and time how long it takes to drain. This measurement helps you achieve a consistent spray pattern.
Air Filters and Regulators
These are non-negotiable accessories. An air filter removes moisture and oil from the compressed air. This prevents them from contaminating your paint job, which can ruin a finish. A good filter ensures clean, dry air reaches your spray gun. A regulator allows you to precisely control the air pressure. You’ll set this to the optimal PSI for your paint and spray gun. Many compressors have built-in regulators, but an inline regulator near the spray gun offers more precise control.
Setting Up Your Air Compressor for Painting
Once you have your equipment, it’s time to set it up. Proper setup is key to a smooth painting process.
Connecting Your Equipment
You’ll connect your air hose to the compressor outlet. Then, connect the hose to your air regulator and filter assembly. Finally, attach your spray gun to the filter assembly. Ensure all connections are secure. Leaky connections waste air and can cause pressure drops.
Determining the Right Air Pressure (PSI)
This is where your regulator shines. The correct PSI depends on several factors:
- Your Spray Gun: Always consult your spray gun’s manual. It will specify an operating PSI range.
- Your Paint: Different paints and thinners require different pressures.
- Your Desired Finish: Sometimes, a slightly higher or lower pressure can affect the spray pattern.
A common starting point for many HVLP guns is between 25-40 PSI. You’ll likely need to experiment a bit. Start at the lower end of the recommended range and gradually increase the pressure while testing the spray pattern on a scrap piece of material. You’re looking for an even, atomized spray. If the paint comes out in splatters, the pressure might be too low. If the spray pattern is too wide and misty, the pressure might be too high.
Checking and Adjusting Airflow (CFM)
While you set the PSI on the regulator, your compressor’s overall CFM output is still important. If your compressor can’t keep up, the tank pressure will drop. This will lead to inconsistent spraying. Listen to your compressor. If it’s running constantly and struggling to maintain pressure, it might be undersized for the job. Many spray guns also have an air cap that you can adjust. This controls the shape and fan pattern of the spray.
The Painting Process: Techniques for Success
Now for the fun part – actually painting! Your technique makes a huge difference in the final outcome.
Achieving a Consistent Spray Pattern
The goal is an even, consistent coat. Here’s how to get it:
- Maintain Distance: Hold the spray gun at a consistent distance from the surface. Typically, this is 6-10 inches.
- Perfect Your Stroke: Start your spray stroke before the object and release the trigger after you pass the object. This prevents heavy spots at the beginning and end of each pass.
- Move with Your Arm: Move your entire arm, not just your wrist. This ensures a steady, level stroke.
- Overlap Your Passes: Each spray pass should overlap the previous one by about 50%. This ensures complete coverage without thick or thin lines.
Think of it like mowing a lawn. You want each strip to seamlessly connect to the next. This prevents missed spots and an uneven appearance.
Controlling Overspray
Overspray is paint that doesn’t land on your surface. It’s wasted paint and can create a mess. Using an HVLP spray gun helps significantly. Proper thinning of your paint also reduces overspray. Masking off surrounding areas is essential. Use painter’s tape and plastic sheeting to protect anything you don’t want painted. Consider the direction of the airflow in your work area. You want to spray in a way that directs overspray away from you and clean areas.
Aftercare: Cleaning Your Equipment is Key
Proper cleaning is one of the most important, yet often overlooked, steps. If you don’t clean your spray gun and compressor components properly, they will clog up. This can lead to future spraying problems and costly repairs.
Cleaning Your Spray Gun Immediately
As soon as you finish painting, clean your spray gun. Disassemble it according to the manufacturer’s instructions. Use the recommended cleaner for your paint type (water for latex, lacquer thinner for lacquers, etc.). Make sure to clean the fluid needle, nozzle, and air cap thoroughly. Any dried paint can affect its performance next time. Many experts recommend using a spray gun cleaning kit for this purpose (Mayo Clinic).
Maintaining Your Air Compressor and Hoses
Drain the air tank of your compressor after each use. This removes accumulated moisture. Check and clean or replace your air filters regularly. Inspect air hoses for any damage or leaks. Keeping your equipment in top shape ensures it’s ready for your next project and performs reliably.
Quick Equipment Checklist
Before you store your gear, run through this quick checklist:
- Spray gun: Cleaned and dried thoroughly?
- Air cap and nozzle: Free of paint clogs?
- Air lines: Drained of moisture?
- Filters: Cleaned or replaced as needed?
- Storage: All parts stored safely and protected?
Conclusion
You’ve learned how using an air compressor for painting can transform your projects with professional-quality finishes. Remember, the right compressor size, spray gun selection, and precise setup are your keys to success. Mastering techniques like consistent distance and overlapping strokes will ensure even coverage. Don’t forget that immediate, thorough cleaning of your equipment is vital for longevity and future performance. Ready to achieve that smooth, flawless look? Your next step is to gather your chosen equipment and practice your spray pattern on scrap material before tackling your main project.
Frequently Asked Questions
What’s the minimum compressor size I need for painting furniture?
For painting furniture, a compressor with at least 5 CFM at 90 PSI is generally recommended. This ensures enough consistent airflow for most HVLP spray guns. Always check the specific CFM requirements of your spray gun to be sure.
How do I know if my paint is too thick or too thin for spraying?
You can use a viscosity cup to measure your paint’s thickness. If the paint drains too slowly, it’s likely too thick and needs thinning. If it drains too quickly, it might be too thin and could lead to runs or poor coverage.
Is it okay to use my compressor’s built-in regulator for painting?
A built-in regulator is a good start, but an inline regulator closer to your spray gun offers more precise control. This helps maintain a stable PSI, which is essential for consistent paint atomization and spray patterns.
How often should I drain the moisture from my air compressor tank?
You should drain the moisture from your air compressor tank after every use. Compressed air naturally condenses moisture, and this water can contaminate your paint job, causing imperfections like blisters or poor adhesion.
Can I paint exterior surfaces with an air compressor?
Yes, air compressors are excellent for exterior painting projects like fences, decks, or even houses. Just ensure your compressor has sufficient CFM for the larger surface area and the type of paint you’re using. Also, be mindful of wind conditions and overspray.