How to Change Air Compressor Attachments Easily
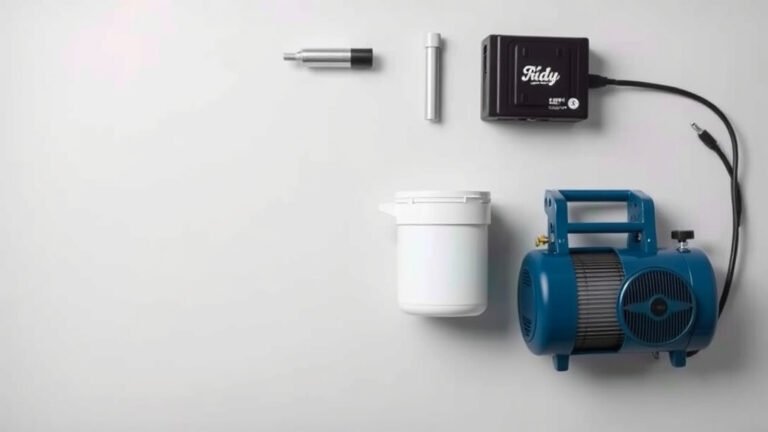
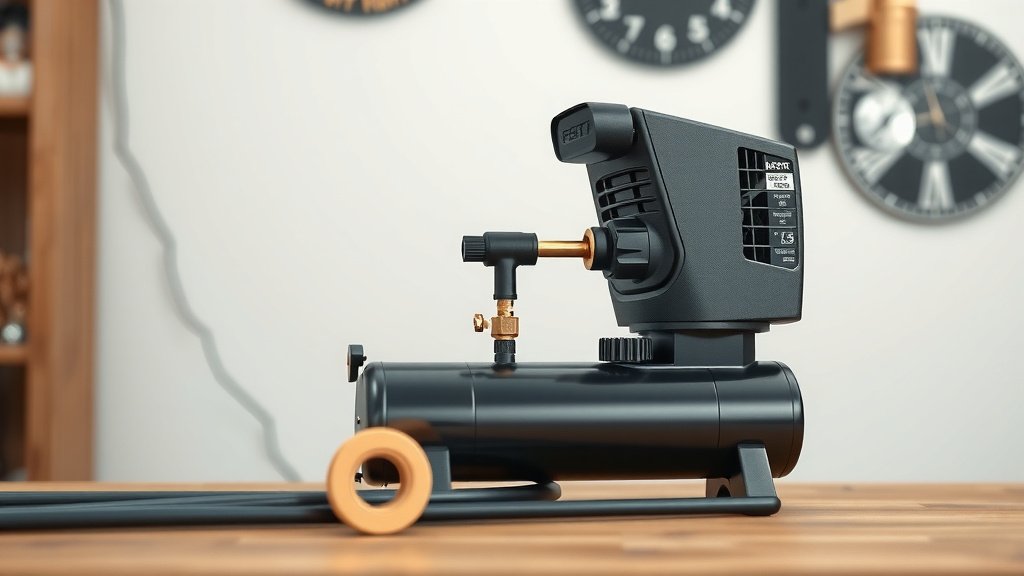
Changing air compressor attachments is a simple process that can save you time and effort. To switch attachments, you’ll first need to turn off and unplug your air compressor. Then, simply twist and pull the old attachment off its hose or tool fitting, and firmly push and twist the new one into place until it clicks or feels secure. This quick changeover means you can get back to your project without missing a beat. This quick changeover means you can get back to your project without missing a beat. If you need to assemble air compressor accessories, our guide explains how.
Knowing how to properly swap out your air compressor’s tools is essential for efficient work. Whether you’re moving from an inflation needle to a blow gun or a spray gun, the core steps remain consistent across most common fittings. Ensuring a secure connection prevents air leaks and potential safety hazards, making your tasks smoother and safer. Many users find this basic maintenance skill incredibly useful.
- Turn off and unplug your compressor.
- Remove the old attachment by twisting and pulling.
- Attach the new one by pushing and twisting until it’s secure.
- Always ensure a tight fit before turning the compressor back on.
Ready to get your hands dirty? Let’s walk through the easy steps to change your air compressor attachments so you can get back to what matters most – finishing your job!
Swapping Out Your Air Compressor Attachments: A Quick Guide
Changing the tool on your air compressor hose is easier than you might think. It’s like switching out a drill bit. You’ll want to ensure you have the right connection type. Most air compressors use standard fittings. This makes swapping tools a breeze. Let’s get you up to speed on how to do it right.
Safety First: Always Disconnect Power
Before you do anything, you absolutely must disconnect the air compressor from its power source. This means unplugging it from the wall outlet. If you have a gas-powered compressor, ensure the engine is off and has cooled down. Releasing any stored air pressure is also a critical step. This prevents accidental tool activation or sudden air bursts. Safety is the number one priority here.
Releasing Stored Air Pressure
Your air compressor stores pressurized air. You need to let this pressure out before changing any attachments. Most compressors have a regulator knob. Turning this knob counter-clockwise can help reduce pressure. Some larger compressors might have a separate bleed valve. You should hear a hiss as the pressure releases. Wait until the gauge reads zero. This step is vital for your safety.
Identifying Your Air Compressor Fittings
Air compressors use different types of fittings. Understanding these will help you make sure your new attachment is compatible. The most common type is the industrial I/M style coupler. This is often seen on professional-grade equipment. Another common type is the automotive or ARO style. These are usually found on lighter-duty compressors.
Quick-Connect Couplers: The Most Common Type
The vast majority of modern air compressors use quick-connect couplers. These are designed for speed and ease of use. You’ll recognize them by the sleeve on the male end of the hose fitting. To disconnect, you usually pull back this sleeve. Then, the attachment detaches. To connect, you simply push the male end into the coupler until it clicks. We found that most home users will encounter these.
How to Identify Your Quick-Connect Type
Most residential and light-duty compressors use 1/4-inch automotive-style quick couplers. Heavy-duty or industrial compressors often use larger 1/4-inch or 3/8-inch industrial-style couplers. The industrial style has a slightly different sleeve design. It’s often a bit bulkier. Researching your specific compressor model can help. You can also compare it to images online. Getting the correct fitting is key.
Threaded Fittings: Less Common but Still Used
Some older or specialized air compressors might use threaded fittings. These require you to screw the attachment onto the hose or tool. It’s similar to screwing on a garden hose. You’ll need to make sure you have the right thread size and type. NPT (National Pipe Thread) is common in the US. Always ensure a tight seal to prevent leaks.
The Step-by-Step Process for Changing Attachments
Now that you’re powered down and know your fittings, let’s get to the actual change. It’s a straightforward process that takes only a minute. Think of it as a quick pit stop for your tools.
Disconnecting the Old Attachment
With power off and pressure released, grab the old attachment you want to remove. For quick-connect couplers, grasp the coupler body with one hand. With your other hand, pull back the sleeve on the coupler. The attachment should slide out easily. If it’s stuck, a gentle wiggle might help. For threaded fittings, simply unscrew the attachment counter-clockwise. Make sure you have a firm grip. You don’t want it slipping.
Connecting the New Attachment
Take your new attachment. If it has a male fitting, line it up with the coupler on your hose. For quick-connects, simply push the male end firmly into the coupler. You should feel and hear it click into place. This means it’s securely locked. For threaded fittings, carefully align the threads. Screw the attachment on clockwise. Tighten it snugly by hand. You don’t need excessive force. A secure connection is what you’re aiming for.
Ensuring a Secure Connection
Once the new attachment is on, give it a gentle tug. It should feel solid and not wobble. For quick-connects, ensure the sleeve has returned to its locked position. For threaded fittings, check that it’s screwed on straight and feels tight. A loose connection can lead to air leaks. This wastes air and reduces your tool’s effectiveness. It can also be a safety hazard if a tool comes loose.
Common Air Compressor Attachments and Their Uses
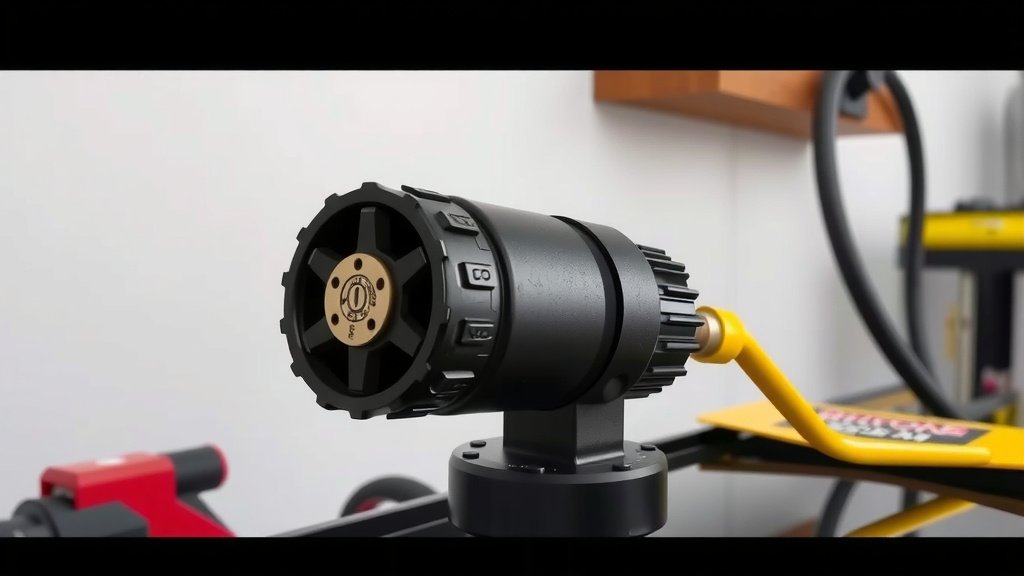
Knowing how to swap attachments is great, but what are you swapping *to*? Here are a few common ones:
- Tire Inflator with Gauge: For checking and adjusting tire pressure.
- Blow Gun: To clear dust, debris, or sawdust from surfaces or tools.
- Spray Gun: For painting or applying finishes to projects.
- Air Duster: Similar to a blow gun but often with a more focused nozzle.
- Chisel Scaler: Used for removing rust, paint, or scale from metal surfaces.
Troubleshooting Common Connection Issues
Sometimes, things don’t connect as smoothly as you’d like. Don’t worry, these issues are usually easy to fix.
Attachment Won’t Connect or Disconnect
If a quick-connect coupler is proving stubborn, check for debris. Small bits of dirt or rubber can get lodged in the mechanism. Blow out the coupler with a bit of air or use a small brush. If an attachment is stuck, try spraying a little lubricant (like WD-40) into the mechanism and let it sit for a few minutes. For threaded fittings, ensure you’re not cross-threading. Align the threads carefully before turning. If it feels like you’re forcing it, stop and try again.
Air Leaks After Connection
Air leaks are usually a sign of a poor connection. First, double-check that the attachment is fully seated or tightened. For quick-connects, make sure the locking sleeve is engaged. For threaded fittings, you might need to add plumber’s tape (PTFE tape) to the threads. This helps create a tighter seal. Many experts recommend using tape on threaded connections. Wrap it around the threads clockwise, several times.
Table: Quick-Connect Coupler Types Compared
| Coupler Type | Common Use | Connection Method |
|---|---|---|
| Industrial I/M (1/4″ or 3/8″) | Heavy-duty, professional use | Pull-back sleeve, push-to-connect |
| Automotive/ARO (1/4″) | Light-duty, DIY, auto repair | Pull-back sleeve, push-to-connect |
| Tire Inflation (various) | Tire gauges, inflators | Screw-on or push-on chuck |
Checklist: Your Attachment Swap Quick-Start Guide
Follow these quick steps every time you change an attachment:
- Power Down: Unplug your compressor.
- Bleed Air: Release all stored pressure.
- Inspect: Check fittings for dirt or damage.
- Connect Firmly: Push or screw until secure.
- Gentle Tug: Ensure the attachment is locked.
- Test (Briefly): A quick burst of air to confirm no leaks.
Conclusion
You’ve now got the straightforward know-how to switch your air compressor attachments like a pro. Remember, safety comes first by always powering down and releasing pressure. Identifying your fitting type, whether it’s a quick-connect or threaded one, ensures a smooth connection. A firm push or twist, followed by a gentle tug, confirms a secure link. This simple skill will save you time and frustration, letting you tackle your projects more efficiently. Next time you need to swap tools, you’ll do it with confidence and speed!
Frequently Asked Questions
How do I know if my air compressor attachment is compatible?
Check the coupler type on your air compressor hose and the fitting on your attachment. Most home compressors use 1/4-inch automotive-style quick couplers. Industrial units often use a slightly larger or differently shaped industrial-style coupler. Comparing them visually or checking your compressor’s manual will confirm compatibility.
What if a quick-connect coupler is stuck and won’t release the attachment?
A stubborn quick-connect often has debris or grime in the mechanism. Try cleaning it out with a blast of air or a small brush. If it’s still stuck, a tiny bit of penetrating lubricant applied to the sleeve can help free it up. Wiggle the attachment gently while pulling back the sleeve.
Can I use plumber’s tape on all air compressor fittings?
Plumber’s tape, or PTFE tape, is primarily used for threaded fittings to create a better seal. Quick-connect couplers do not have threads, so tape is not needed or helpful for them. For threaded connections, wrap the tape clockwise around the male threads several times before screwing them together.
How much air pressure should be in the compressor before I change attachments?
You should always aim to release all stored air pressure before changing attachments. The pressure gauge on your compressor should read zero. This prevents any accidental air discharge and ensures your safety during the swap.
What’s the difference between an industrial and an automotive air coupler?
While both are often 1/4-inch and use a pull-back sleeve design, industrial couplers are typically more robust and can sometimes handle higher airflow. Automotive couplers are common on lighter-duty compressors and might have a slightly different sleeve shape or feel. They are designed for less demanding, more frequent swapping.