Add a Storage Tank to Your Air Compressor: A Simple Guide
Yes, you can absolutely add a storage tank to your existing air compressor. This is a smart move to increase your air supply. It helps prevent your compressor motor from constantly running. You’ll enjoy a more consistent airflow for your tools.
Adding a larger tank means you’ll have a bigger reserve of compressed air ready to go. Many DIYers and professionals find this a cost-effective upgrade. It dramatically improves your compressor’s utility for demanding jobs. You’ll spend less time waiting for pressure to build.
- You can add a storage tank to most air compressors.
- This gives you a larger air reserve.
- It prevents your compressor from cycling too often.
- You get more consistent air pressure for tools.
- It’s often a budget-friendly upgrade.
Let’s walk through exactly how you can add a storage tank to your air compressor, step by step.
You’re likely here because your current air compressor struggles to keep up. You run out of air too quickly. Your tools sputter. It’s frustrating, right? The good news is you don’t need a whole new, bigger compressor. You can easily add an auxiliary storage tank to your existing setup. This is a fantastic way to boost your compressed air capacity. It’s often simpler than you might think.
Boosting Your Air Supply: Adding an External Tank
Adding an external tank to your air compressor is a smart upgrade. It gives your compressor a larger “air bank.” This means more air is available when you need it. It also lets your compressor motor rest more. You’ll enjoy longer run times for your tools. Let’s get into the specifics of how you can do this.
Understanding the Basics: How it Works
Think of your air compressor like a pump. It fills a tank with air. An external tank acts like a second, larger tank. The compressor still does the work of filling. It just has more space to store that air. This extra storage prevents your compressor from constantly cycling on and off. You get a steadier air supply. This is especially helpful for tools that use a lot of air.
What You’ll Need: Gathering Your Supplies
Before you start, you need to gather your parts. Getting the right components ensures a smooth installation. You don’t want to get halfway through and realize you’re missing something.
The New Storage Tank
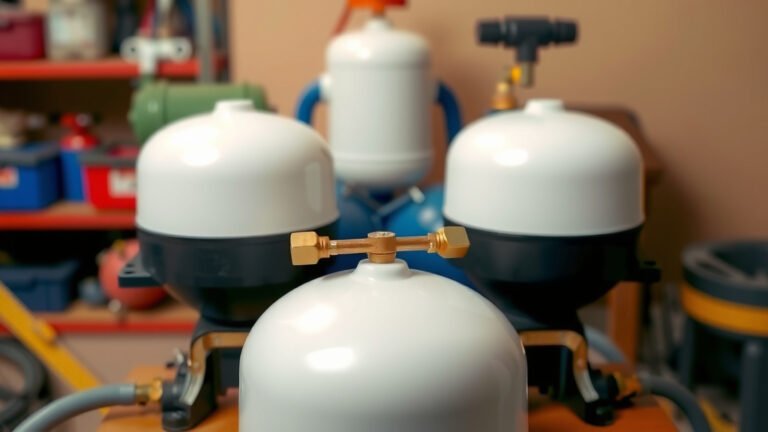
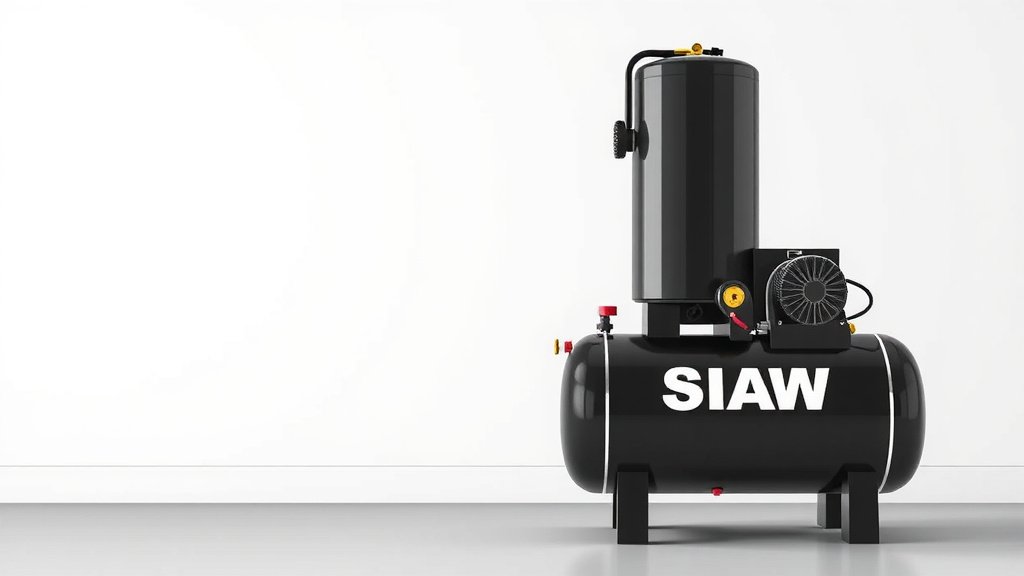
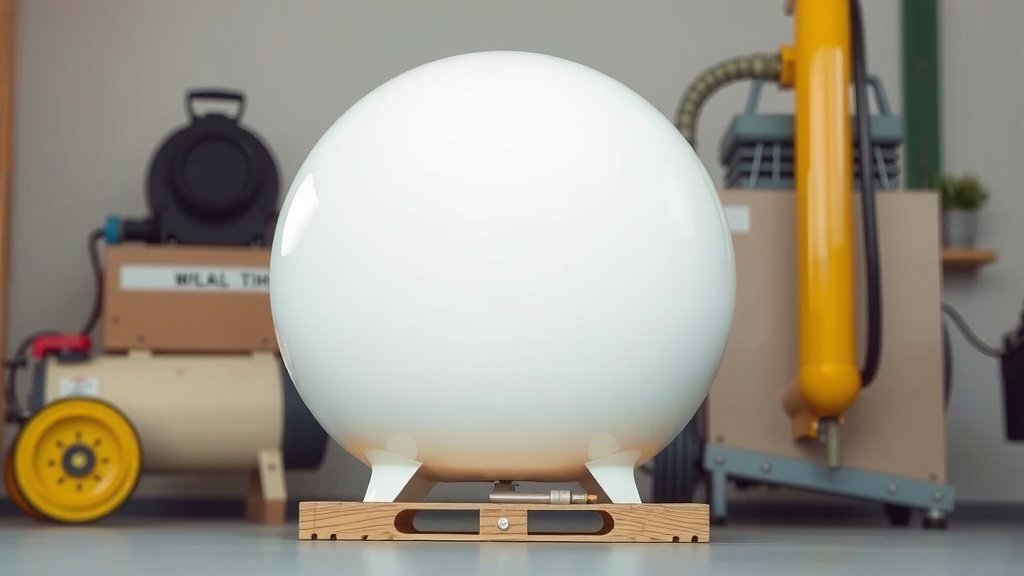
You’ll need a separate air receiver tank. These come in various sizes. A good rule of thumb is to choose a tank that’s at least as big as your current compressor’s tank. Many people opt for one twice the size or larger. This gives you a substantial air reserve. Look for tanks designed for compressed air storage. They are built to handle the pressure safely. Our guide to 1-gallon vs 2-gallon air compressors can help you choose the right size.
Plumbing and Fittings
You’ll need flexible air hose or pipe. This connects your compressor’s outlet to the new tank. You’ll also need fittings. These connect the hose to both tanks and any safety valves. Common sizes include 1/2 inch or 3/4 inch. Check the outlet port size on your compressor. Ensure your fittings match this. Brass fittings are a good choice. They are durable and resist corrosion.
Safety Features
Safety is key. You absolutely need a pressure relief valve. This valve releases excess pressure if something goes wrong. It’s a non-negotiable safety item. You’ll also want a pressure gauge on the new tank. This lets you monitor the air pressure. Some tanks come with these already installed.
Tools
You’ll need basic tools. This includes pipe wrenches or adjustable wrenches. You might need a pipe cutter if you’re using rigid pipe. Teflon tape or pipe sealant is essential for creating leak-proof connections. A drill might be needed if you have to mount the tank.
Step-by-Step Installation Guide
Now, let’s get to the actual installation. We’ll break it down into manageable steps. Take your time and double-check each connection.
Step 1: Disconnect Power and Depressurize
This is the most important first step. Always disconnect the power supply to your compressor. Then, safely release all existing air pressure from your compressor’s tank. You don’t want any stored air while you’re working. Accidental pressure release can be dangerous. Verify there’s no pressure left before proceeding.
Step 2: Locate the Compressor Outlet
Find where the compressed air leaves your original tank. This is usually a port with a shut-off valve. This is where you’ll connect your new hose. Make sure this valve is closed. This prevents air from escaping when you disconnect any existing lines.
Step 3: Connect the New Tank
You’ll connect a flexible hose from your compressor’s outlet port to the inlet port of your new storage tank. Use fittings and Teflon tape or pipe sealant for all connections. Ensure they are snug but don’t overtighten. Overtightening can damage threads. Research suggests Teflon tape provides a better seal on most pipe threads (National Pipe Thread – NPT).
Here’s a quick look at the connection points:
| Component | Purpose | Connection Point |
|---|---|---|
| Compressor Outlet | Where compressed air exits | Original tank’s output port |
| Flexible Hose | Transfers air | Connects compressor outlet to new tank inlet |
| New Storage Tank Inlet | Where air enters the new tank | Side or top port on the new tank |
| Safety Relief Valve | Emergency pressure release | Installed on the new tank |
| Pressure Gauge | Monitors air pressure | Installed on the new tank |
Step 4: Install Safety Features on the New Tank
Install your new pressure relief valve and pressure gauge onto the new tank. Screw them into the designated ports. Make sure the relief valve is set to a safe pressure. This should be at or below the maximum working pressure of your compressor’s tank and the new tank. Many experts recommend setting it slightly below the lowest rated component’s pressure.
Step 5: Leak Check and Testing
Once everything is connected, slowly open the valve on your compressor’s tank. Let the compressor run. Listen for any hissing sounds. These indicate leaks. If you hear any, shut off the compressor immediately. Tighten the leaking connection and test again. Repeat until all connections are leak-free.
Step 6: Final Check
Once you’ve confirmed no leaks, let the compressor fill both tanks. Monitor the pressure gauge on the new tank. Ensure it reaches your desired operating pressure. Your compressor will automatically shut off when it reaches its maximum pressure setting. You now have a larger air reserve!
Important Considerations for a Safe Setup
Adding a tank involves working with compressed air. Safety should always be your top priority. Don’t cut corners on safety equipment or proper installation techniques.
Tank Ratings and Pressure
Always ensure your new storage tank is rated for the pressure you intend to use. Air receiver tanks have a maximum working pressure. Exceeding this can be extremely dangerous. Many DIY tanks are rated for 150 PSI. Check your compressor’s output pressure. A safety relief valve is your last line of defense against over-pressurization, as recommended by OSHA standards for compressed air systems.
Hose and Fitting Durability
Use hoses and fittings rated for compressed air. Standard garden hoses or plumbing pipes not designed for pressure can burst. Look for items specifically labeled for compressed air use. These are built to withstand the demands of an air compressor system.
Making the Most of Your New Air Reserve
With your new, larger tank, you’ll notice a difference. Your compressor motor won’t run as often. This can extend its lifespan. You’ll have longer run times for tools like impact wrenches or sanders. This upgrade is a budget-friendly way to get more out of your existing equipment. You’ll spend less time waiting and more time working. It’s a win-win for your projects!
Quick Checklist for Your Installation
- Verify compressor power is off.
- Ensure all pressure is released.
- Gather all necessary fittings and hoses.
- Install a safety relief valve.
- Perform a thorough leak check.
- Use Teflon tape or sealant on all threads.
Conclusion
You’ve learned how adding an external storage tank can significantly boost your air compressor’s performance. This upgrade provides a larger air reserve, reducing motor strain and ensuring a more consistent airflow for your tools. By following the steps for gathering supplies, making connections, and prioritizing safety features like relief valves, you can successfully expand your compressed air capacity. This is a smart, cost-effective way to get more out of your existing compressor. Take the plunge and enjoy the benefits of a bigger air supply for all your projects!
Frequently Asked Questions
Can I use any old tank for a compressed air storage tank?
No, it’s crucial to use a tank specifically designed for compressed air storage. These air receiver tanks are built to safely withstand the high pressures involved. Using an unsuitable tank, like a propane tank, is extremely dangerous and can lead to catastrophic failure. Always check the tank’s maximum working pressure rating.
What size storage tank should I get?
A good starting point is to choose a tank that’s at least as large as your current compressor’s tank. Many users find that a tank twice the size or larger provides a noticeable improvement. Consider the types of tools you use most often and how much air they consume. A larger tank means longer run times before your compressor needs to cycle back on.
Do I really need a separate pressure relief valve if my compressor already has one?
Yes, you absolutely do. Your new storage tank needs its own safety relief valve. This acts as a crucial backup safety measure in case the primary valve on your compressor fails or if the new tank is over-pressurized independently. It’s a non-negotiable safety component for any compressed air system.
How tight should I make the pipe fittings?
You want to make connections snug but avoid overtightening. Overtightening can strip the threads on the fittings or the tank ports, leading to leaks. Using Teflon tape or pipe sealant on the threads is essential for creating a good seal. Research suggests that for most pipe threads (NPT), this is more effective than just relying on tight mechanical connections.
What happens if my new tank doesn’t reach the same pressure as my old one?
If your new tank isn’t reaching the expected pressure, first check for leaks in your new plumbing connections. Listen carefully for any hissing sounds. If there are no leaks, ensure your compressor’s pressure switch is set correctly. It might need to be adjusted to allow the compressor to run longer to fill the larger volume.